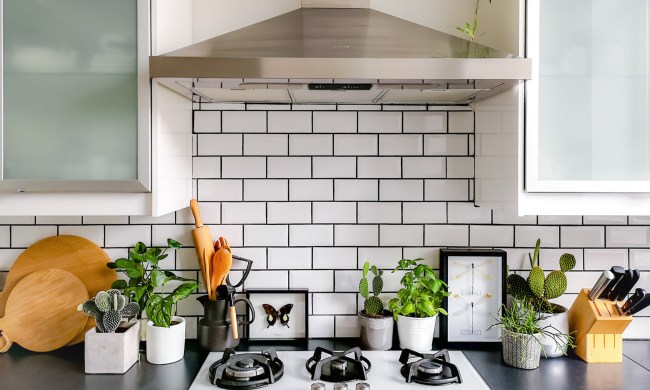
If your kitchen needs a makeover, painting your cabinets is one way to breathe new life into the room. It’s cheaper than replacing your kitchen cabinets and can be a (fairly) easy way to update your space using trending colors and patterns. You’ll need to take some simple steps before painting to help keep you sane during the process, but once those are done, it comes down to picking the exact color you love and using the proper techniques.
Painting cabinets is a perfect way to bring an old kitchen into this century. It’s also fun because you can play with the room’s aesthetic, use different colors on top and bottom cabinets, or try your hand at a small project (for instance, a center island) before committing to the entire kitchen.
Getting started
First, make sure you put resin paper down on all your countertops so that they don’t get splattered during the process. This can also be used on any appliances and also for backsplash or tile. Next, remove all the doors, drawers, pulls, and handles, taking time to label them, so you know which ones to put where when the painting is done. Scrub the cabinets using warm soapy water to get any grease or dirt off before you start.
Finally, it’s time to sand all the wood. This ensures you have a surface that will absorb the fresh coat of paint. If your cabinets have a factory finish, use 120-grit sandpaper to lightly sand.
Time to prime
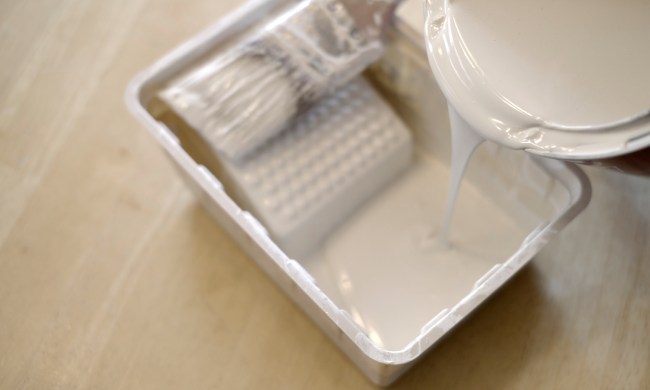
While it’s not necessary (though it really should be), using a fast-drying primer for the first coat will help your paint go on smoothly. Just make sure the primer is compatible with the paint you’re using. We recommend using an enamel underbody primer.
Depending on the type of wood you’re painting, open pores may show in the grain of some more than others, like oak. These pores will show no matter how many coats of paint you put on them. If you want a smooth look, you can apply several coats of a high-build primer (sanding in between) until the pores are filled. Or you can fill the grain with spackle, then sand and prime once it dries.
Find your color
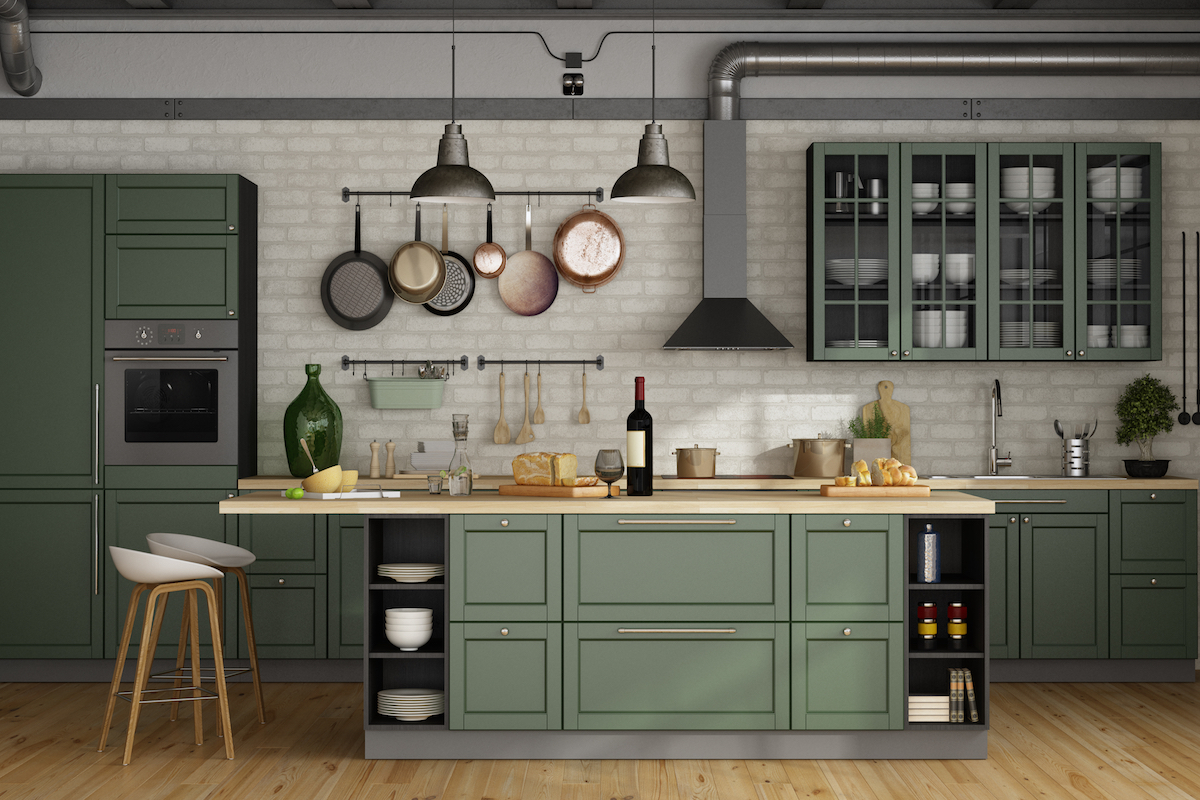
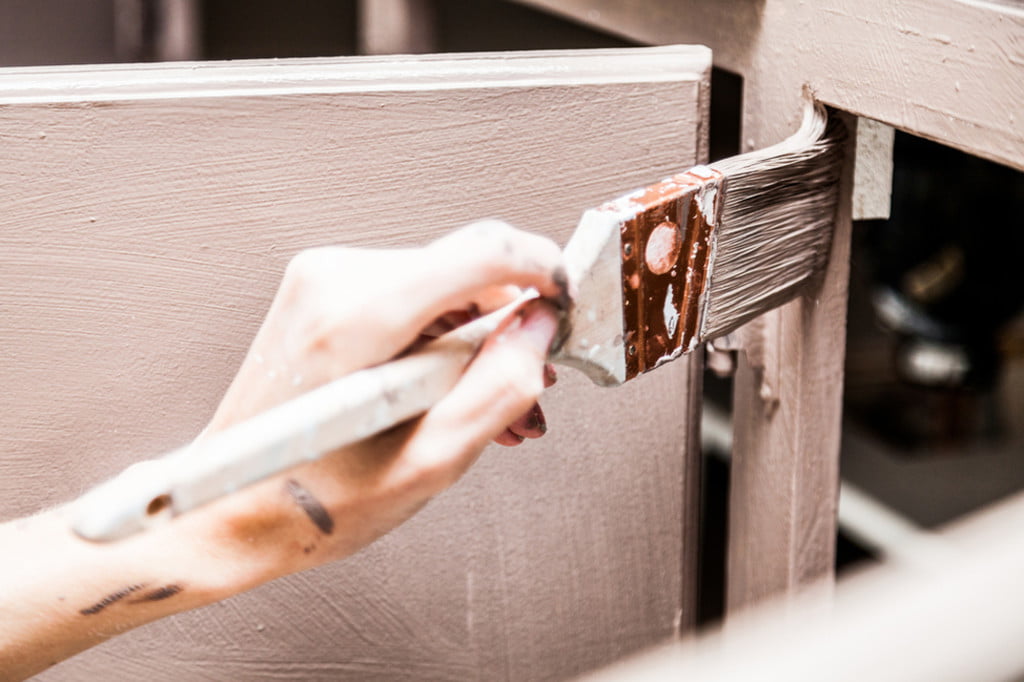
Once everything is literally done and dusted thoroughly, it’s time to pick your color. For kitchens, semi-gloss and satin work best. Green-stained kitchen cabinets are definitely having a moment right now. There are so many hues to choose from—hunter, olive, emerald, or sage green kitchen cabinets will all give your kitchen an up-to-date feel. You can pair them with black iron or muted gold hardware, and the color looks great with a wood or white countertop. Of course, whatever color speaks to you is the color you should choose, so do your homework. Get paint samples and make sure you look at them at different times of the day to see how the light works with them.
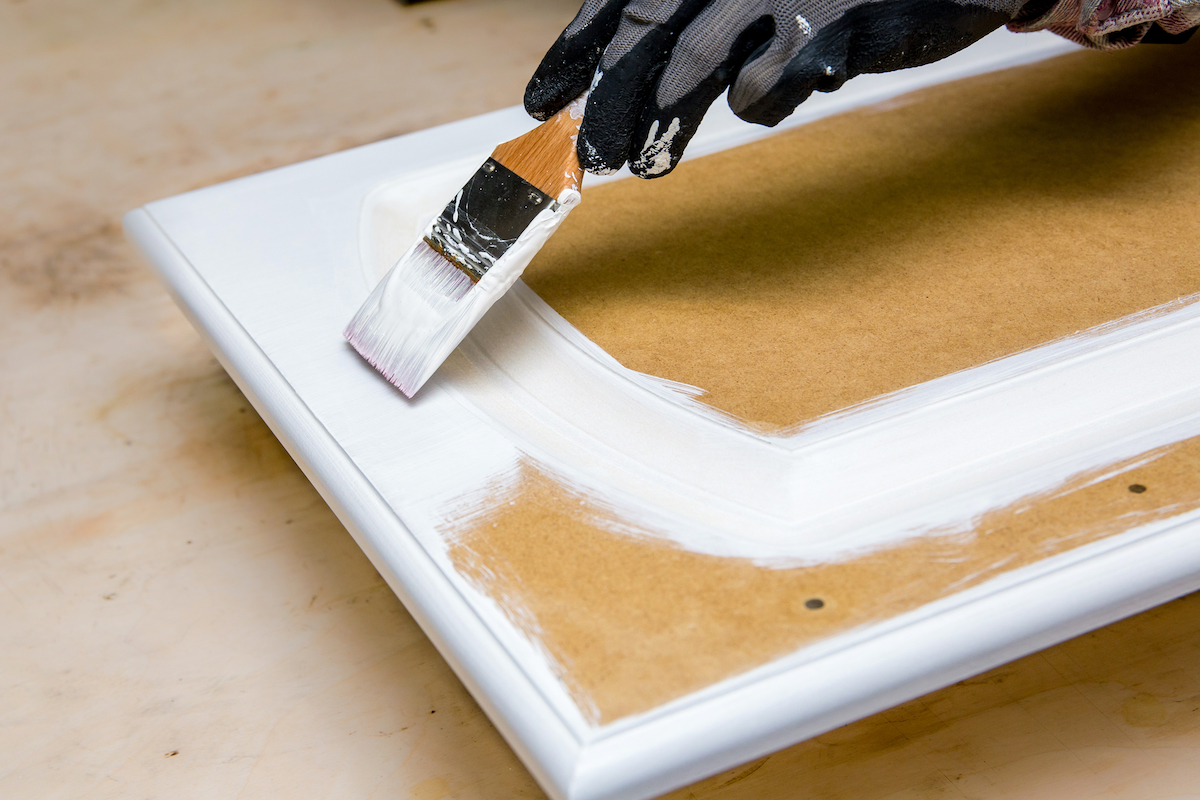
To apply the paint, you can buy a mini roller (mohair, microfiber, or foam work well) and make sure you paint with the grain. You can lightly sand after each coat to ensure a smooth finish.
When choosing your color(s), one thing to keep in mind is that lighter colors will make a room look bigger and brighter, but stains will be easier to notice, and there are bound to be stains if you cook a lot. Darker colors can create a more intimate, warm space and may do a better job at hiding stains. Again, it comes down to preference, and this is one room people spend a lot of time in, so make sure you love it.
There are many considerations to keep in mind if you want to paint your own kitchen cabinets. The good news is that it will be worth it when you’re done. This project will take time if you do it right, so make sure you have a weekend set aside to get it all done and put back together. Painting kitchen cabinets yourself will set you back anywhere from $200 to $600 on average, saving you $400 to $1,000+ on professional painters.
