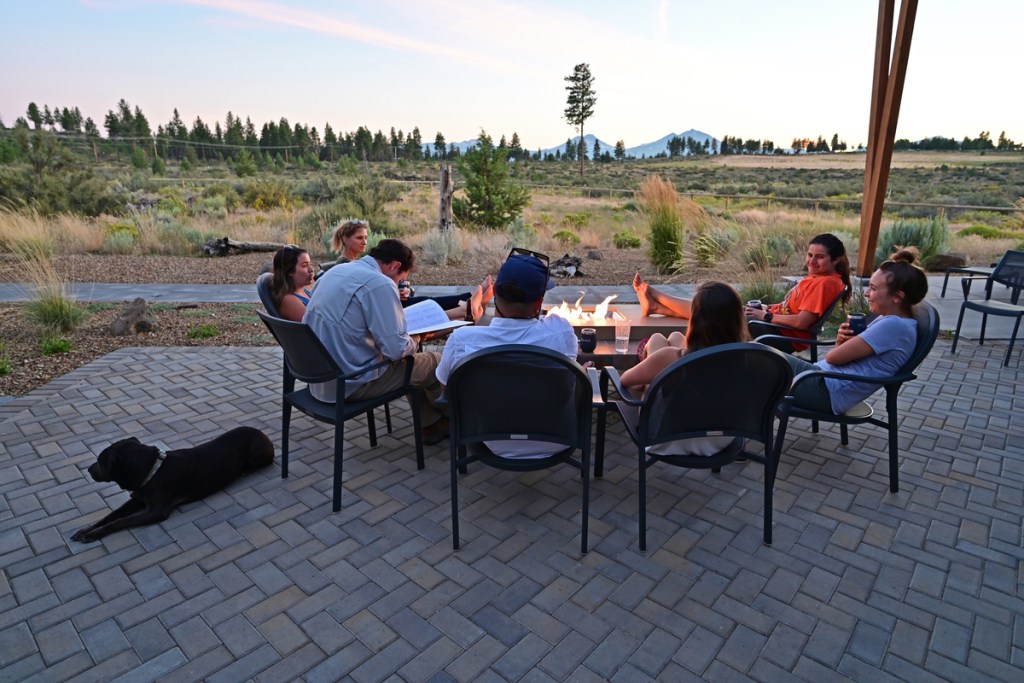
With summer arriving soon, now is the perfect time to add a fire pit to your backyard landscape. Perfect for hosting evening gatherings with family and friends, fire pits are an excellent way to enjoy the outdoors all summer long, and even on warm spring and fall nights. And if you’re looking for a fire pit that makes for a fantastic centerpiece to your yard and looks chic and eye catching, then a custom DIY fire pit is the way to go.
Today, we’re giving you the ultimate how-to guide on creating your own DIY fire pit. Custom fire pits look incredible, and they’re easy to assemble. So, here’s how to make your DIY fire pit this summer.
How to build a DIY fire pit
Step 1: Choose the right placement.
Before you can begin building your fire pit, you need to ensure you pick the right placement. You’ll want your fire pit to be at least 10 feet away from any structure, including the house, fence, or shed. Ideally, 20 feet away from any structure in a wide-open area is best. But for those with small backyards, this can be tricky.
Also, you need to place your fire pit away from any trees or low-hanging branches. A large open area above the fire pit will help prevent accidental fires.
Step 2: Pick a material for the walls.
Choosing the right blocks for your fire pit is essential. For example, trapezoidal blocks are great for circular fire pits, while rectangular alternatives can be best for a square fire pit.
You might also consider purchasing fire bricks that can withstand high temperatures and may be a safer option. Be sure to research your material or speak to a professional before choosing the blocks that work best for your situation and also look great in your design.
Additionally, you’ll want to consider what materials you're using within the center of your fire pit. Are you planning to use a fire pit bowl or a grate?. Or do you prefer lava rocks? If you opt for a pit bowl or grate, you’ll want to use those when measuring your outline to ensure a proper fit.
Step 3: Start with an outline.
Once you have the placement for your fire pit, you’ll need to create an outline. Whether you opt for a square pit or a circular shape, it’s good to create an outline with the blocks you intend to use. Use a shovel, spray paint, or string to mark the perimeter and then remove the blocks.
Step 4: Till up the ground.
Once you have your outline, you can begin tilling up the grass or sod to prepare for your fire pit base. You’ll want to till the ground about 5 inches out from the perimeter for additional safety. Furthermore, you’ll want to dig about 7 inches deep to prepare for adding the gravel base.
Tilling may not be necessary if you are planning to put your custom fire pit on a concrete or paver patio. If that is the case, you’ll want to ensure that the material at the base of your pit is fire safe before you begin building the walls of your pit.
Step 5: Add a gravel base and level the area.
Now, you can add a gravel base. This step prevents weeds and grass from growing in the pit and reduces the risk of fire spreading. Fill in the gravel about 5 inches. Then, wet the gravel with a hose and begin compacting it down. Use a level to make sure the space is even, particularly in the places you plan to lay your blocks.
Step 6: Start laying the blocks.
Now, you can begin laying your blocks. Remember that your gravel base will extend roughly 5 inches beyond your intended outline. Stagger your blocks and ensure they are tightly placed to one another. As you stack each row, check the level so you lay everything evenly.
You might have to use sand to level the ground around the blocks. Additionally, it’s optional to use cement in between the blocks for a long-term setup. However, this may not be necessary, depending on the blocks you’re using.
Step 7: Use a fire pit bowl or add your pit base
Once your DIY fire pit has been built, you can add a fire pit bowl or a pit base like lava rocks to your design. After your pit bowl or base has been added, you can test your fire pit and sit back to relax, admiring your handiwork.

Is it cheaper to build a fire pit or buy one?
Whether you’re doing a full-scale outdoor kitchen renovation or a simple patio remodel, redesigning your home can cost a pretty penny. Homeowners looking to DIY their own fire pit may be concerned about the cost of undertaking this project. You may be asking yourself, “What is cheaper? Building a fire pit or buying one?” Unfortunately, the answer isn’t straightforward.
If you choose to buy a gas or wood metal fire pit from your home improvement store, you could expect to spend anywhere from $50 to $300. This is an affordable option for homeowners who already have an existing outdoor patio or who aren’t planning to create an expansive outdoor space.
However, if you opt for a more customizable option, like a full-scale DIY fire pit seating area or a prefabricated fire pit kit from a home improvement store, you could spend anywhere from $200 to $1000. Some fire pit kits cost upwards of $700 on their own.
We recommend evaluating all of your options before making a solid decision. Before diving in, consider how often you’ll be using the space, whether or not you want a permanent addition, and how much you’re willing to spend.
Fire pits are a wonderful backyard addition, especially for the avid entertainer. With this how-to guide, you can easily create your own DIY fire pit that looks chic and intentional and is sure to be the centerpiece for many summer festivities for years to come.