If you’re looking to scale up your kitchen cabinets or give them a more polished look, consider adding crown molding to them. It’s relatively cheap and easy to do yourself, and it adds more character than traditional, squared-off cabinet tops. It can also add height to your cabinets if they are shorter. If you’re not super handy and are wondering how to add crown molding to cabinets yourself, we’ve provided a list of everything you’ll need, along with some frequently asked questions to get you started.
Depending on the size of your kitchen, installing crown molding can be done in a day, as long as you have everything measured and all the tools in place to begin.

What do you need to add crown molding?
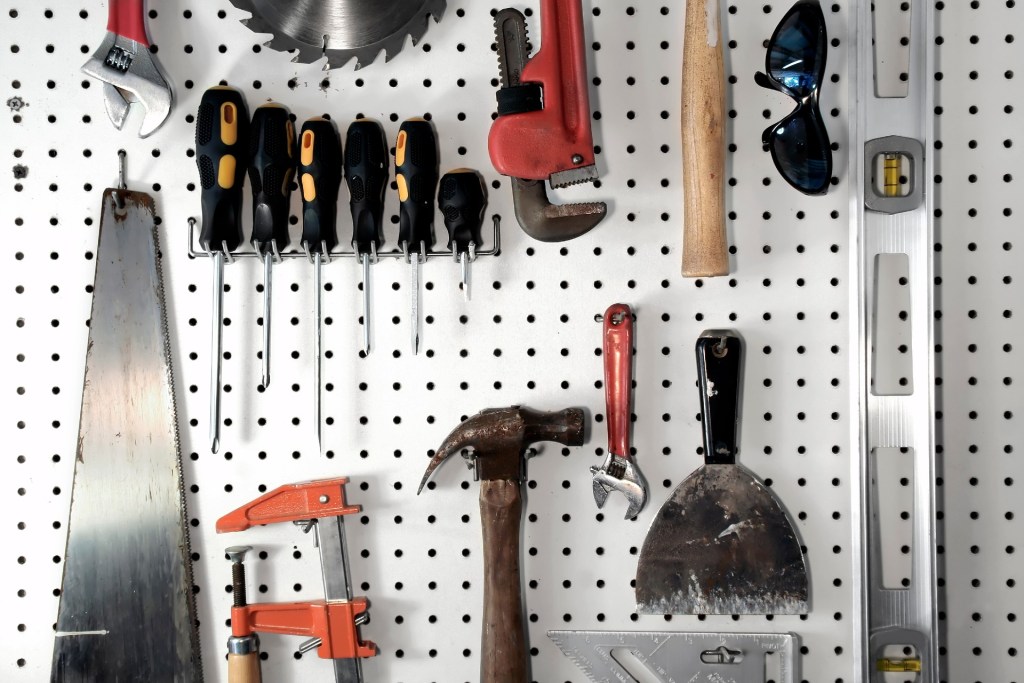
To get started, you’ll want to make sure you have everything you need so you aren’t running back and forth to the hardware store. If you don’t do a lot of remodeling yourself, you can rent the miter saw and nail gun from your local hardware or rental store versus buying them to save a little money. Here’s what you’ll need:
- Miter saw
- Hammer
- Nail set
- Nail gun
- 320-grit sanding sponge
- Eye and hearing protection
- Safety mask
- Tape measure
- Level (long)
- Wood Filler/spackle
- Crown molding
You’ll also want a long ladder, which should be secured on the floor, never on the countertops themselves, for safety reasons.

Can you put crown molding on kitchen cabinets?
Yes, you can!
- To begin, grab a long level and mark where you want the crown molding to sit on the cabinet facing.
- If you’re not attaching it directly to the cabinets themselves, you’ll need to build a frame to sit on top of the cabinet or attach nailing strips to it so the crown molding can sit flush on it.
- Start on one end, where the cabinet is attached to the wall, and work from there. Cut both pieces before attaching around the corner. You can use wood glue to secure the molding, and the nail gun to secure it across the bottom where the board and frame meet.
- When all of the molding is secure, you can paint or stain the molding the same color as your cabinets. Fill in any holes with wood filler beforehand. This YouTube video goes into more detail on specific angles and measurements for how low to attach the molding to the cabinets.
Is crown molding on cabinets outdated?
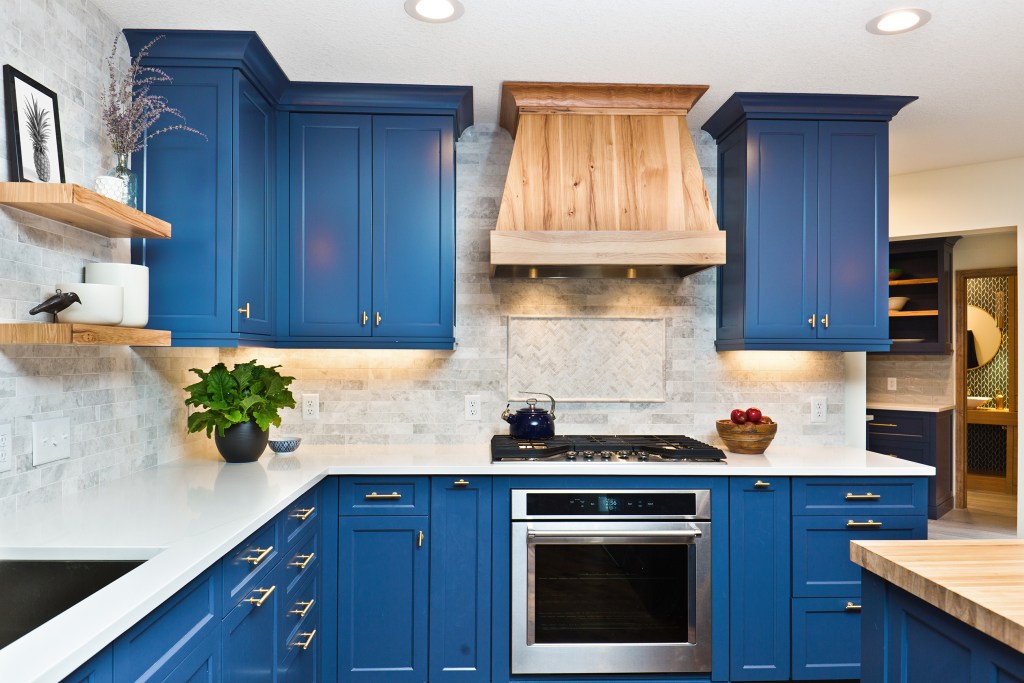
The short answer is no. Crown molding has been used for hundreds of years to offer a polished, finished look to kitchen cabinetry. It’s elegant and can be used in any style kitchen, from farmhouse to traditional to modern. While some people prefer a more box-style cabinet, crown molding can add just the right amount of character to a kitchen. Obviously, if you have cabinets that go all the way up to the ceiling, there won’t be room. But if they stop short, crown molding is the perfect addition.

How much does it cost to add crown molding to cabinets?
To know how much crown molding you’ll need for your kitchen (and thus how much it’s going to cost to buy the wood), you’ll need to measure the width and depth of the wall cabinets in the room. Because the crown molding will wrap around the cabinets, you’ll need to total both numbers together.
Typically, crown molding costs around $200. It would cost another $600 to install, which is a big savings if you’re doing it yourself. Many factors play into the average cost of the molding, including the size of your room, the wood material, and the thickness, but the average is anywhere from $5 to $15 per linear foot.
That said, wood molding can vary in cost depending on the type of wood you buy, and it can add up. If you’re on a budget, consider plaster, medium-density fiberboard (MDF crown molding), or polyurethane, which won’t expand or contract in temperature changes and is much less expensive than real wood. It’s always good to consult a designer or carpenter before you begin to learn any mistakes to avoid while installing. It can save you a lot of time and money down the road!
Crown molding isn’t difficult to install; you just need to feel comfortable measuring and cutting angles. This can be learned by taking a class at your local hardware store or online by watching instructional videos. It’s an intermediate-level project but one that can be learned with a little patience and determination. Once you feel comfortable, test out a few cuts beforehand so you get any mistakes out of the way before you begin. Then, happy molding!


