
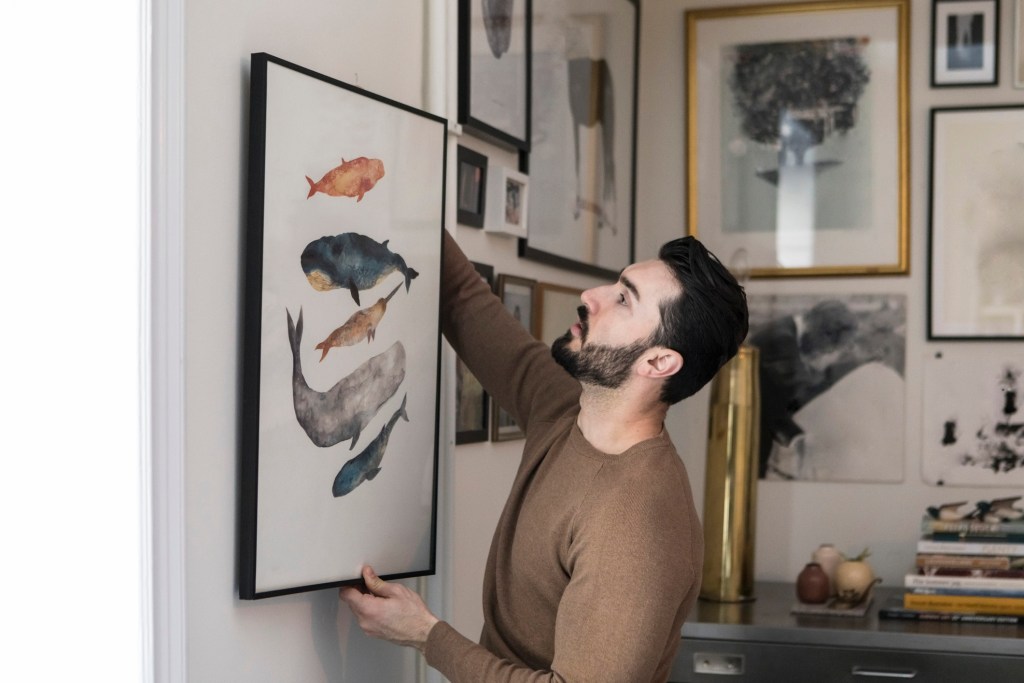
When you’re deciding to hang artwork, we totally understand if you get hung up a little on the particulars (see what we did there?). Hanging artwork can be full of anxiety — where and how? There are a few things you should consider when figuring out how to hang paintings to ensure it happens the right way every time.
Before you slap something on the wall or leave everything on the floor, consider these tips to help you narrow down where and how to hang a painting on the wall. You’ll get the right result each and every time, whether you need to know how to hang a large painting or a small one, a framed photograph or a painting on canvas. Let’s take a look.
Decide on your game plan
When you’re deciding to hang a painting, consider how it fits into your overall decorating strategy. Beautiful wall decor always looks more cohesive if there’s an overall theme to your arrangement. Hang your painting in a way that flows with the other home decor in the space.
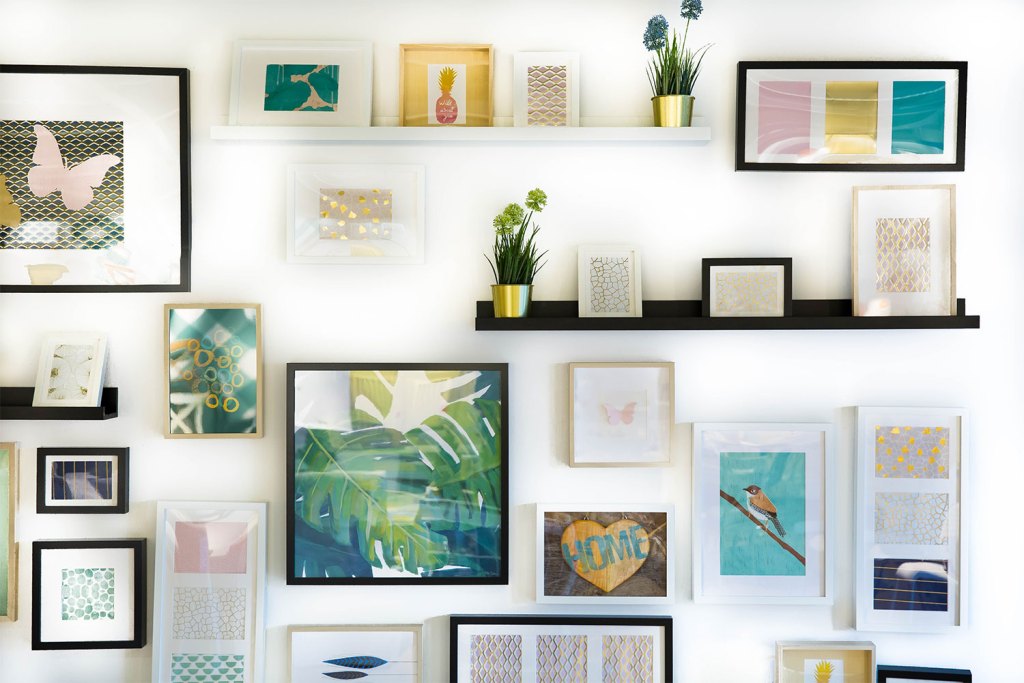
Maybe you’re hanging a portrait, and you’re surrounding it with other portrait styles. Maybe it’s a large anchor in a trendy gallery wall. If so, place the largest piece of art in the center (or slightly off-center). Perhaps it’s all pictures with red tones. Whatever the method, decide on your plan ahead of time.

Where not to hang paintings
When choosing where to hang artwork, you should also be aware of where NOT to place it. You'll need to avoid certain locations that can diminish the impact of your pieces.
- Avoid hanging art in direct sunlight, as UV rays can fade colors and damage delicate materials over time.
- Steer clear of areas with high humidity or extreme temperature fluctuations, as these conditions can cause warping and deterioration.
- Avoid hanging artwork near vents or HVAC systems that could expose it to dust and debris.
- Refrain from placing art in crowded or cluttered spaces, as it can get lost among other objects and fail to command the attention it deserves.
Careful consideration of placement will ensure your artwork shines in its chosen location.
Adapt the placement
An old rule of thumb is that art should be eye level, but that leaves us a lot of leeway, as stated by Studio McGee. Whose eye level are we talking about here? Instead, with standard-sized walls, art generally looks good about 57 inches from the floor.
“On center" means that the middle of the artwork is always at 57 inches (obviously, this only applies to hanging art on an open wall or above lower furniture, rather than over taller features like a fireplace). Interestingly, the 57-inch standard represents the average human eye-height and is regularly used as a standard in many galleries and museums.
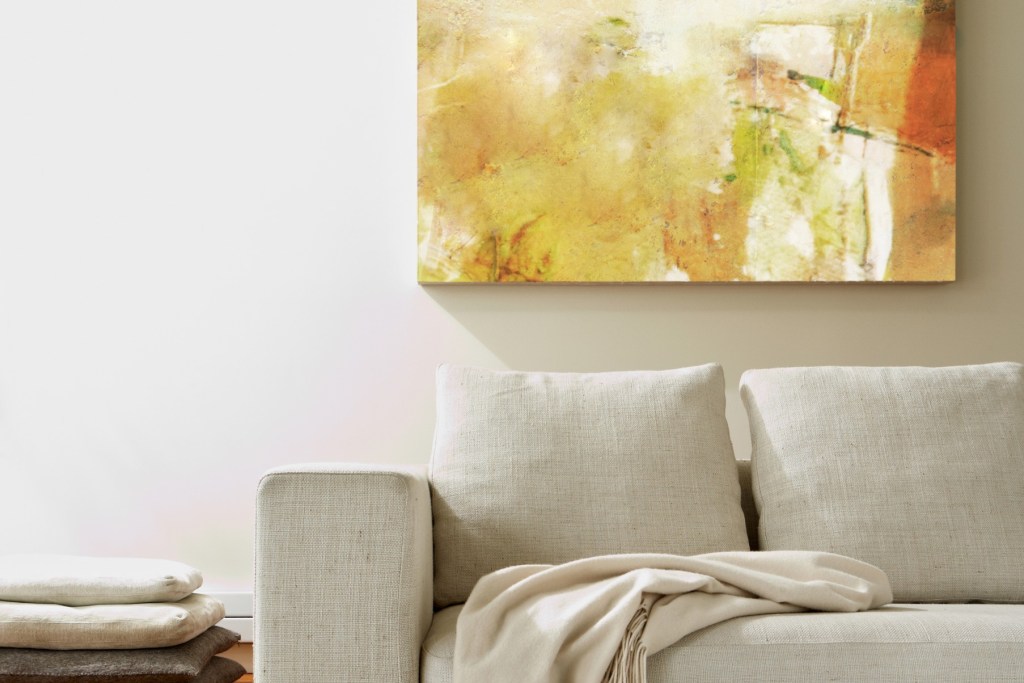
If you’re hanging a big piece of art behind a piece of furniture like a couch or table, the artwork should take up around two-thirds of the space of your furniture. If that’s a giant painting, great. If not, look at how you can fill those dimensions using your painting.
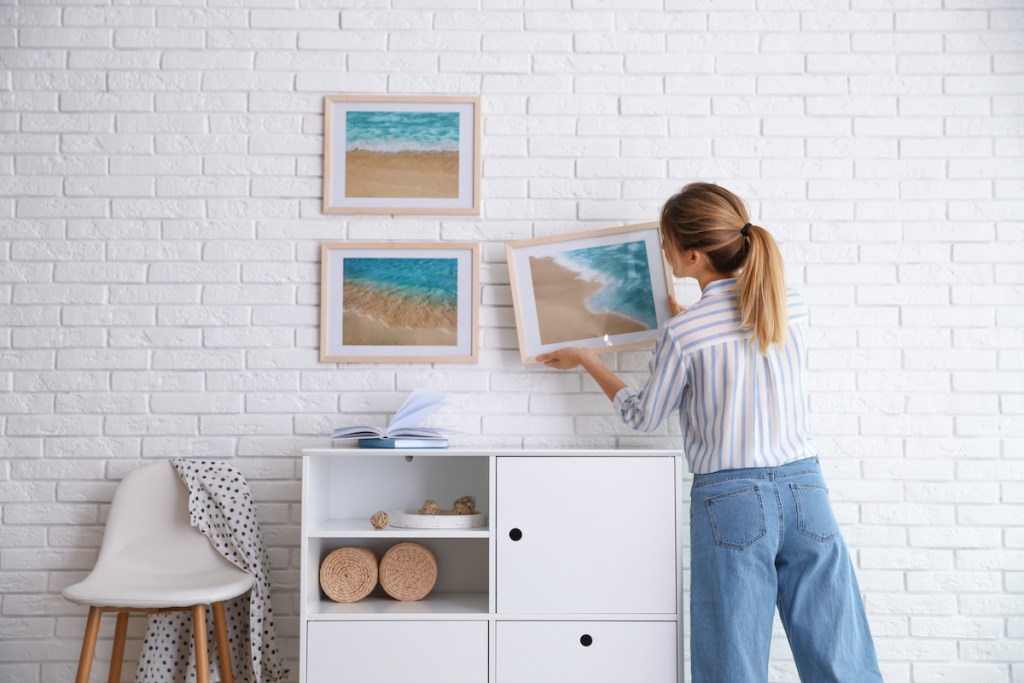
When you're ready to measure, follow these steps to get the perfect placement for your artwork.
Step 1: Enlist the help of a friend.
Step 2: Use a measuring tape to measure 57 inches from the floor and use a pencil to mark the location.
Step 3: Have your friend hold the artwork for you so that the center of it is at 57 inches.
Step 4: Step away to view the piece's placement.
Step 5: Play with the placement by having your friend move the piece up or down a couple of inches to see what looks best.
Consider negative space
The wall can provide a clean blank wall space between pieces of artwork, so look at how your painting will have the wall bordered around it. The negative space can create an excellent contrast to your painting, especially if it’s a bold work on its own.
You could also play with much closer dimensions to create an overall gallery or collage effect with your main painting. This can also draw attention to the painting’s characteristics.

Use paper to ease hanging
It can be tough to hang a painting straight, especially if you’re using two mounts on the back of the artwork. This method uses a simple paper to make measuring and hanging simple.
Step 1: Take a piece of paper or tape several together and use a pencil to trace on the paper exactly where the mount attachments are.
Step 2: Tape the paper on the wall using your level to ensure that it’s hanging straight.
Step 3: Use the drawn guides on the paper for the right placement each time.
Step 4: You can also use large pieces of paper or fabric to attach to the wall temporarily to allow you to try out the placement for your painting in a few different spots. You’ll get a feeling of the height and placement without having to drill or hammer each time.

Check for wiring, pipes, and studs
It’s so important to get an idea of what’s happening behind the scenes in your home. When you’re hanging heavy pieces of artwork, the last thing you want to do is hammer right into a wire or a pipe and cause damage.
Studs are required for hanging super heavy paintings because they’ll help you center and anchor the painting without having to jump through hoops. Invest in a good tool that can alert you to studs and things like wiring so that you always know where and how to hang your more substantial paintings.
Hang nails the right way
Nails should have small heads and go in the wall at a 45-degree angle. That angle allows the nail to provide maximum support without pushing the painting out too far from the wall. Gently hit the nail and then leave about a half-inch sticking out of the wall.
You can use the plain nail or do what professionals do and use a D-ring. The painting goes right on top of the D-ring for security.

Don’t get "hung up"
We’ve got jokes for days, but decision fatigue is a real thing. Ultimately, if you find a space that you love, it’s the right space. It may not always matter what the rules are. Once you’ve settled on a space that you love or that you feel works, just hang the painting already.
You can think and rethink where to hang a picture, but ultimately, it’s not essential to worry so much about it. You can use these rules of thumb and suggestions to give you the best chance of finding the right spot.

Showing off your favorite things
Wall decor is a fun thing to play around with, and once you get used to hanging your own artwork, you can find different ways to hang your favorite pieces. Your apartment or home can be your own personal gallery, with each painting hanging in just the right place.
Take these tips for how to hang a painting on a wall to familiarize yourself with what generally works so that you can break the rules efficiently and for a significant impact. Experiment, but ultimately get your artwork hung so you can enjoy it.


