
How to paint wooden floors white

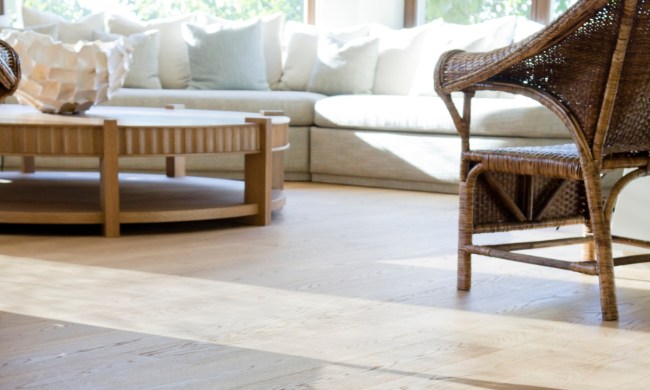
If you’re looking to make your wooden floors dazzle, strongly consider painting them white. The result will be a clean, sleek, and refined look that simply cannot be ignored. Although giving your wooden floors a whole new paint job can seem pretty daunting and downright intimidating, the journey to painting them can be done properly with confidence if you follow these steps.

Paint poured into a paint holder from can
Bidvine/pixabay.com

Spot test before the big paint project

Most wooden floors can be layered with paint. Just to be safe, it is always a good idea to test a small section of the floor before beginning this project. Follow these steps:

  • Find a small area of the floor. Choose corners or under furniture, such as beds, couches, or anywhere that typically covers the flooring section.
  • Apply a tiny amount. It should be enough to be noticeable; apply the desired white paint onto the wooden floor. Then, let it dry completely.
  • Check up on the paint spot. Within 24 hours, take a look at the paint spot and check for any potential deficiencies, such as peeling, cracking, or bubbling.
Recommended Videos

If it’s looking clean and flawless, pick a white paint that is best for the chosen floor, such as latex-based or a traditional oil-based paint. Here are the pros and cons of both:

Latex-based wood paint: This dries very quickly, has reduced fumes, and is eco-friendly, but it is not as durable, pigmented (depending on its quality), and the effectiveness of its formation is slow due to its chemical formula.

Oil-based wood paint: This can handle foot activity and other rough use (vacuuming, mopping, etc.), is very resistant to stains and scratches, and is typically long-lasting, but it tends to be banned in certain places due to its unhealthy emissions. Plus, it can take a long time to dry fully.

Prepare before the painting begins

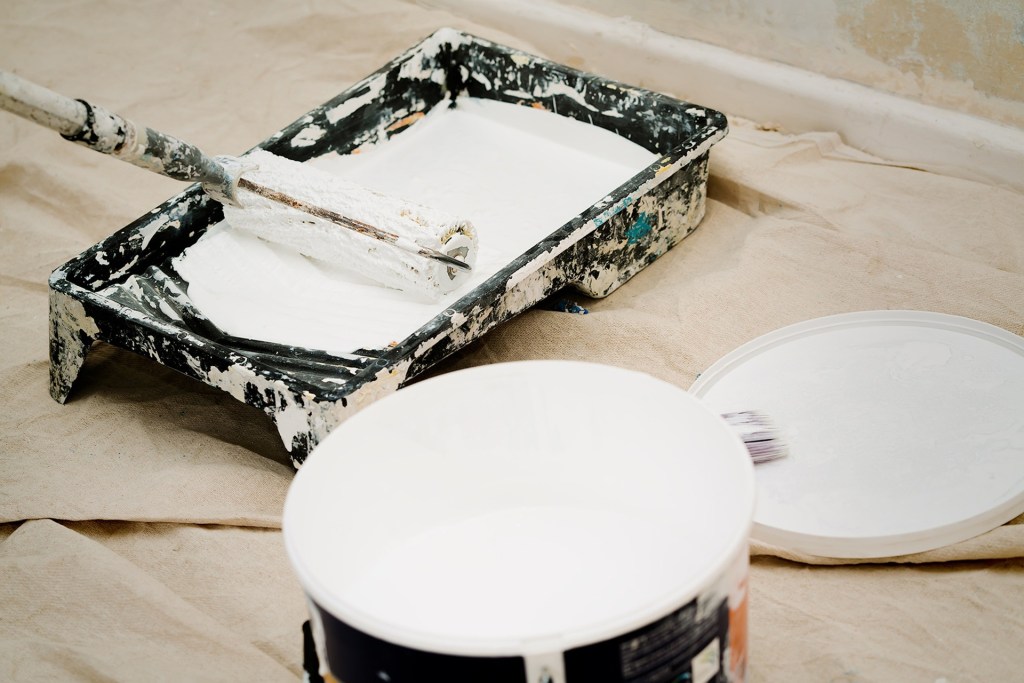
The tools and supplies needed for a problem-free and prepared paint project include a broom, vacuum cleaner, rags or paper towels, sandpaper, water (or solvent), paint brushes or rollers, painters’ tape, and a paint tray. Then, do the following:

  • Sand the floor thoroughly. Run the sandpaper along the surface of the wood floor in a circular motion. This helps smooth out and flatten the surface for a flawless paint application.
  • Clean up along the way. Use the broom or vacuum to clean up debris and dirt. Then, use a rag or paper towel that is moistened with warm water to wipe the surface down. A clean area is important for an effective paint finish, since dirt and debris would get mixed in with the paint.
  • Tape around. Use painters’ tape to tape around edges, so paint can’t bleed into parts of the adjacent wall where you don’t want it to. Remove the tape after the paint dries completely. In other cases, painters’ tape can be used to create patterns and shapes for an artistic paint job.

How to get started painting

Now that you’ve gotten this far, you’re ready to begin. Follow these steps:

  • Edges need to be cut accordingly. Take the paint brush and cut in at the wood floor edges with the white paint. A good idea would be to paint approximately 2-4 inches of the wooden floor from the wall around the whole room. Later, the painting process is much easier after the outline has been created.
  • Begin rolling the paint. Generously pour the white paint on the paint tray and begin to roll the paint on the floor. Keep the angles straight and paint smoothly along the wood grains, so the paint application is even and sleek. Then, leave the area alone and let it dry for about 24-48 hours or the recommended time suggested by your brand of paint. Be sure that it is dry enough to be walked on.
    Is the white paint looking a little dull or needs more strength? Once the previous paint application has dried, roll another layer of the white paint on. Let it dry completely.
Paint holder with roller and can
Bidvine / Pixabay

A successful paint job is highly dependent on proper preparation, cleanliness, and careful consideration of the painting itself as well as everything around it. Bring the wooden floor of choice to life with a white-paint finish that will take away any dullness and weariness. You can brighten up any room with a newly painted white floor that looks sleek, clean, and modern. In many cases, a fantastic paint finish can look a lot better than the wood itself.

Tom Warnick
Former Digital Trends Contributor
Tom has worked been a writer and editor for several years, working at the Starlog Group, Billboard, Bed Bath & Beyond…
What colors go with taupe? Striking ways to design your home
Looking for a versatile neutral? Use taupe and pair it with some fantastic complementary hues
Taupe wall paint with taupe chairs and a large plant

With a range of dark and light shades to choose from, taupe is a versatile color fit for sleek wall tones, soothing accents throughout the room, or simple shades on furniture. While some people avoid this neutral tone, worried that it will appear drab or dull in their spaces, knowing how to use taupe in your home design will help you best take advantage of this stunning neutral color. And whether you love this hue or not, knowing what colors go with taupe can aid you in choosing the right tones for your color palette, especially if you need a gorgeous neutral backdrop.

So, if you love taupe or are eager to incorporate it into your design, then we have a few tips for you. Below are some of the best complementary shades for taupe, as well as the most striking ways to style it in your home.
What color is taupe?

Read more
What flooring is best for a basement? Don’t make an expensive mistake
There are several flooring options for your basement and a few you should avoid. Here's what you need to know
Person laying down laminate flooring in basement

One challenge you might face as a homeowner is choosing the best flooring for your basement. Whether you’re refinishing the space, updating the existing flooring, or searching for a moisture-resistant solution, selecting the right flooring for your basement is essential. To help you make the right decision, we’re weighing in on the pros and cons of some of the most popular basement flooring solutions and will answer the question: "What flooring is best for a basement?"
What to consider when choosing basement flooring

Before you begin choosing a type of flooring for your basement, it’s essential to consider what specifics are required for your space. What flooring is best for a basement relies heavily on the following.
Moisture
One thing you need to consider before deciding on flooring is moisture control. Basements tend to present issues when it comes to mold, mildew, and water damage, so it’s important to keep this in mind when choosing your flooring. In addition, we always recommend speaking to a professional about your specific situation, as some basements are more prone to moisture than others. Homeowners living in areas with high humidity, for example, may need to take extra precautions.
Durability
Durability is another important consideration. Depending on how frequently you intend to use the space and what activities will be happening in your basement, you may need to opt for a more durable solution. For example, if you choose to transform your basement into an at-home gym, a durable flooring option would be best. Alternatively, if your basement becomes an at-home theater or game room, ultra-durable flooring may not be necessary.
Usage
While we’ve covered some possible uses above, your basement flooring is more than just a durable surface. Its appearance and comfort must also be taken into consideration. For example, if you host parties or gatherings in your basement, you might not want an epoxy floor that makes the room feel cold and dull. Alternatively, an at-home gym won’t need fancy tiling or laminate to work for your needs. Additionally, if you plan to sell your home a few years from now, how will your flooring solution affect the value of your home?
What's better for a basement: Vinyl or laminate?

Read more
Steamer vs. iron: How to choose
Use the right tool to keep your outfits looking pristine
Iron on teal fabric

When it comes to getting your clothes wrinkle-free and looking their best, the debate between using a steamer vs. iron has been ongoing for years. Whether you've got an event coming up or you're just someone who wants to look polished for the day, knowing which tool to choose can make a big difference in your laundry routine.

Today, we're going to break down the key differences between steamers and irons, discuss how they work, and highlight their pros and cons. By the end, you’ll have a clear understanding of which tool is best suited for your needs.
Steamer vs. iron: How do they work?

Read more