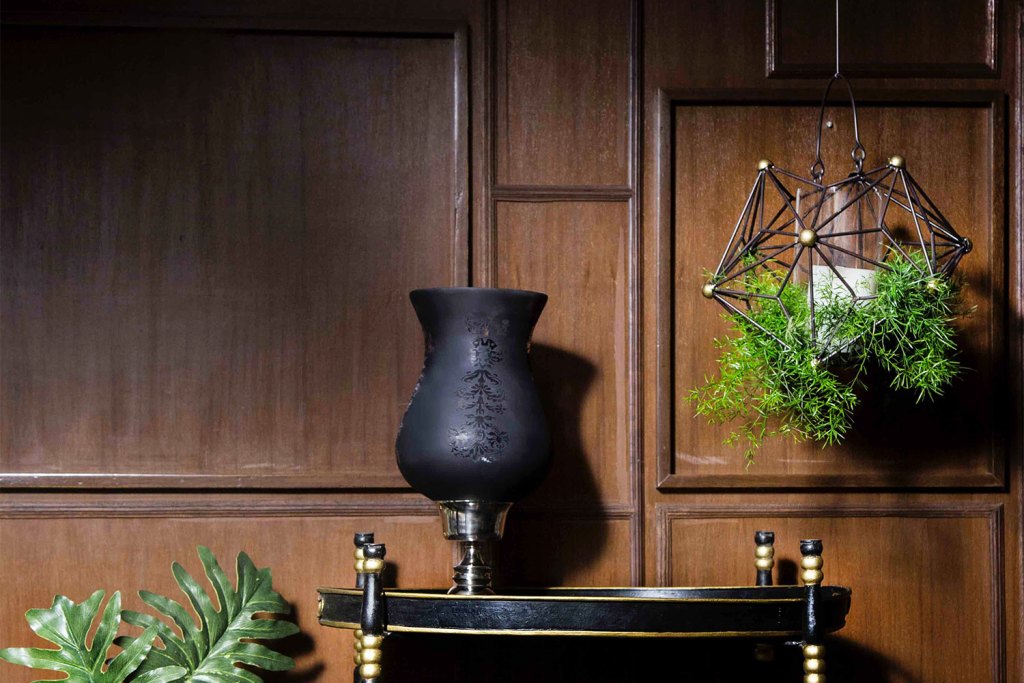
Faux wood paneling was a common feature in many homes in the ’70s, but unlike bean bag chairs, patterned wallpaper, and rattan couches, it has not found a new life in the 21st century. The presence of dark-colored paneling can make the entire home look outdated, but does that mean a full-scale remodel is the best solution? While it can be easy to jump to the “just tear it out” mentality, there’s really no need to go through all that work.
If the paneling is in good condition, why not spruce it up with a bit of paint? Painting faux wood is an easy way to revamp your space quickly and affordably. Here is our simple how-to guide for painting this dated feature so you can create a stunning space on a budget.

What you’ll need
Before you get started, you’ll need a few tools for the trade. Below are the items you’ll need on hand.
- Cleaning supplies
- Sandpaper/ Liquid Sandpaper
- Primer
- Paint
- Brushes/ Rollers
The type of paint and primer you need greatly depends on the condition of your current paneling. If they are in good shape, use latex primer and paint to guarantee full coverage and smooth adhesion. For unfinished or bare wood, opt for oil-based paint and primer.

Clean the wall
Before you open the paint, clean the panels thoroughly, just as you would before painting a wall. Use a damp cloth to wipe down the area to clear it of any dirt, dust, and debris. If you run into any stains or blemishes, lightly clean it with mild dish soap. Cleaning the wall gives you a sleek surface for priming and painting, as speckles of debris can become visible once painted, leaving you with bumpy walls.

Sand down the area
Glossy finishes on faux wood paneling are fairly common, so more likely than not, you’ll need to remove this coat before painting. Using sandpaper or liquid sandpaper, sand down the gloss to ensure the paint sticks to the panels and that the shininess doesn’t protrude from underneath your new paint.
Fine or medium grit sandpaper works best for this step. If you opt for liquid sandpaper, just be sure to follow the instructions on the bottle carefully, as this material is slightly more difficult to work with. As you work, take pauses to rub your hand along the panels to make sure there is an even texture all the way through. If you have any tough stains or smudges, sand these away during this step too.
Once you’re finished sanding, give your wall one more once over with the wet cloth to remove any remaining dust.

Prime the paneling
Though this step isn’t as fun as throwing color on the walls, proper priming is the key to achieving solid, bold hues. To prime your walls, we recommend using a latex primer like Kilz, which provides the best coverage for fake wood paneling. Kilz primer is odor-blocking and super affordable for the average home DIYer, so you can stick to a modest budget.
Using a paintbrush or roller, apply one coat and allow it to dry for at least an hour or for however long the instructions recommend. If you can still see through the first layer of primer, apply a second coat.

Add your paint
Latex paints are durable and easy to use, making them an excellent choice for covering up old ’70s paneling. We also recommend applying a satin finish to make the paint long-lasting and easy to clean. Depending on the paint color you choose, you may have to apply more than one coat to achieve full coverage. We recommend Marquee by Behr for a one-coat full-coverage solution. The colors are bright and vibrant and are sure to leave your walls with a silky-smooth finish.
Other ways to modernize old wood paneling
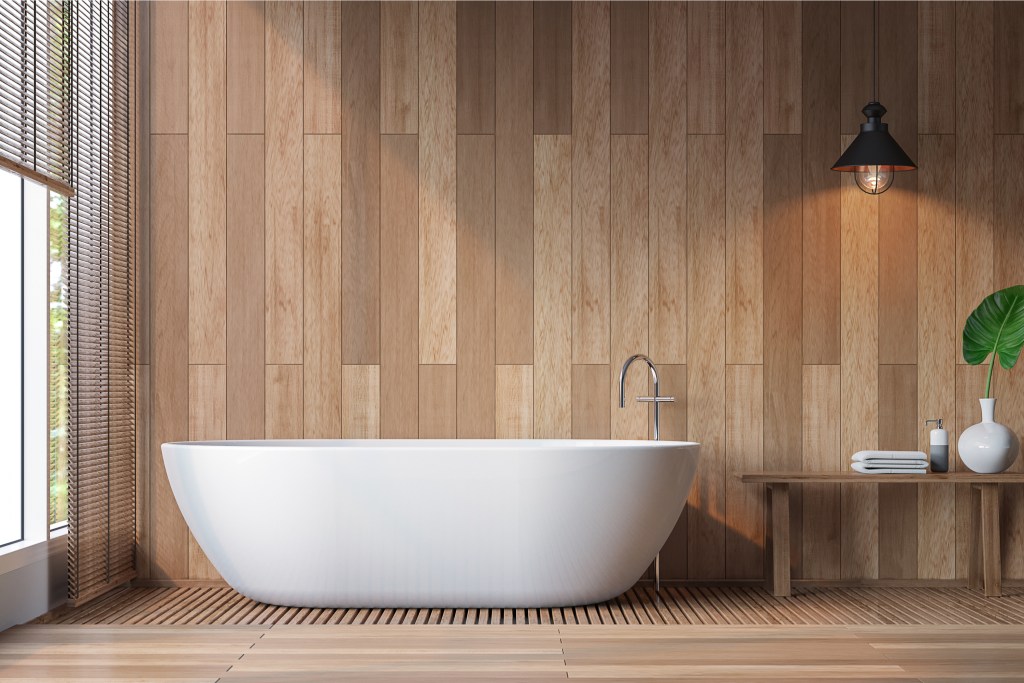
Painting over your outdated ’70s faux wood paneling isn’t the only way to modernize the space. If you’re looking to revamp your space, there are several ways you can transform this once-trendy home addition to give it new life.
What to do with 70s wood paneling in your home:
- If you’re working with real wood instead of faux wood, consider staining the wood a lighter tone that better suits your existing color palette.
- Instead of keeping the paneling on every wall of the room, remove the paneling and keep it on only one wall to create a statement or interior feature.
- Lean into a more retro aesthetic in your home by keeping the paneling as is! ’70s home design is reemerging in today’s interiors. With pop culture icons and top designers flaunting looks from this era, you can hop on the trend bandwagon by preserving your old paneling and keeping it in your home as a stylish, retro feature.
Instead of ripping out your old faux wood paneling, try painting over it. This way, you can retain your home’s original charm without sacrificing sophistication and style. It’s a super simple way to upgrade your space and save tons of money on the renovation. With a can of paint and a couple of hours to spare, you can add a fun feature to your home that’s customized to fit your personal style.

