Now that you’ve decided to sell your house (or something in your life made that decision for you), it’s time to take a good look around. Realtors will tell you buyers are looking for great buys, and homes that are “move-in ready” move faster than fixer-uppers.
You will likely need to fix a few things to make sure you get a good price or even a great price for your home. The good news is, you don’t have to hire expensive contractors to get things in shape. These are some DIY repairs you can do to spruce up your home and get it “move-in-ready.”
 Curb appeal
A key feature of curb appeal is the front door. If the paint or stain looking a little worn and weary, you can paint, re-stain, or even buy a new door altogether. Climate has a lot to do with what kind of paint or stain you need, so be sure to consult with someone at the paint store or someone with know-how at a big box store.
Here are some great tips to get your front yard in tip-top shape:
- Make sure the house numbers are clear and visible. Sure, you thought it was cute that the “3” was a little tilted, but buyers definitely won’t find it as endearing as you do.
- Clean out the faded mulch from the front flower beds and put in some new stone or wood mulch. Make sure the mulch or stone is a complimentary color to the main color of the house.
- Depending on the season, you plant some flowers for a fresh pop of color. If it’s winter, you can freshen the area with some greenery to add color.
- Get rid of the dried-up flowers in the planters on the porch or near the door and replace them with new plants or with seasonal greenery. The same thing holds true for flower boxes under the windows—clear out the dead foliage and brighten things up with greenery.
- If you have a lawn, be sure to edge along the sidewalk and any pathways.
- Trim shrubbery away from the foundation and make sure there aren’t any large tree branches hanging over the house or garage.
Kitchen and bathrooms
Potential buyers want nice bathrooms and kitchens. While a major remodel is not recommended right before selling (since you won’t realize the full value of what you put in), those are rooms that rank up there for DIY projects for home value, according to most realtors.
In the kitchen, make sure all of the cabinet doors and drawers open and close smoothly. In the bathroom, make sure all the vanities are in proper order as well. Follow the below list to make sure everything gets checked off your list:
- If you have cracked or damaged doors and drawers, be sure to fix them. You will either need to replace them, or you can glue and clamp them carefully, so the edges stay together without a lot of glue seepage.
- If hinges are broken or not working, you’ll need to find new ones. Most hardware stores and big box stores have replacements for standard hinges.
- If the drawers don’t close properly, take them out and look them over. Most newer cabinet drawers have their closing mechanisms on the bottom. If they are damaged, don’t worry, you can easily replace them with just a few screws. If the drawer guides are damaged, you will need to replace those too.
- Wash the backsplash in the kitchen with a good de-greaser, following the directions. If it still looks dingy, there are peel ’n stick tiles, tile sheets, and wallpaper that you can use as a quick fix to cover things up.
You may have grout problems in either the kitchen or the bathroom that need to be addressed. A great DIY grout cleaning recipe does just the trick for those tired-looking wall tiles. Take half a cup of baking soda, a quarter cup of hydrogen peroxide, one teaspoon of dish soap, and mix them together until they make a paste. Using a toothbrush, squish the paste into the grout. Wait about ten minutes, then wipe it clean. You may need to spot scrub for those stubborn areas.
For floor tile grout, sprinkle baking soda into the grout, spray with hydrogen peroxide until it is wet, and again, wait ten minutes before scrubbing and wiping it clean.
Bathroom issues
The shower and the bathtub are areas where caulk can get dark or moldy despite your best efforts. Caulk is not the same as grout. Tile, if installed properly, should be caulked to the countertops and around the tub or shower. Professional tilers may grout those areas during the initial install, but you need to ensure the grout was removed and replaced with a water-resistant caulk.
If you have dry and crumbling grout by your countertop, vanity, or tub, you need to replace it with caulk. Carefully dig out the grout with the point of a screwdriver or small flat putty knife, brush off the excess, and caulk.
If your caulk is hopelessly stained or moldy, then, you guessed it, it’s time re-caulk. The good news is, caulking isn’t difficult. All you need to do is apply even pressure and smooth with a damp finger or small sponge. Let it dry completely before you get it wet.
 Paint those walls
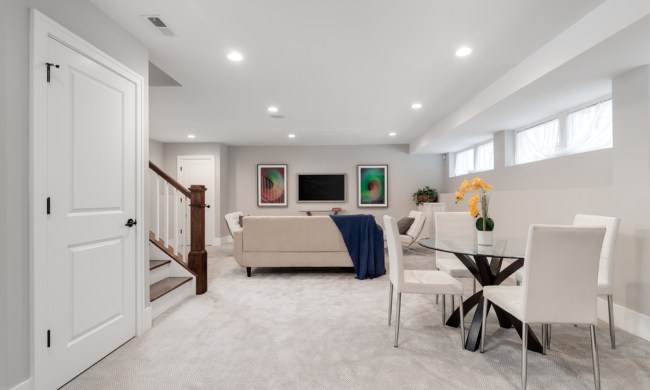
Scuffed and dirty walls will need to be repainted. Paint them a nice, soft neutral. Remember, you are painting for buyers, not for yourself so go with a nice, soft neutral to be on the safe side.
The only exception to neutral paint colors is to highlight a certain area. For example, if you have a wall with two spectacular floor-to-ceiling windows or a wall with an awesome fireplace, you can highlight them using an accent color. A patterned wallpaper would bring character to the walls in a small powder room, as long as the rest of the room is neutral.
Now is not the time for experimentation. Err on the safe side so that you don’t spend time redoing anything your realtor might deem outlandish. Moreover, to prevent the non-smooth final result check our guide on how to fix bubbling paint and prevent it from happening again.
 Replace the windows
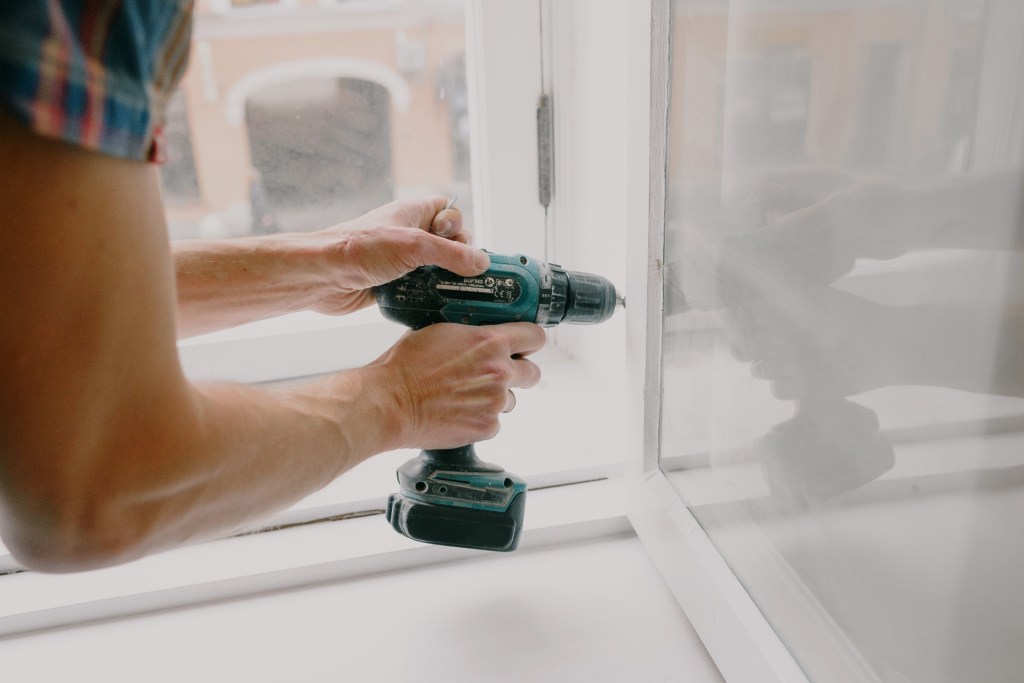
Potential home buyers tend to be picky. You can almost guarantee they are going to find any window that doesn’t work properly. If you have any faulty windows, be sure to replace the hardware and screens. The hardware store can help you out with both of these items. Some specific hardware may need to be ordered directly from the manufacturer, so be sure to check your windows early to leave enough time for shipping and repairing.
We get it; this sounds like a lot. But spending time fixing all the little cosmetic issues with these DIY updates will help you get the best possible resale price out of your home, and in the end, it will be totally worth it.
 Curb appeal
 Paint those walls
 Replace the windows


