Are you tired of staring at the outdated wallpaper in your home? Peel-and-stick wallpaper is easy enough to install, but removing it, or any other type of wallpaper, is a bit more involved. Though it’s not as quick as simple as peeling it off, removing old wallpaper can be an easy task that you can complete in just a few hours.
While you can certainly hire a professional for this job, it’s not always worth the cost. It might take some time, but the DIY route is the way to go.
What you’ll need
Before you get started, you’ll need the below tools to complete this project correctly.
- Wallpaper scoring tool
- Spray bottle
- Hot water
- Vinegar
- Scraper
- Sandpaper (optional)
- Tarp
- Painters tape
Protect the floor and outlets
Before you begin tearing out your old wallpaper, you need to prepare the room. Clear the work area and move any furniture or objects away from the walls. Removing wallpaper can be a bit messy, so cover the floor and any immovable objects with a tarp to protect them from falling debris. This also makes cleaning up much more manageable.
Once you’ve laid your tarps and cleared the area, remove any electrical outlet covers as there may be wallpaper underneath them that you need to remove. Tape up the components underneath the cover as well to ensure you don’t accidentally damage the outlet or electrocute yourself while scraping.

Score the wallpaper
Scoring makes it easier to peel the wallpaper from the wall by creating smaller sections to work with. If you don’t have a scoring tool on hand, you can find one at your local hardware store. We recommend scoring the walls using vertical lines from ceiling to floor spaced about a foot apart. For even smaller sections, run a few horizontal lines across the wall as well.
If you find that the sections are still too large to manage effectively, feel free to score additional ones until you find the size that works for you.
Create your spray solution
Next, it’s time to create your spray solution. Mix two parts hot water to one part vinegar in a spray bottle and shake well.
This natural, homemade solution doesn’t include any harsh or harmful chemicals, so it’s safe and easy to use. Further, you likely already have these two items in your home, so you don’t need to go shopping for expensive removal solutions.
Spray your wallpaper and begin the removal process
To begin removing the wallpaper, spray the scored areas one at a time and allow the solution to soak for five to ten minutes. The wallpaper should be damp to the touch. To check that the wallpaper has soaked long enough, rub your thumbnail over the paper and see if you can scrape some of it off. If you can, then it’s good to go! If not, just spray more of the solution and wait for five additional minutes.
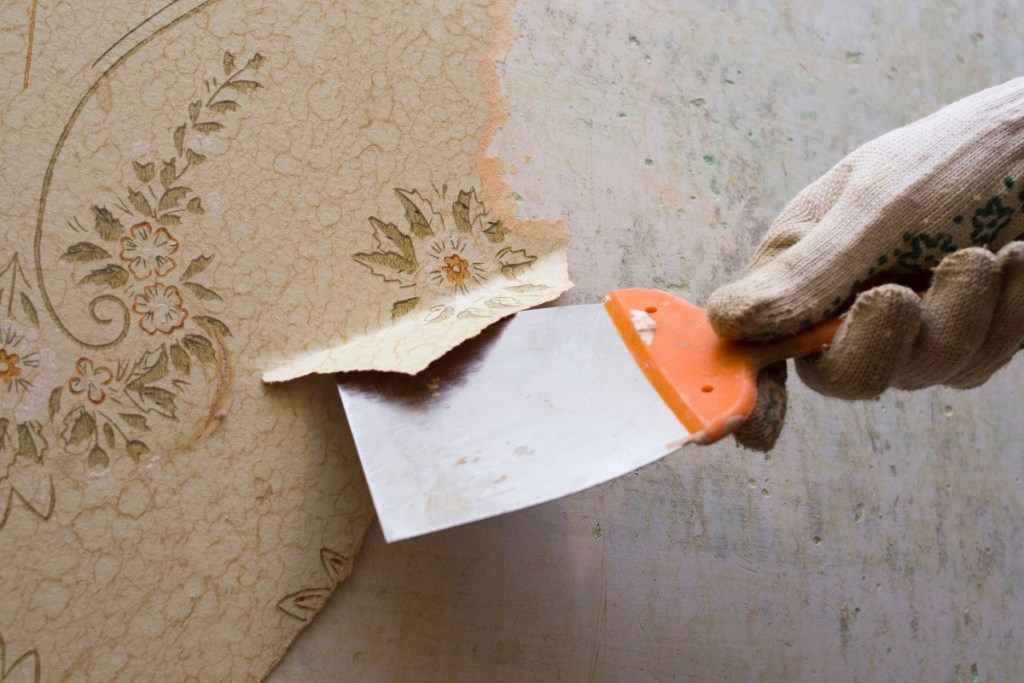
Next, use a scraper to pull off the old paper gently. Moving your scraper in vertical motions works best, but there isn’t a right or wrong way to do this. Just take your time and use long strokes to remove large areas at once. Sometimes, the wallpaper will tear off from the adhesive backing beneath, leaving sticky debris behind. In this instance, just pull off the paper and use more solution and scraping to remove that layer.
Use sandpaper for tough spots
Depending on how old the wallpaper is, you might come across tough spots that won’t budge, even with the scraper and vinegar solution. For these stubborn areas, use medium-grit sandpaper to sand down them down. Rotate between sanding and scraping until the wallpaper is fully removed.
Clean the wall when finished
There may still be sticky residue and other bits on the wall, so use a wet cloth with mild dish soap to wipe down the walls. Once it’s fully dry, run your hand along the walls to make sure it’s smooth and without any wallpaper residue. Once the wall is clean, remove the tarps and vacuum the room to clear out any lingering debris that has fallen from the wall.
Removing your old wallpaper can be time-consuming, but it’s a straightforward, inexpensive process that anyone can do. Using only vinegar, water, and a few small tools, you can remove any outdated wallpaper and remodel the room into the space of your dreams.