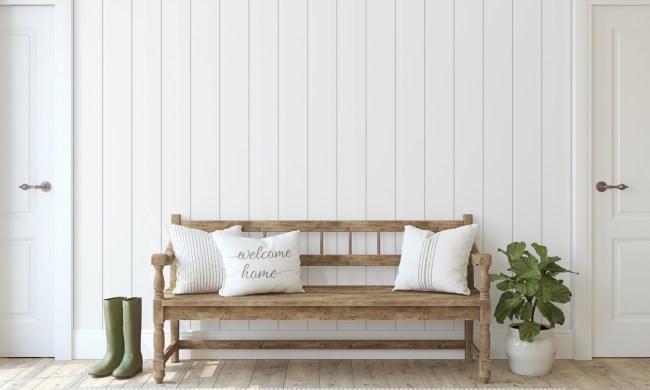
Many decorative themes, like the Western and rustic aesthetics, incorporate antique furniture as part of the overall style. However, these special pieces can get very pricey very fast. To offset the cost without sacrificing the design, you can take newer pieces of wooden furniture and distress them using paint and stain until they acquire an elegant, worn look.
The secret behind making new wood look old and look realistic is to practice restraint. Most real antique furniture isn’t so shabby that it looks like it belongs in the garbage heap. These pieces should lo0k like time has been kind to them, so keep reading to learn more about how to antique wood the right way.
You’ll need a few things
Make sure you have the following before beginning your antiquing project.
- Matte paint, chalk paint, or milk paint
- Wood stain or brown paint
- Clean rag
- Paintbrush
- Painter’s tape
- Power sander
- Sanding blocks (150-grit and 220-grit)
Time to prepare your furniture
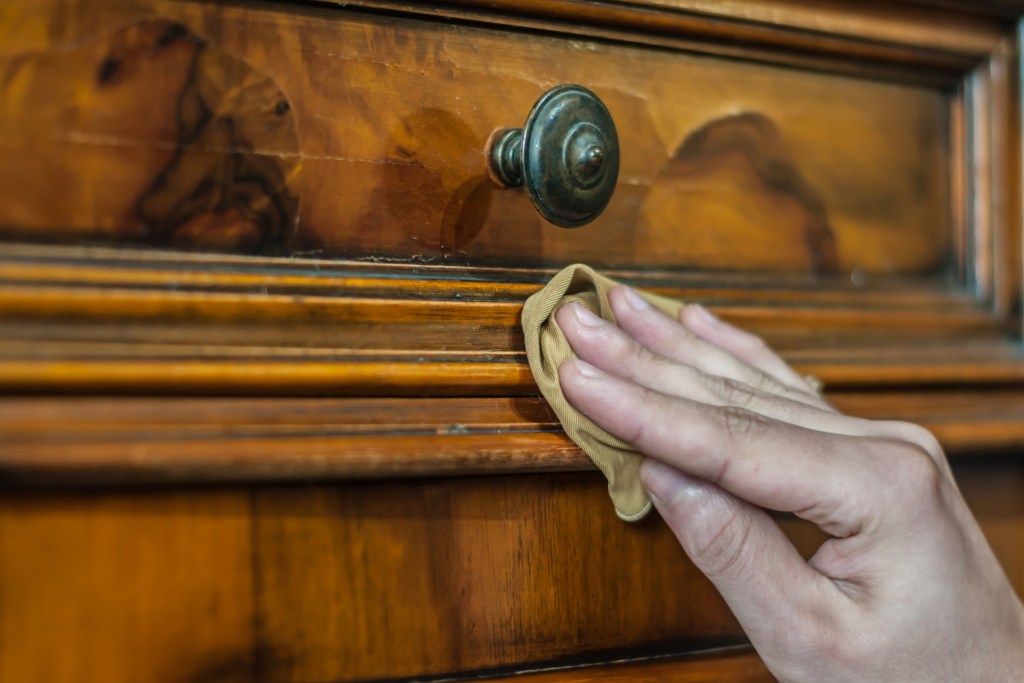
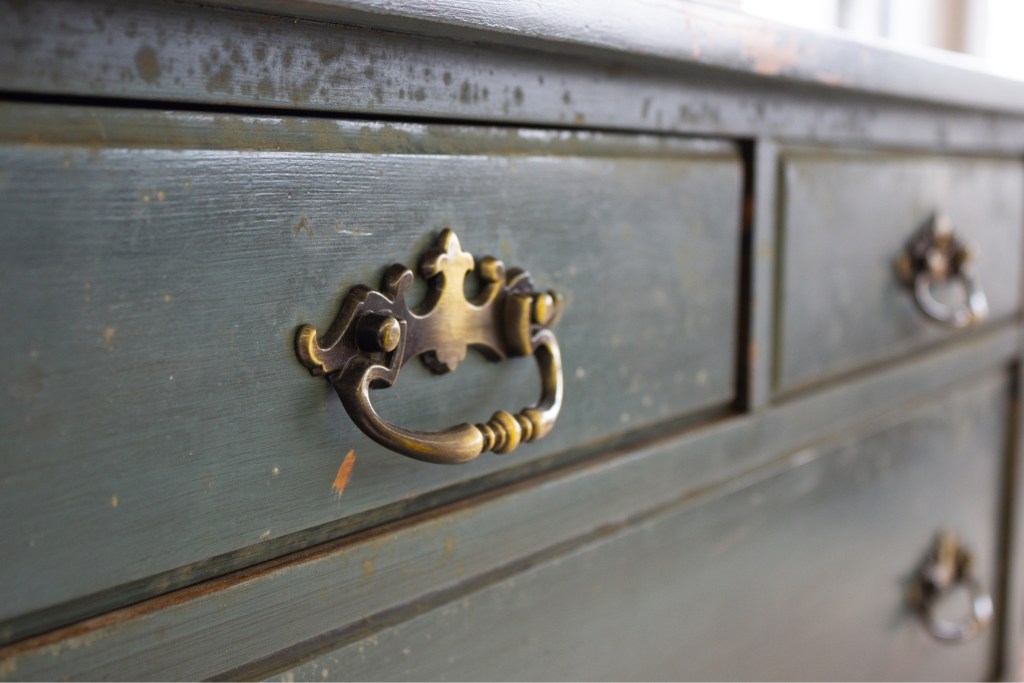
To prepare your wooden furniture, remove any handles or pulls. If these existing features look a little too sleek and modern, purchase new ones in a more classic style to pair better with your newly distressed furniture. Once that’s done, take your painter’s tape and mask off all areas that you don’t want to be painted.
Next, take a clean rag and wipe down the wood, removing any dirt or dust. Before heading to the next step, ensure that the wood is fully dry.
Sand the wood
Lightly sand the wood with a 150-grit sanding block. If there is an existing stain or paint, sand these areas until there’s none left. Pay special attention to the regions that typically see heavier wear and tear like high points and edges. Doing so can help the antiquing coloring agents to penetrate the wood fully while looking naturally worn in certain areas.
Note: Some wooden furniture pieces have been painted multiple times, so you’ll need to sand through all of them. To make sure you don’t over sand, consider having a professional “dip and strip” it before you antique it.
Begin the coloring process
Next, take dark paint, wood stain, or walnut oil and apply it to low spots and areas where the wood is exposed. To apply the coloring agent, take a clean rag and use circular motions. Don’t worry about being super precise here. This is just the base layer, and you’re going to apply another coat of paint over everything later.
Apply the main color
Once the base is dry, it’s time for the main coat. To achieve the older look, opt for paints with a matte finish or use milk or chalk paint. If you choose to use latex-based paint, apply a thin layer of primer first. Doing so will allow the latex paint to adhere to the wood better. As you paint, use a light touch t0 make the antique furniture look as realistic as possible. Once you’re done painting, allow the piece to sit for at least 24-hours before applying a second coat.
To add more depth and texture, feel free to use a slightly different shade for the second coat. This adds the illusion that the piece has gone through multiple iterations during its life as it’s been passed between owners.
Regardless of the type of paint you use, coat it one more time with a wax finish for an extra layer of protection.
Finishing up
The bulk of the work is now complete — the furniture has a base coat, two layers of paint, and a wax sealant, all set and dried for at least 24 hours. Now, it’s time to finish everything off.
The last step is actually distressing the wood. This is what truly gives the wood that vintage, antique look. Again, less is more here so go slowly and continuously stop to check your work. Using the 150-grit sanding block, buff down the edges, corners, and other regions that tend to wear the most over time. Next, take a rag and some coloring agent and lightly buff the entire piece. Finally, feel free to use a chisel and nick out tiny bits of wood for a little more character.
All in all, you’ll find yourself with a rustic, aged piece of beautiful furniture without breaking the bank for an authentic antique.