
21OAK may earn a commission when you buy through links on our site.

The best wallpaper paste for your home and room makeovers

A guide to the best wallpaper pastes on the market

Wallpaper paste
Denisproduction.com/Shutterstock

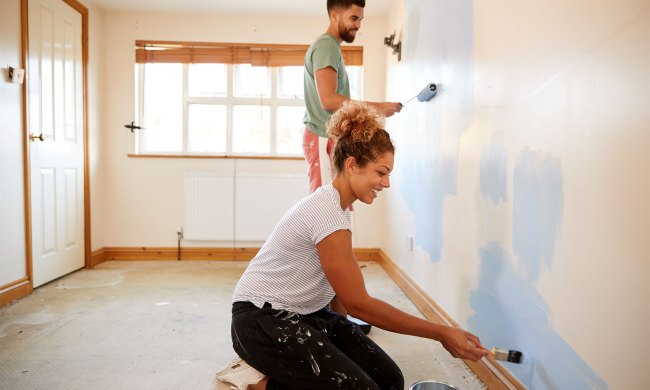
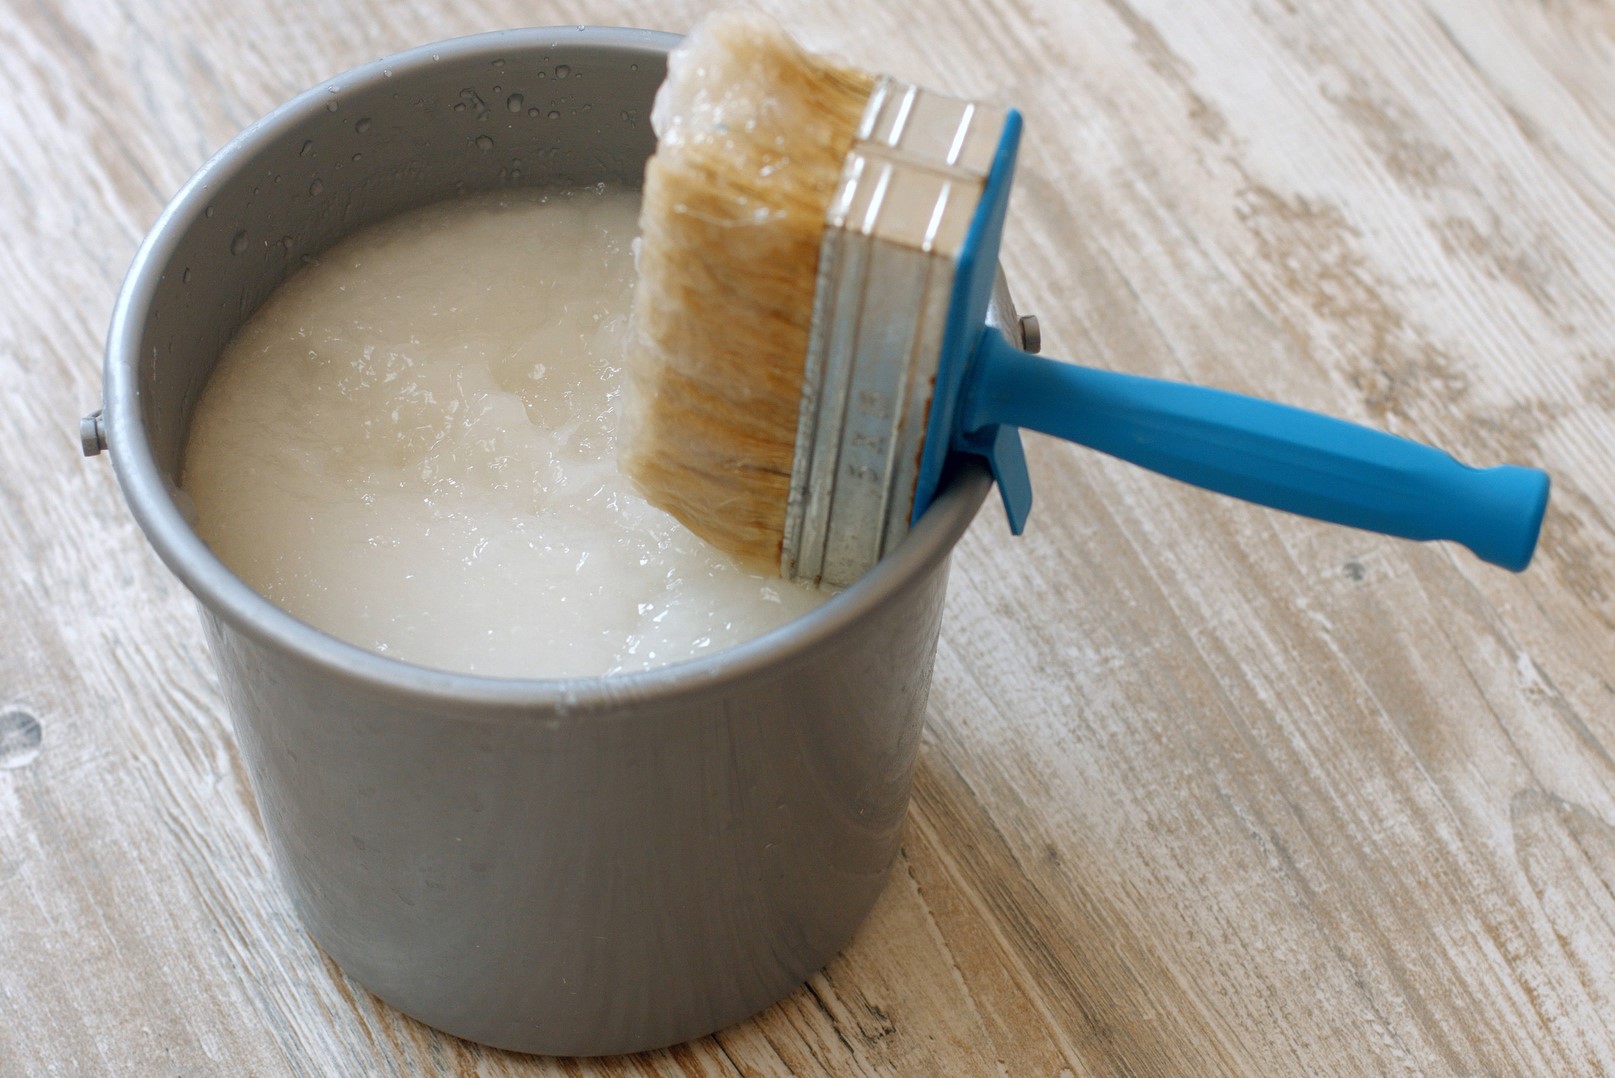
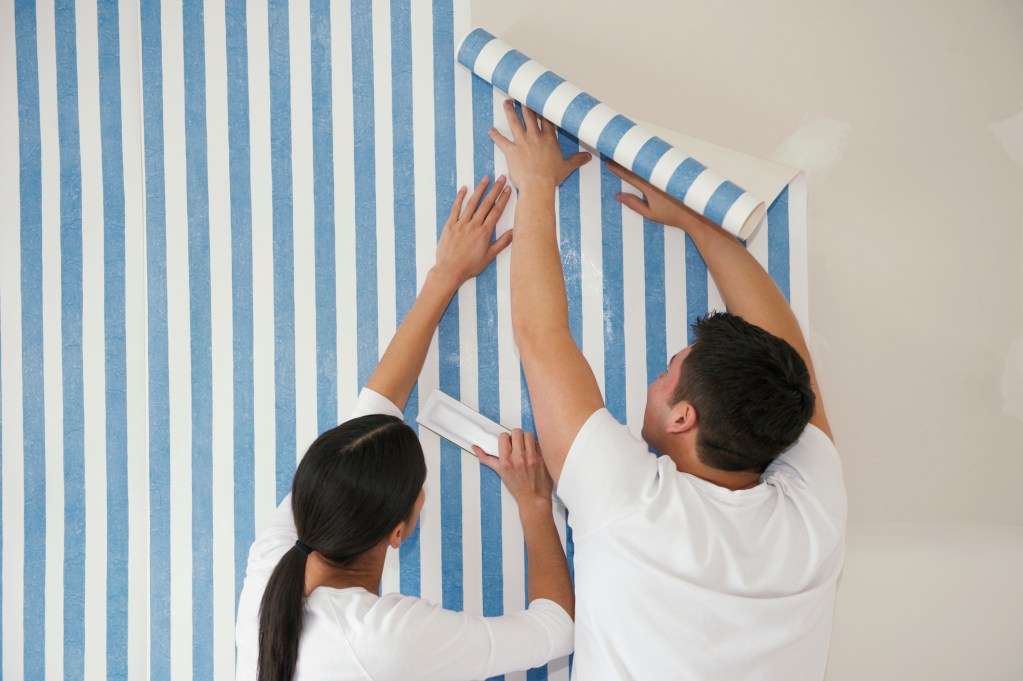
Wallpaper paste is absolutely key when adhering wall covers to surfaces in home decorating projects. With wallpaper paste, you can also stick wall murals and decals onto your accent wall more easily than with standard office glue. To save you time on researching the right wallpaper paste, we’ve reviewed the best options here so you can decide quickly.

Standard wall pastes can be applied onto the back of any light to heavy wall coverings. Stronger alternatives include commercial-grade pastes designed to be used with pasting machines. Other options include tubed pastes for repairing small spots and pastes for mounting other types of wallpaper. Take a look at our favorite wallpaper paste picks to help you find the best product for your next wall redesign.

Couple putting up wallpaper
Image used with permission by copyright holder

Roman Heavy Duty Wallpaper Adhesive

Best overall

Roman wallpaper paste
Image used with permission by copyright holder

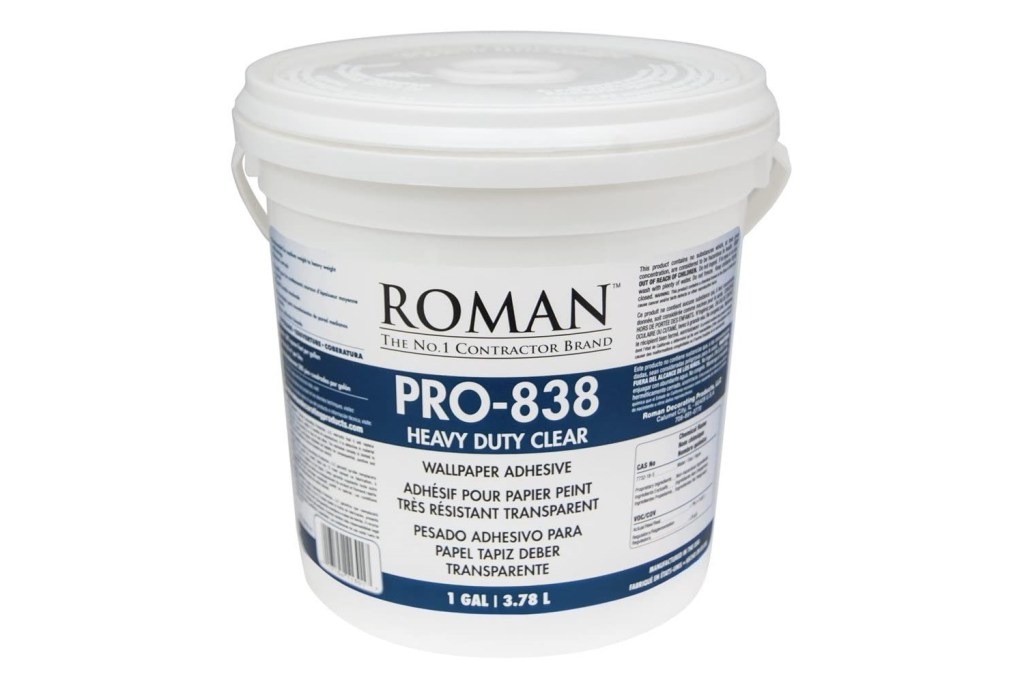
Roman’s heavy-duty paste is compatible with wallpaper machines and medium to heavy wall covering. Each container comes with a gallon of clear, extra-strength adhesive. This product is best for professional contractors who need a super-dependable adhesive.

Recommended Videos

Rust-Oleum SureGrip Strippable Wallpaper Adhesive

Best durable

Rust-Oleum SureGrip Strippable Wallpaper Adhesive
Image used with permission by copyright holder

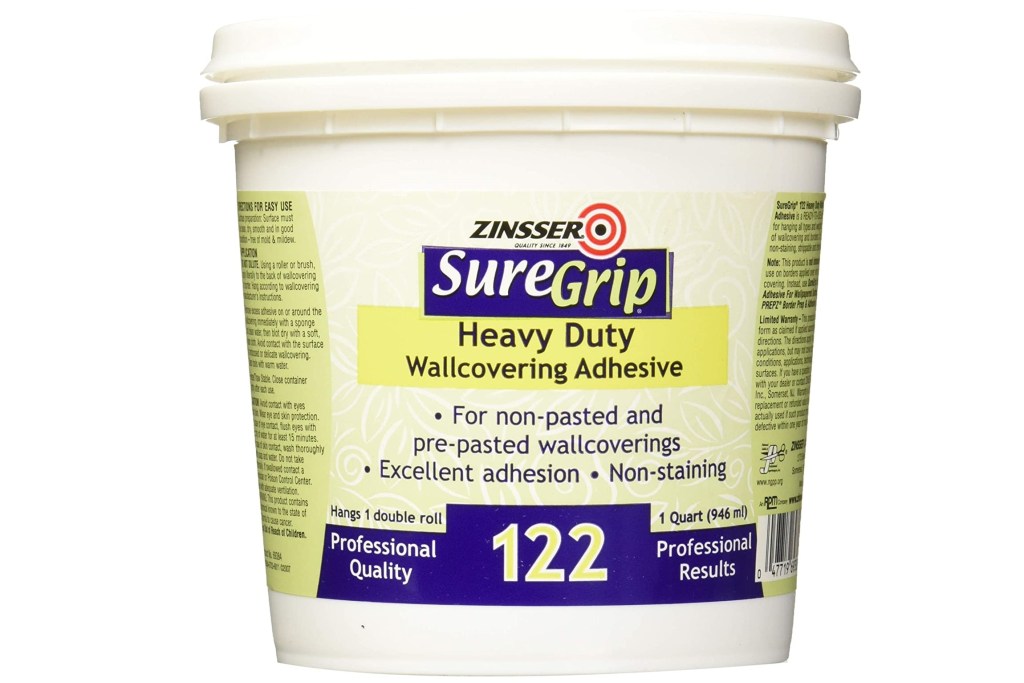
Rust-Oleum’s paper adhesive is the most durable option that can hold up even the heaviest wall covering. Each quart-size container covers up to five double rolls of standard vinyl wallpaper. Note that this paste works best on smooth, primed surfaces.

Red Devil Wallpaper Seam Repair

Best for spot repair

Red Devil Wallpaper Seam Repair
Image used with permission by copyright holder

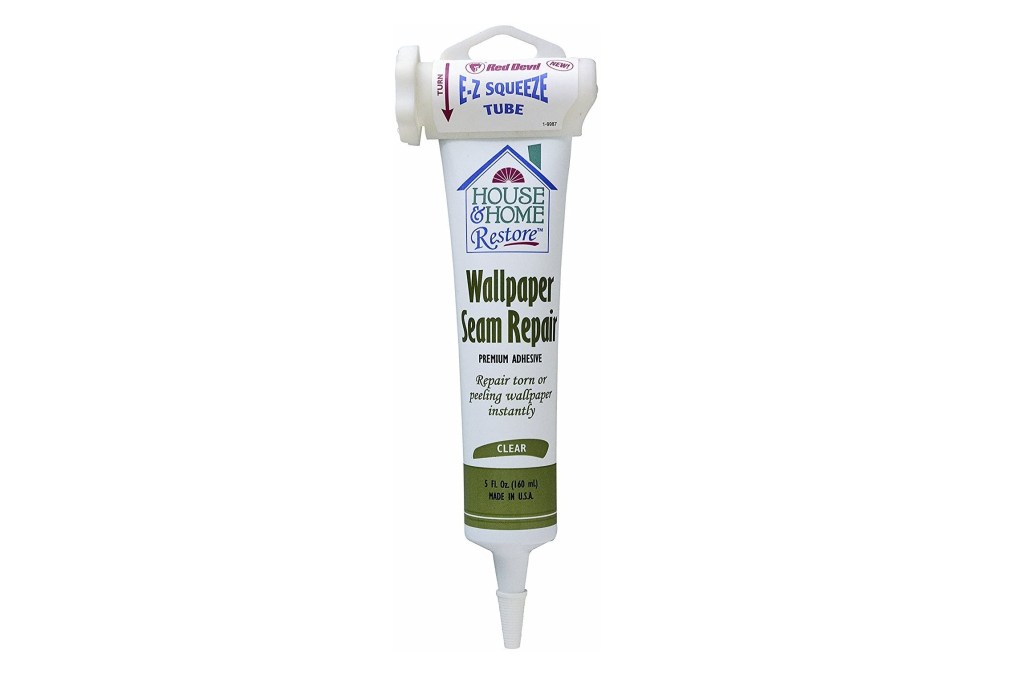
Patch up peeling corners and flaking spots with the Red Devil seam repair paste. The 5-ounce tube features an EZ squeeze design that allows for precise application. If you accidentally press too hard, simply wash off the paste with soap and water.

Wall adhesives are necessary for installing new wallpaper or repairing seams in your existing wall covering. Commercial-grade pastes are best for pasting machines and professionals, while durable options are best for DIY enthusiasts and interior design hobbyists.

When it comes to redesigning your home’s wall, whether you’re hanging up wallpapers or decals, wallpaper paste will make the task simple and maintain the quality of your decorating materials. Complete your project with any of the wallpaper paste options on our list for flawless results.

How to fix laminate countertops without calling a professional
You may not need to hire the pros to get your counters looking new
Modern kitchen with porcelain countertops

If your laminate countertops are stained, dated, cracked, or damaged, they can be an eyesore. If you want to give your kitchen or bathroom a quick DIY facelift, addressing a drab-looking countertop is a great first step. If you feel your countertop is salvageable with some DIY love, however, here's how to fix laminate countertops without calling a professional.

While some minor damage or basic refinishing can go a long way, there is a certain point where the damage should be addressed by a professional. If your countertop has major cracks or stains and damage covering a large portion of the surface, it may be a good idea to call in some help to repair or replace it entirely.
Removing stains

Read more
How to eliminate that musty ‘basement’ smell
Mold and mildew are big basement problems, but they can be solved
Finished basement with wood paneling

Do you avoid spending time in your basement because of its unpleasant odors? Whether it's finished or not, basements are typically cool, damp, and have little airflow going through them, which are all factors that contribute to its musty smell. Unfortunately, it takes more than general cleaning practices and air fresheners to rid the space of mustiness for good. Take a look at some of these tried-and-true methods for how to get rid of musty smell in basement spaces, so you can keep it smelling light, airy, and fresh.
1. Find the culprit of the musty smell

If you smell that common musty stench, the culprit is often mold or mildew. Since basements tend to be damp and have little airflow, they are common hot spots for mold and mildew growth. The first step in preventing further growth by sealing any leaky spots and inefficient drains.
Leaking windows and doors
Check your basement's exterior doors and windows for signs of moisture. Since leaks on the first floor can often drain into the basement, check the windows and doors on the main floor as well. If you find moisture around these entry points from rain or condensation, re-seal the area or call a professional to repair it.
Leaking pipes
Whether pipes are visible in your basement or not, you need to check them regularly for leaks. Examine any water and sewage pipes for signs of leaks and repair any cracks or poor seals. If plumber's tape or epoxy putty can't repair the leak, it's time to call a professional.
Dried-up drains
Basement floor drains direct water out of the home to keep the floors dry and prevent them from flooding. The stagnant water in this drain also traps bad odors emanating from the sewage system below. However, these drains can dry up from infrequent use, releasing stench into the air. If you notice smells arising near your floor drains, just pour a few cups of water into the drain to block the gases from escaping.
2. Clean up the basement

Read more
Sanded vs. unsanded grout: How to know which one to use
Make sure you use the right materials for your tile project
Hand applying grout to glass tile.

Choosing the right grout for your tiling project can significantly impact both the aesthetic and durability of your work. The debate of sanded vs. unsanded grout is a common one among DIY regrouting enthusiasts and professionals alike. That's why we are going to explore the differences between these two types of grout, discuss the best applications for each, and provide tips on care and cost considerations.
Sanded vs. unsanded grout: What's the difference?

Sanded grout is composed of a cement-based mix that includes sand particles. The addition of sand helps make the grout more durable and less prone to shrinking, since the sand particles in the grout provide additional strength, making it less likely to crack over time.

Read more