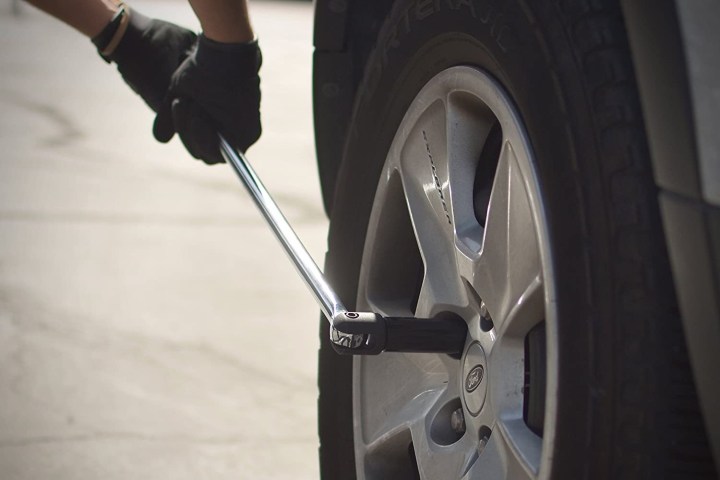
Why struggle with a tightly screwed bolt when you can easily loosen it with a little help from a breaker bar? Add this essential tool to your arsenal and make sure that no bolt is ever too challenging for you. With a breaker bar, you can make repairs and home-improvement projects an easy task.
When your own strength and tricks prove to be inefficient, you need the smart engineering of a breaker bar to give your sore arms a break. These functional tools make it easy to loosen and remove tight bolts that could break if you try to force them with the wrong device. Let’s take a look at our favorites.
Capri Tools Breaker Bar
Best overall
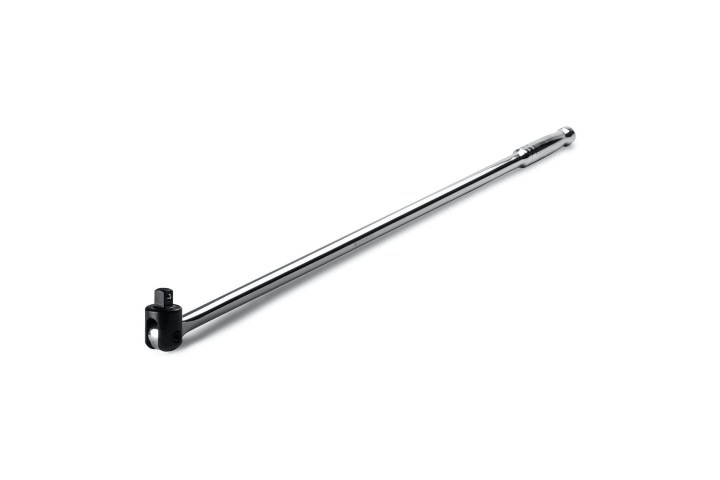
With 30 inches of extended length and a 1/2-inch drive, the Capri Tools Breaker Bar gives you the extra leverage you need to make your job easier. It features a chrome vanadium body and chrome molybdenum head to give you maximum strength and durability. The pivoting head with a rotation of 230 degrees gives you the range of movement that you need to get the job done.
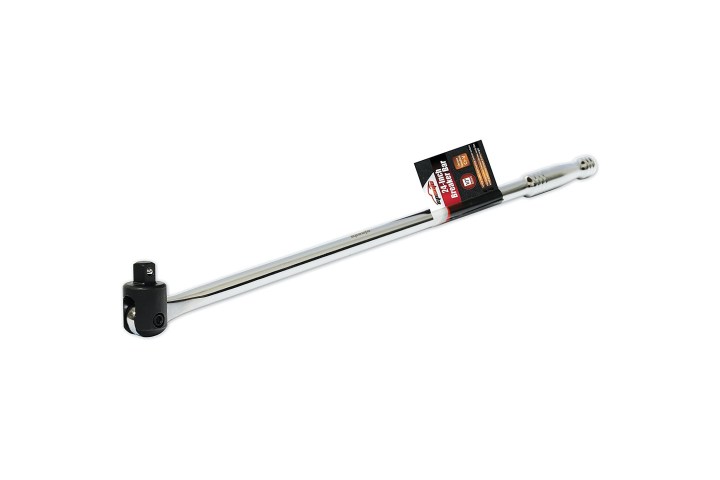
Neiko 1/2 Inch Drive Premium Breaker Bar
Best durable breaker bar
The Neiko 1/2 Inch Drive Premium Breaker Bar is made with forged and heat-treated chrome for superior strength and durability. Its 180-degree flexible head gives you the optimized leverage to work at any angle, so you can securely break and loosen nuts and bolts.
EPAuto Breaker Bar
Best value breaker bar
Durability and affordability meet with the EPAuto Breaker Bar. At a reasonable price point, this tool offers the great durability of chrome vanadium steel alloy. It is corrosion-resistant and provides 180-degree flexibility with spring-loaded ball bearing sockets.
When bolt removal gets tough, you need the right tool to get the job done. The breaker bars on our list offer toughness and gravity to loosen those challenging nuts and bolts that would otherwise be stuck forever. Enjoy the durability and leverage that a quality breaker bar from our list offers.