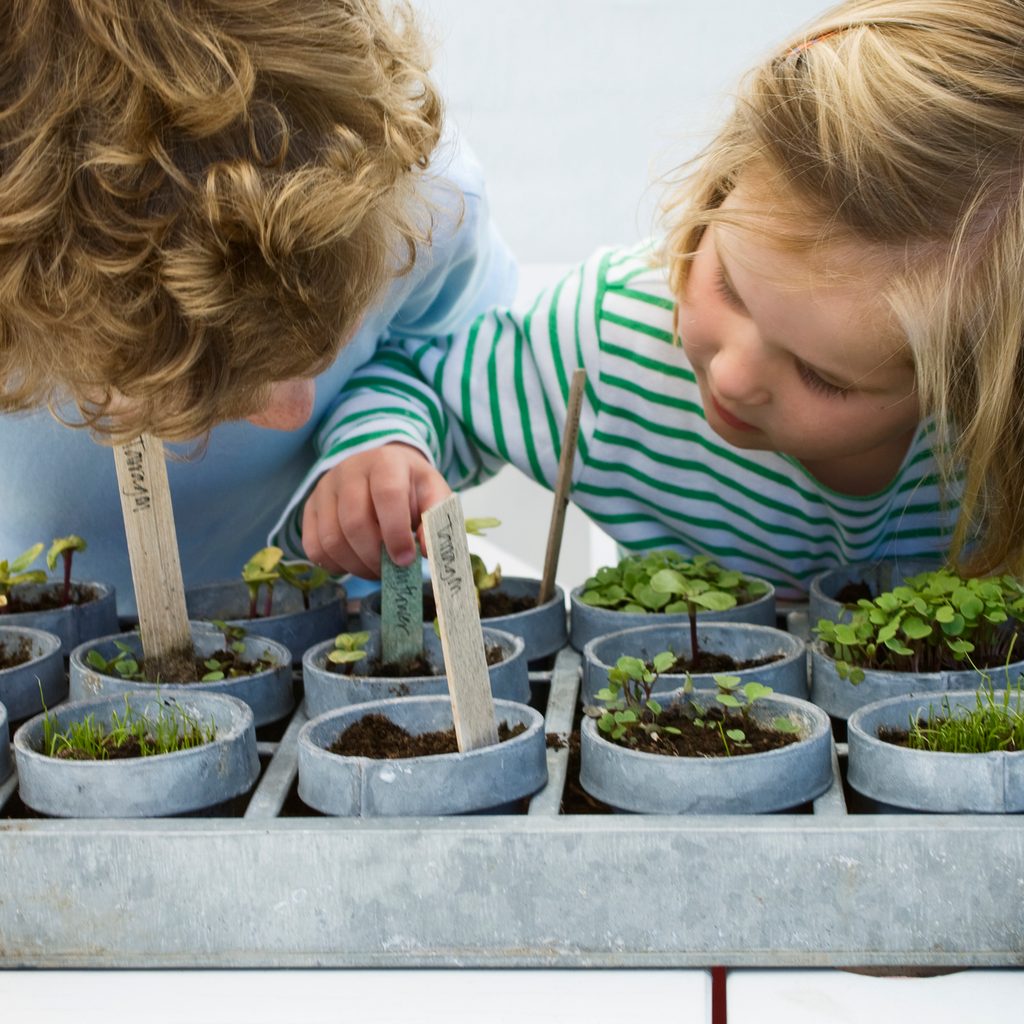
You’ve been tenderly caring for your precious indoor seedlings since the day you placed them into the pots. Watching those first leaves pop up out of the soil was such a rewarding experience, and, now that your tiny plants are even bigger and stronger, it’s time to transplant them into your garden. This process is a vulnerable time for new plants, so read on to learn more about how to properly transplant your seed starters from their pots and into your garden’s soil. In no time, you’ll be tending to the healthiest and most fruitful plants possible.
What’s “hardening off” and how do you do it?
Your seedlings have been living their best life growing indoors in controlled conditions. They haven’t experienced many variations in temperature, moisture, or other climate variables, so suddenly moving outdoors may be dangerous for them. By hardening off your newly sprouted plants, you encourage them to toughen up gradually to reduce the risk of shock and help them acclimate to the new conditions.
How to harden off your plants
- Check the weather forecast for upcoming heat waves, frost, chilly weather, or hard rain, as these are not ideal conditions for hardening off your plants. Look for a stretch of days with mild temperatures, a low chance of rain, and overcast or slightly cloudy skies. This way, they can ease into outdoor life without navigating inclement conditions.
- Make sure your seedlings are watered generously for several days prior to hardening off.
- Place seedlings outdoors in a spot that’s relatively protected from direct sunlight and wind. Keep them outdoors for only a few hours on the first day before bringing them inside.
- For the next several days, leave them outdoors in steadily increasing increments of time and with gradually more exposure to sun and wind.
Steps for transplanting plants outside
Once your seedlings are stronger and more resilient to the outdoor climate, it’s time to start transplanting them into your garden’s soil. To ensure the most successful transition for your plants, follow the steps below.
Prepare your outdoor soil before you transplant
- Weed the area thoroughly. Give your seedlings the best chance they can have by removing aggressive weeds that will either choke your baby plants or soak up the soil’s beneficial nutrients.
- Till and loosen the soil. This will encourage your seedlings’ roots to grow freely.
- Be sure the soil has adequate drainage. The presence of organic materials like mulch, rocks, or wood helps the soil drain properly and prevents root rot down the road.
- Apply an organic fertilizer or compost to boost the soil’s nutrients. If last year’s soil is still in your garden, it has likely lost much of its nutrients by now. We recommend fertilizing several days prior to transplanting so that your plants aren’t burned by the strong presence of the fertilizing materials.
- Water the soil lightly. Soak the fertilizer and allow it to penetrate deep within the soil where it will be most beneficial.
The transplanting process
- Keep your seedlings’ full-plant size in mind. Overcrowded plants may not get the nutrients, airflow, or sunlight they need to flourish. Note how large each plant will be, and space them accordingly.
- Dig holes for your seedlings that are just a bit deeper than their root systems. This will ensure the entire ball of roots gets covered with soil and is protected from the scorching sun.
- Remove the seedling from its container. Gently tip the plant to the side and squeeze the sides of the container. The plant should easily slip out of the pot and into your hand.
- Place the seedling into the ground. Fill in the gaps with soil, covering the top of the root system.
- Gently pat the soil around the plant. Don’t over-pack the soil as you want it to be loose enough for proper water circulation and airflow. Avoid stepping on the soil for this reason as well.
Caring for your seedlings after you transplant
- Water your newly transplanted seedlings generously as soon as they’re in the ground to help the soil settle around the roots and the fertilizer to reach the root system.
- Keep the soil damp for a few weeks. Be sure not to overwater — excess water can damage your plants and cause root rot.
- Add mulch to your garden. Mulch is great for water retention, weed and temperature control, and fertilization. Lay mulch everywhere except directly against the plants’ stems so you don’t inhibit their growth.
- Protect your seedlings from harsh weather. Use tarps, cloches, or sheets to cover the plants if a late frost is on its way. Set up a shading structure if hot, sunny days are on the horizon.
Give your plants the best chance for a long and healthy life by transplanting them carefully and protecting them from shock. By following the steps we’ve listed, your seedlings will grow strong and flourish all season long.


