Painting is the easiest way to transform any room in your home. A simple coat of paint is all it takes to make a drab space become a vibrant, bright room that everyone will love hanging out in. However, when it comes to actually getting the painting job done, there are some preparation steps that you need to consider. So, should you sand or prime before painting?
Painting requires a bit of prep work, regardless of what condition your walls are in. Walls with holes and dents may take longer to prep than walls that just need a coat of paint. Additionally, you may need to consider sanding, priming, and other prepping methods that’ll help your painting project go smoothly and ultimately result in a stunning, finished look.
So, here’s everything you need to know about prepping your walls and deciding if you should sand or prime them before painting. We have the tips you’ll need to create an outstanding paint job.
First things first, dust your walls

The very first step before you add anything to your walls is to give them a good dusting. Your walls are actually more dusty than you may think, especially in corner areas. It is important to dust away any dirt, hair, grime, and more in order to create a clean surface for the next steps.
You can use a damp cloth or duster to wash walls before painting and rid them dirt. This way, when you begin to paint, you don’t have to worry about dust and dirt getting mixed into your paint and ultimately sticking to your walls.
Touch up wall blemishes with spackling
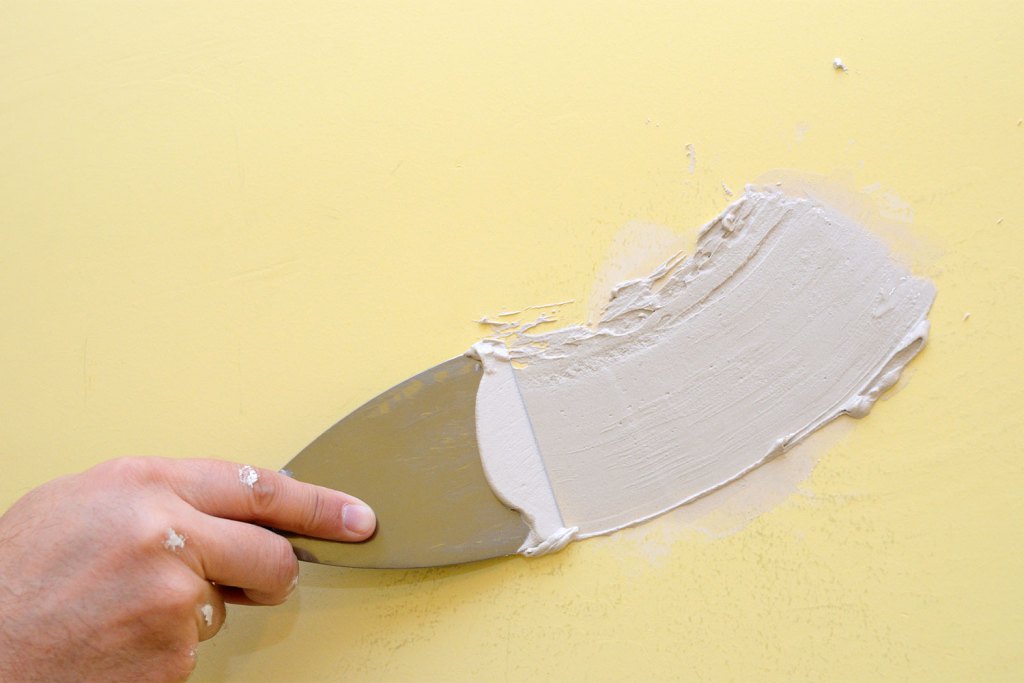
If your walls have dents, cracks, or holes, then it is important to seal up any open crevices before beginning the painting process. Paint cannot fill in these spaces due to its thin texture, so painting over them will just leave them exposed and can sometimes even accentuate them.
You can easily and quickly fill in holes and cracks with spackle. Spackle is a type of paste that you can smooth over holes and cracks, filling them in and ensuring that they are sealed.
True Value states, “Spackling paste or spackling compound is made of gypsum powder and binders and is used to patch small holes, cracks and other imperfections like dents in drywall, plaster walls, and sometimes in wood.” This way, when you start painting, the final look will result in a smooth, clean wall.
Most spackles these days can dry within 10 minutes, so they won’t set you back on schedule if there is a last-minute hole that you need to fill in. Some are designed to change color from pink to white, so you know when it is dry and safe to sand down. It is important to sand the wall after spackling in order to ensure a flat and smooth surface for your paint.
Now it’s time to begin priming

Primers are designed to help cover up the previous color on a wall. They are used before the actual paint color to create a blank, neutral surface, so your chosen paint color can be vibrant and bright. Priming is a must for dark or bright colors and is suggested for all others. If you are trying to paint over a black wall or a bright red wall, for example, a primer is needed. The primer will quickly and easily cover the existing color, making it a neutral white so that your new color can be displayed at its best and brightest.
Today, many paint companies design paint with a built-in primer. This is another great option for any wall painting job. The built-in primer can save you time and money because you don’t have to wait for the primer to dry before you start painting. This is recommended for any painting project, even if you are just painting over pale walls. It will ensure a solid, clean look that will last year after year. Besides, the paint might form bubbles after a primer-free application, and you don’t want that.
Spectrum Paint advises, “Discuss your project with your local paint expert in order to create a professional, long-lasting result.”
Sand your walls if necessary
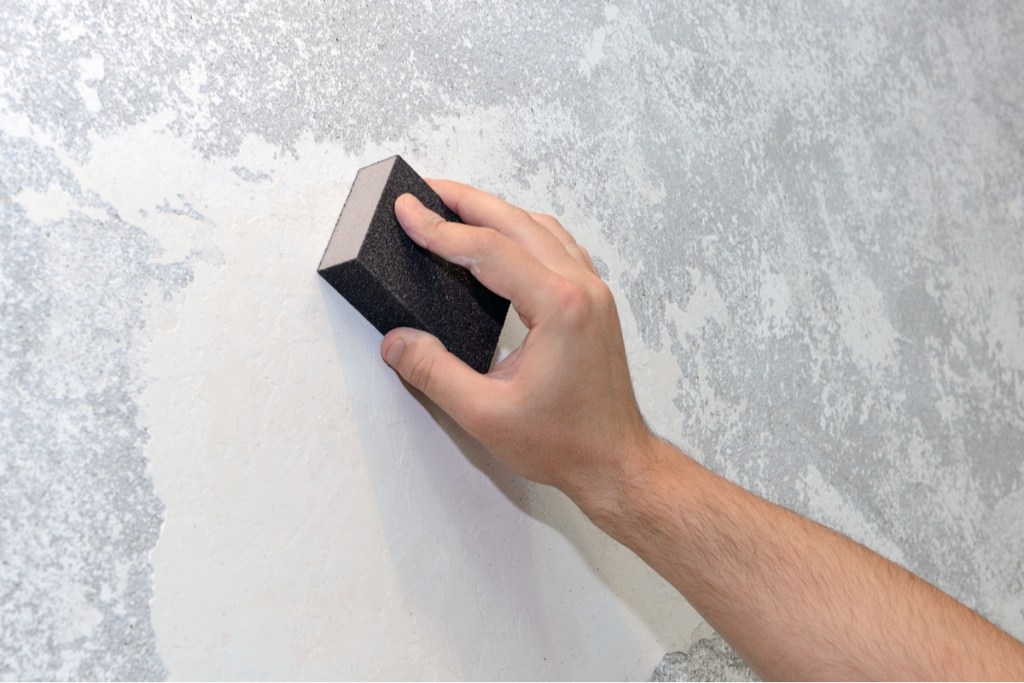
The final step before painting is to sand down the walls. This is a must if you have used spackle or regular primer on your walls before painting. Sanding your walls will help ensure a flat, even, and smooth surface for your paint to go on. It will help you achieve a high-quality and clean final result.
- It’s important to use a lower-grade sanding material since primer and spackle can be sanded off fairly easily.
- Use sanding sponges or sanding paper for a quick and simple sanding process that will leave you with stunning results.
Should you sand before or after primer?

The truth is, it depends. If you’re working with a rough or uneven surface prior to priming, it can be a good idea to sand down walls before adding a coat of primer. This can make post-primer sanding much easier and will ensure you get an even amount of primer coverage, which is essential if you’re painting over an existing dark wall color.
However, most professional painters advise sanding after primer. This is the most common time to sand, as it will give you a smooth surface when it comes time to paint. So, while you can sand before adding primer, you should always sand after primer, no matter your situation.
How long after priming can I paint?

You can generally start painting 1 to 24 hours after applying primer, depending on the type of primer and environmental conditions. Most latex primers dry to the touch within 30 minutes to an hour but need at least 3 hours to fully cure before painting. Oil-based primers take longer, typically drying in 1 to 4 hours, with a recommended wait of 24 hours for best results. Always check the primer’s instructions and ensure it’s dry to the touch before applying paint for a smooth, even finish.
When it comes to painting any wall in your home, there are a few key steps that need to be taken. The steps you take to paint a room will help you achieve a high-quality color on your walls. It is important to assess the condition of each wall and spackle in any holes, cracks, or dents. When it comes to primer or no primer, it is important to take into consideration the current color of the room. If the color is particularly dark or bright, then a primer is your best bet for ensuring your new color really pops. Use these tips and techniques to make your next painting experience a more smooth, so you can have a result that you will love.