
How to repair drywall holes in less than an hour

Holes and dents in your drywall are just about unavoidable since the inexpensive material isn’t very durable. The goods news, however, is that these damages are super easy to fix. In just an hour, you can repair these minor holes and dents whether they arose from unstable nails, errant door handles, or even furniture moves gone wrong. With the steps below, you can repair any cosmetic blemishes, and the whole process shouldn’t take more than an hour of your time.

Sergiy1975 / Shutterstock

How to repair drywall: small holes, cracks, and dents

If that heavy picture pulled your screw through the drywall or years of old nail holes are starting to build up, give them a quick touch-up using just a few, inexpensive tools.

Recommended Videos

What you’ll need:

  • Quick-drying spackle
  • Putty knife
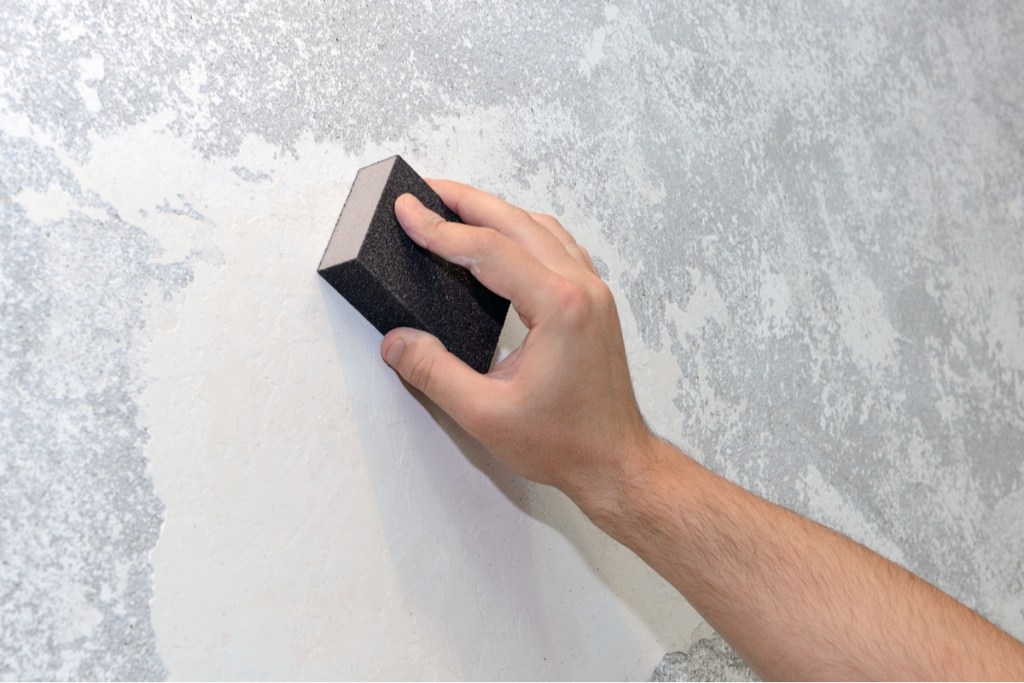
  • Sandpaper with a fine grit

How to repair:

  1. Fill the hole or crack with quick-drying spackle using a putty knife.
  2. Allow the spackle to dry for the amount of time recommended by the manufacturer.
  3. Once dried, lightly sand the area with your sandpaper to make it flush with the rest of the wall.
  4. Proceed to prime and paint the repaired area.

How to repair drywall: medium-sized holes

For holes that are under four inches in diameter but too large to fill with spackle, use a drywall repair kit. These kits typically include all of the tools you’ll need to complete the repair on your own.

What you’ll need:

  • Mesh covering with adhesive
  • Drywall spackle
  • Drywall knife
  • Sandpaper

How to repair:

  1. Apply the mesh covering over the hole completely so that it overlaps onto the wall by about one inch on all sides.
  2. Use a drywall knife to apply the spackle over the mesh, covering it completely. Be sure to apply the spackle as thinly as possible on the undamaged portions of drywall to prevent bulging.
  3. Allow the spackling compound to dry for the recommended time.
  4. Use sandpaper to lightly sand down and smooth the entire spackled area.
  5. Proceed to prime and paint the repaired area.
SJ Duran / Shutterstock

How to repair drywall: large holes

For larger holes in your drywall that are bigger than four inches in diameter, you won’t be able to use putty or spackle to repair them. When repairing larger drywall holes, you’ll likely need to cut out some of the existing drywall. For this step, be cautious and avoid cutting any wires that run behind the walls. Typically, wires are attached to studs, so if the drywall hole is near a stud, call a professional for help.

What you’ll need:

  • Piece of drywall larger than the hole itself
  • Drywall saw
  • Pencil
  • Wood furring strip
  • Electrical drill and screws
  • Drywall tape
  • Joint compound or spackle
  • Drywall knife
  • Sandpaper

How to repair:

  1. Hold your new piece of drywall over the damaged area and use a pencil to trace its edges onto the wall.
  2. Use a drywall saw to carefully cut out the damaged piece, following the pencil marks.
  3. Hold the wood furring strip vertically in the center of the hole, making sure the top and bottom of the strip extend a few inches behind the edges of the hole.
  4. Use an electric drill to put screws through the drywall on the top and bottom of the hole. The screws should burrow beneath the surface level of the drywall so they aren’t visible once the repair is completed.
  5. Place the drywall piece into the hole and drill it into the furring strip.
  6. Apply drywall tape on all four borders of the new drywall patch, overlapping both the old and new drywall.
  7. Use a drywall knife to apply joint compound or spackle over the entire patch as well as the drywall tape.
  8. Allow the joint compound to dry for the recommended amount of time.
  9. Once dried, sand down the patch to make it smooth and flush with the rest of the wall.
  10. Proceed to prime and paint the repaired area.

When a hole in your drywall appears, it doesn’t have to cost you a fortune to repair, and a DIY fix doesn’t need to take all day. Regardless of the size of the damage, you can flex your DIY muscles to fix it in as little as an hour, leaving your wall looking as good as new.

Veronica Sparks
Veronica Sparks is a writer from Milwaukee, Wisconsin who loves writing about gardening, home décor, and DIY life. She’s…
How to fix laminate countertops without calling a professional
You may not need to hire the pros to get your counters looking new
Modern kitchen with porcelain countertops

If your laminate countertops are stained, dated, cracked, or damaged, they can be an eyesore. If you want to give your kitchen or bathroom a quick DIY facelift, addressing a drab-looking countertop is a great first step. If you feel your countertop is salvageable with some DIY love, however, here's how to fix laminate countertops without calling a professional.

While some minor damage or basic refinishing can go a long way, there is a certain point where the damage should be addressed by a professional. If your countertop has major cracks or stains and damage covering a large portion of the surface, it may be a good idea to call in some help to repair or replace it entirely.
Removing stains

Read more
How to eliminate that musty ‘basement’ smell
Mold and mildew are big basement problems, but they can be solved
Finished basement with wood paneling

Do you avoid spending time in your basement because of its unpleasant odors? Whether it's finished or not, basements are typically cool, damp, and have little airflow going through them, which are all factors that contribute to its musty smell. Unfortunately, it takes more than general cleaning practices and air fresheners to rid the space of mustiness for good. Take a look at some of these tried-and-true methods for how to get rid of musty smell in basement spaces, so you can keep it smelling light, airy, and fresh.
1. Find the culprit of the musty smell

If you smell that common musty stench, the culprit is often mold or mildew. Since basements tend to be damp and have little airflow, they are common hot spots for mold and mildew growth. The first step in preventing further growth by sealing any leaky spots and inefficient drains.
Leaking windows and doors
Check your basement's exterior doors and windows for signs of moisture. Since leaks on the first floor can often drain into the basement, check the windows and doors on the main floor as well. If you find moisture around these entry points from rain or condensation, re-seal the area or call a professional to repair it.
Leaking pipes
Whether pipes are visible in your basement or not, you need to check them regularly for leaks. Examine any water and sewage pipes for signs of leaks and repair any cracks or poor seals. If plumber's tape or epoxy putty can't repair the leak, it's time to call a professional.
Dried-up drains
Basement floor drains direct water out of the home to keep the floors dry and prevent them from flooding. The stagnant water in this drain also traps bad odors emanating from the sewage system below. However, these drains can dry up from infrequent use, releasing stench into the air. If you notice smells arising near your floor drains, just pour a few cups of water into the drain to block the gases from escaping.
2. Clean up the basement

Read more
Sanded vs. unsanded grout: How to know which one to use
Make sure you use the right materials for your tile project
Hand applying grout to glass tile.

Choosing the right grout for your tiling project can significantly impact both the aesthetic and durability of your work. The debate of sanded vs. unsanded grout is a common one among DIY regrouting enthusiasts and professionals alike. That's why we are going to explore the differences between these two types of grout, discuss the best applications for each, and provide tips on care and cost considerations.
Sanded vs. unsanded grout: What's the difference?

Sanded grout is composed of a cement-based mix that includes sand particles. The addition of sand helps make the grout more durable and less prone to shrinking, since the sand particles in the grout provide additional strength, making it less likely to crack over time.

Read more