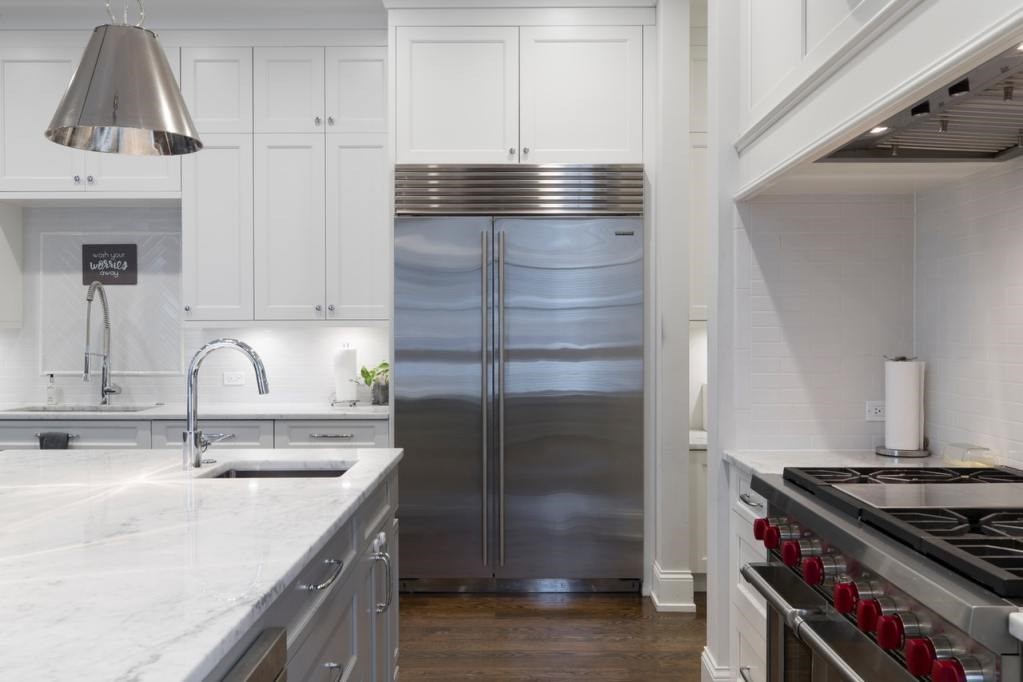
A broken refrigerator light is annoying when all you want is the best and most convenient functionality in your kitchen. Before you start to panic or call for maintenance, you may find that you can repair the issue in your refrigerator yourself. Luckily, you can do a few simple things that may solve the problem easily without the help of a pricy professional. If your fridge light is not working, try these quick fixes first.

Examine the lightbulb
The most common cause of light failure in your refrigerator is, of course, a burnt-out lightbulb. Before you purchase a new one, though, there’s an easy way to figure out if the bulb is the issue. Reach into your fridge and gently unscrew the lightbulb from the socket. When incandescent bulbs burn out, the filament inside the bulb breaks into pieces. If you give your lightbulb a gentle shake, you should be able to hear the familiar jingle of the broken filament.
If you determine that the lightbulb in your refrigerator has burned out, purchase a new one on Amazon, a home goods store, or at your local hardware store to replace it.
Examine the lightbulb’s socket
A less common issue when it comes to a malfunctioning refrigerator light is the condition of the lightbulb socket. The socket can get grimy over time from dust, condensation, or kitchen messes and may eventually need a good cleaning.
Step 1: It is important to put your safety first when dealing with electrical components, so before you begin digging around in the light socket, be sure the refrigerator is unplugged and no electrical currents can shock you.
Step 2: Take a peek in the socket with a flashlight to appraise its condition. If you see gray or black grime, it may be blocking the electrical current and preventing it from reaching the lightbulb efficiently.
Step 3: Take a damp cloth, dab it with a bit of dish soap to break apart the grime, and gently wipe the socket clean.
Step 4: Allow the socket to dry completely before plugging the refrigerator back in and replacing the bulb.

Examine the door switch
Since the door switch activates your refrigerator’s lightbulb, the issue may be with the switch itself. Sometimes the issue is simply that the switch has gotten too grimy to perform its function, and it needs a good wipe down. Other times the switch needs to be completely replaced due to a break or malfunction.
Step 1: Locate the switch on the hood of the inside of your refrigerator and then push and pump it a few times to see if the light activates.
Step 2: If you notice some dirt and grime on it, get a clean towel damp and sudsy and give the switch a good clean.
Step 3: If the switch looks clean, but the light still won’t come on, it may be time to replace it. On many refrigerator models, these switches can be easily removed with a screwdriver or a knife, and the part can be ordered directly from the manufacturer.

Check for power issues
Can a fridge work without a light? Yes, it can. But neither the fridge nor the light can work without power. If you determine that your lightbulb is functional and the socket is in good shape, your refrigerator issue may be a more complex one. There may be a faulty mechanism that is preventing power from reaching your bulb. Let’s take a look at some of the possible culprits.
Power cord damage
While it may seem obvious, you’ll want to check to be sure the refrigerator is plugged in completely to the outlet. Sometimes even these hefty plugs can get knocked loose, and you can plug them back in for a simple solution. If the plug is firmly in place in the outlet, check for fraying or damage on the plug and along the power cord. If you find such damage, you may need to call a professional to replace it.
Blown fuse
It will be beneficial to check the outlets and other kitchen appliances around your refrigerator to be sure they are fully powered. If you notice other failing units, check your circuit breaker box to see if you’ve blown a fuse in the kitchen.

Faulty outlet
If you’ve confirmed that no power is coming to your refrigerator, the cord is intact, and the fuse has not blown, it’s time to check the power outlet that the refrigerator is plugged into. Power outlets don’t necessarily last forever, and the wiring within them may be faulty or damaged. In this instance, you will likely need to enlist the help of an electrician to repair or replace the outlet.
To see if your outlet is functioning properly, you can use a circuit tester, also known as an outlet tester, to determine if power is adequately flowing from the outlet.
If you’re up before the sun, or even if you love that occasional midnight snack time, a broken refrigerator light can be a bit of a nuisance. It may not seem like the end of the world, but waiting to fix the issue may lead to bigger problems with electrical issues or damaged parts. Addressing the problem immediately could save you some headaches in the future. Save your sanity by enlisting the help of these quick kitchen appliance fixes so that you can get your refrigerator fully operational once more.


