Autumn is a beautiful season full of gorgeous landscapes and cute knit sweaters. It’s also a season that gives your pocketbook a break when it comes to your home’s energy bill since you’re in that sweet spot between running your cooling system on high and turning on the heat. Take advantage of this time to prepare your home for the coming cold so that it’s as energy efficient as possible when winter rolls around. Snowfalls and freezing temperatures are around the corner, but your heating bill doesn’t have to skyrocket. Do these ten tasks to prepare your home for winter and soften the blow of those steep energy bills.
Inspect and repair your furnace
Your furnace hasn’t been used for many months, so give it a once over to be sure it’s in good working condition. You don’t want to learn that your heating system is broken during the first freezing day of the year.
Replacing the furnace filters on your own is a great first step, but we recommend also calling in a professional to thoroughly inspect the furnace, give it a tune-up, and make any necessary repairs to make it more energy-efficient. Nothing puts dollar signs on your heating bill like a furnace that’s not properly operating.
Insulate your water heater and hot water pipes
As your water warms and travels through the pipes, heat can escape during its journey, causing your water heater to work harder and use more energy. Insulate your water heater by wrapping it in a heat-safe blanket that you can purchase at your local hardware store. Wrap your pipes with special pipe-insulating sleeves made of rubber foam to keep the water in the pipes nice and hot.
Insulate your attic
Heat rises, so if your attic is poorly insulated, the heat in your home will easily escape, and your energy bill will certainly show it. Before the temperature drops too low, check your attic for drafts and cool air coming through the walls. If you feel significant drafts, install some insulating foam to keep the warm air inside.
Check your windows and doors for drafts
Heat also tends to escape through poorly insulated windows and doors. Even if they’re closed, gaps and cracks in the panes and moldings release that much-needed heat. Feel around your windows and outside doors for drafts and locate any areas that need extra insulation. Caulk any gaps, both inside and outside, to prevent warm air from slipping away.
Install storm windows
If you don’t already have storm windows, fall is the time to install them. Storm windows provide an extra layer of insulation to prevent your heat from escaping. This project is easy to do on your own and doesn’t necessarily require help from a professional unless you have especially large or custom windows.
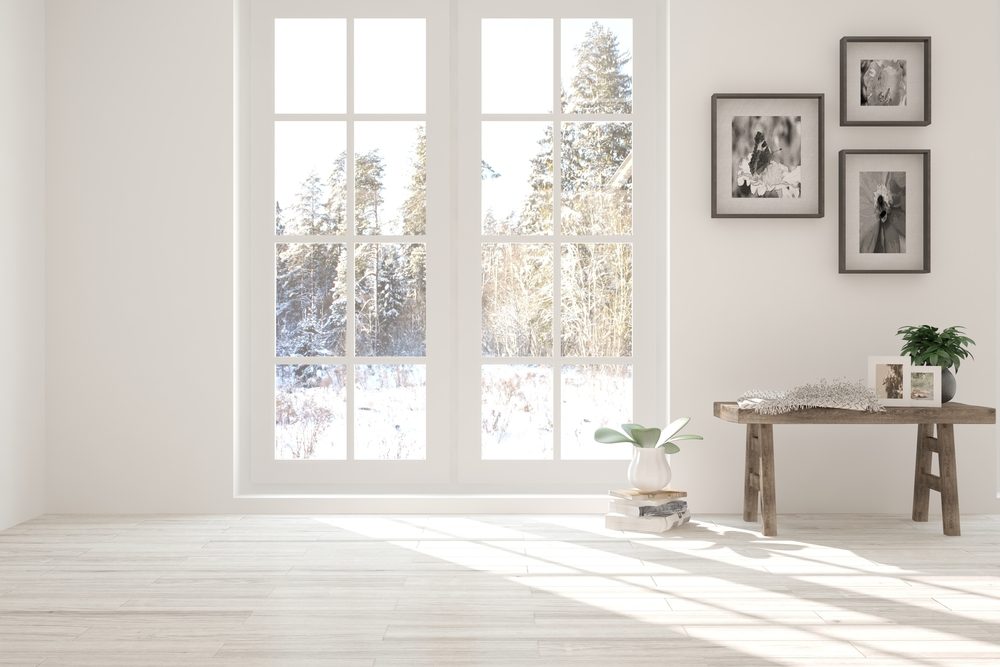
Change to winter-appropriate window treatments
Again, your windows allow a lot of heat to escape, whether it’s through cracks in the moldings or the thin, uninsulated glass. Thick, heavy curtains or insulating blinds are great ways to trap warm air inside.
Switch ceiling fans to winter mode
Since heat rises, your ceiling fans pull air up while they’re in summer mode, pushing cool air down below where bodies are. In the winter, you want to keep this warm air so you can stay toasty warm. Switch your ceiling fans over to winter mode, reversing the rotation of the blades. This will push warm air down instead of pulling it up, leading to a warmer living space and lower heating bills.
Install a smart thermostat
Smart thermostats are extraordinarily convenient. You can program one to automatically go into eco-mode and reduce the indoor temperature while you’re at work, on vacation, or sleeping. There’s nothing worse than returning home after a long day and realizing the heat was blasting on high the whole time. Some smart thermostats can even lower the temperature in areas of your home that you’re not using. So, if you work from home, for example, it can turn down the temperature in the whole house except for your home office, saving you a bundle on heating costs.
Insulate electrical outlets
Surprisingly, heat can slip out of a room through the electrical outlets, particularly if they’re on an exterior wall. Prevent this energy drain by insulating your outlets with rubber foam outlet gaskets to block any gaps or cracks.
Unblock heating vents
Your heat may be cranking and adding dollars to your heating bill, but if the vent is blocked, you’ll never feel the warmth. Take a look around every room in your home and be sure all heating vents are cleaned up and not blocked by furniture, pictures, or other obstructive items.
Winter is certainly coming, and your heating bill will inevitably be higher than you’d like it to be. You can give your wallet a break this year by winterizing your home and keeping more of that much-needed heat inside. With these ten tasks, your home will be comfortable and energy-efficient, just in time for winter weather.


