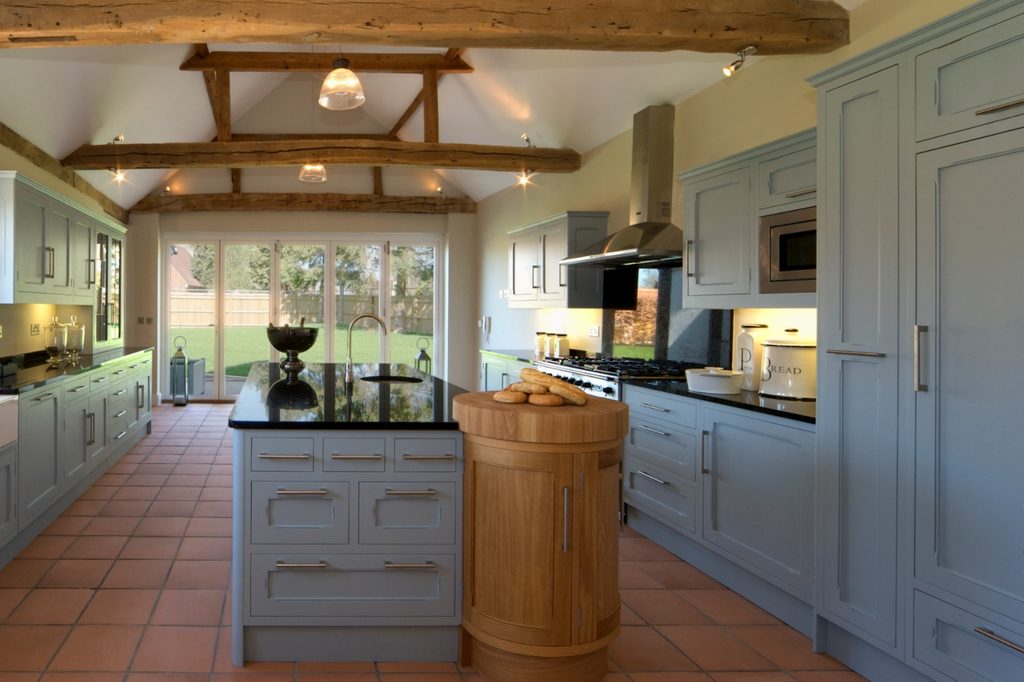
If you’ve been looking for a way to spruce up your kitchen but aren’t ready to commit to a full overhaul, consider painting your cabinets. Cabinets constitute a large amount of your kitchen space, making it one of the most important aspects in terms of design and aesthetics.
As long as you prepare well and paint carefully, you can bring some life back into your kitchen. It’s simple to do and doesn’t require a full kitchen remodel, so painting kitchen cabinets is the perfect DIY project for the next time you have a free weekend. Here’s how to do this painting project from start to finish!
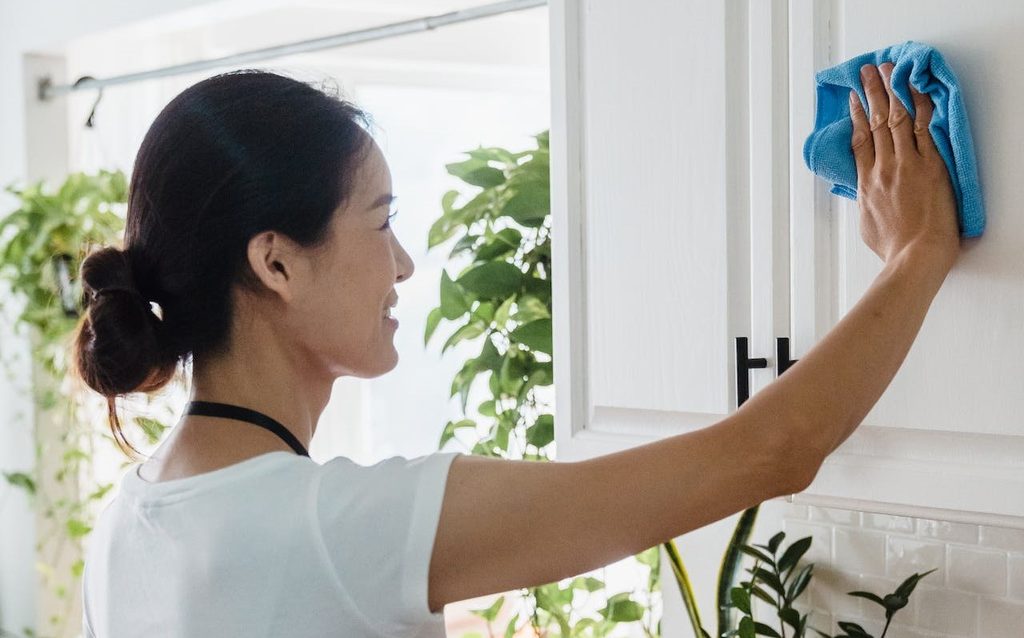
Wipe them down
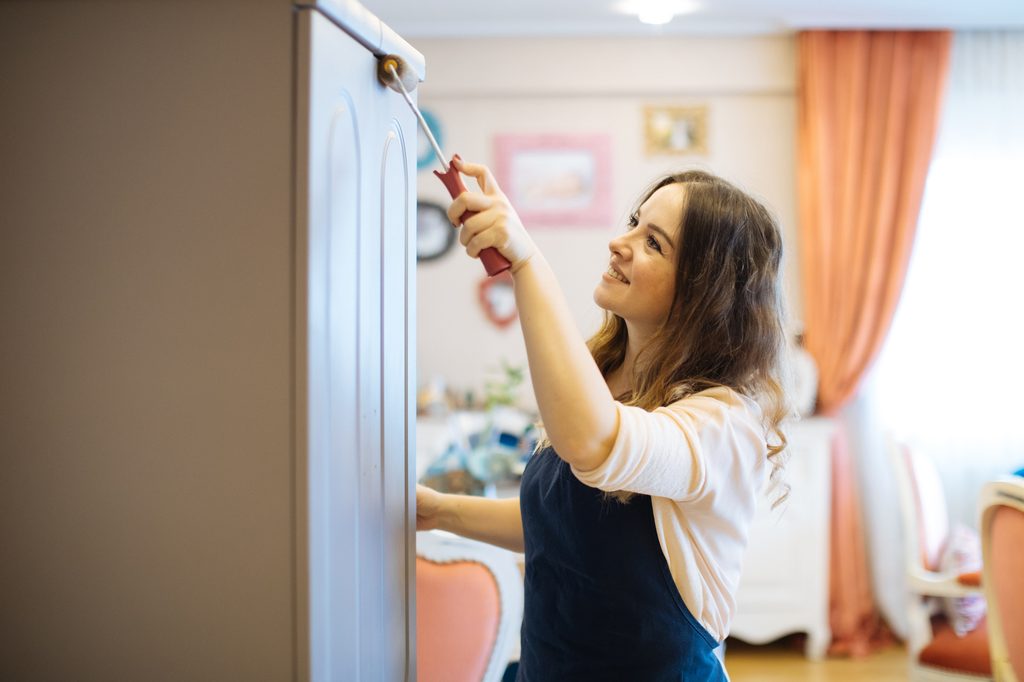
Before you begin painting your cabinets, remove all the doors, drawers, and hardware. This will give you much more maneuverability as you paint. Set your hinges and screws aside in a container where you won’t lose them, and be sure to remove any dishware that you don’t want to ruin. While you may not be painting the insides of your cabinets during this project, it doesn’t hurt to be cautious. Even professionals may accidentally splatter every now and then.
Once removed, wipe down your cabinets with a multipurpose cleansing wipe or a cloth dampened with vinegar. Rub down each surface you plan to paint to remove any dirt, dust, or minor stains that could cause imperfections if painted over.
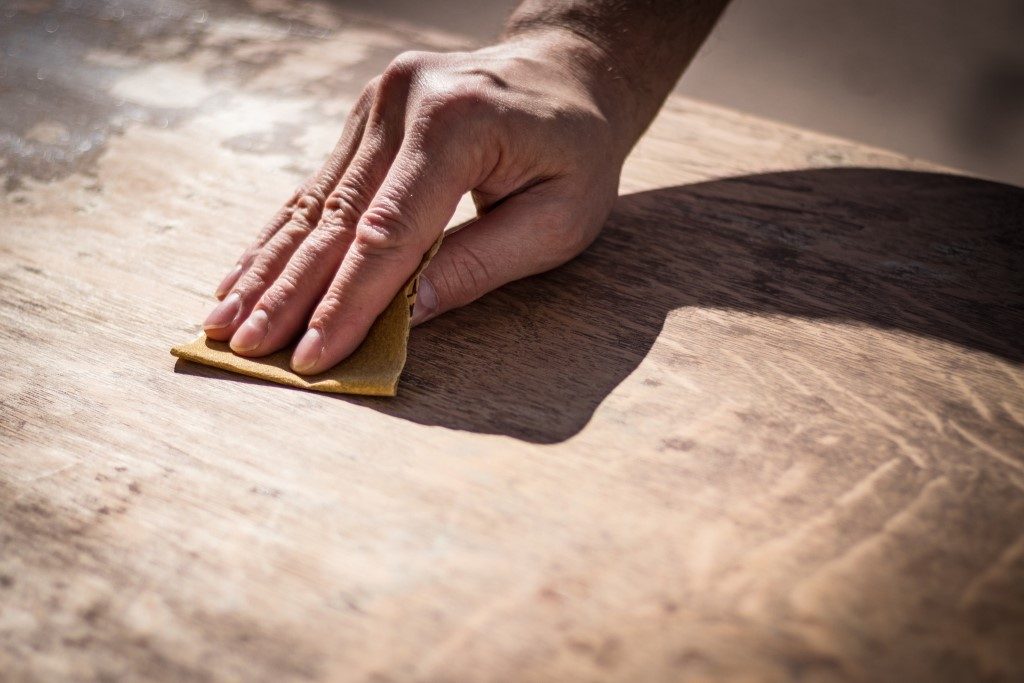
Use sandpaper
Next, sand down the cabinets with medium or fine grit paper. If your cabinets were previously painted, doing so will dull the shine or gloss so it doesn’t show through your new paint. Additionally, sanding your wood cabinets gives the paint something to “grip,” allowing it to adhere properly to your cabinetry.
Take your time to sand down your cabinet doors, the front face of drawers, and any other area you intend to apply paint. While you’re at it, sand down any imperfections or bumps so you’re left with a smooth surface.
Prep the cabinets for painting
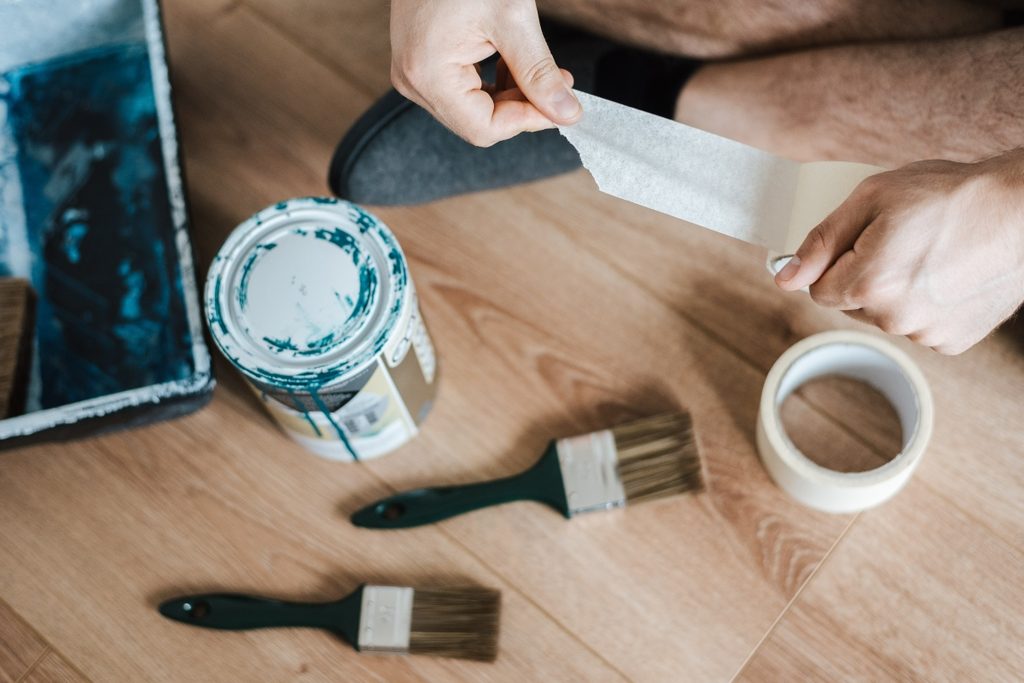
It’s always best to paint your cabinets outside or in a large, ventilated garage to limit fume inhalation. Be sure to lay down a tarp to catch any paint splatters or missed brush strokes. If you must paint inside your home, just be sure the floor is protected by a drop cloth and the cabinets are out of the way.
In the house, lay painter’s tape around the edges of the ceiling and walls to avoid accidentally spreading paint onto them. Once everything has been taped and all floors and furniture are covered, you can begin painting.
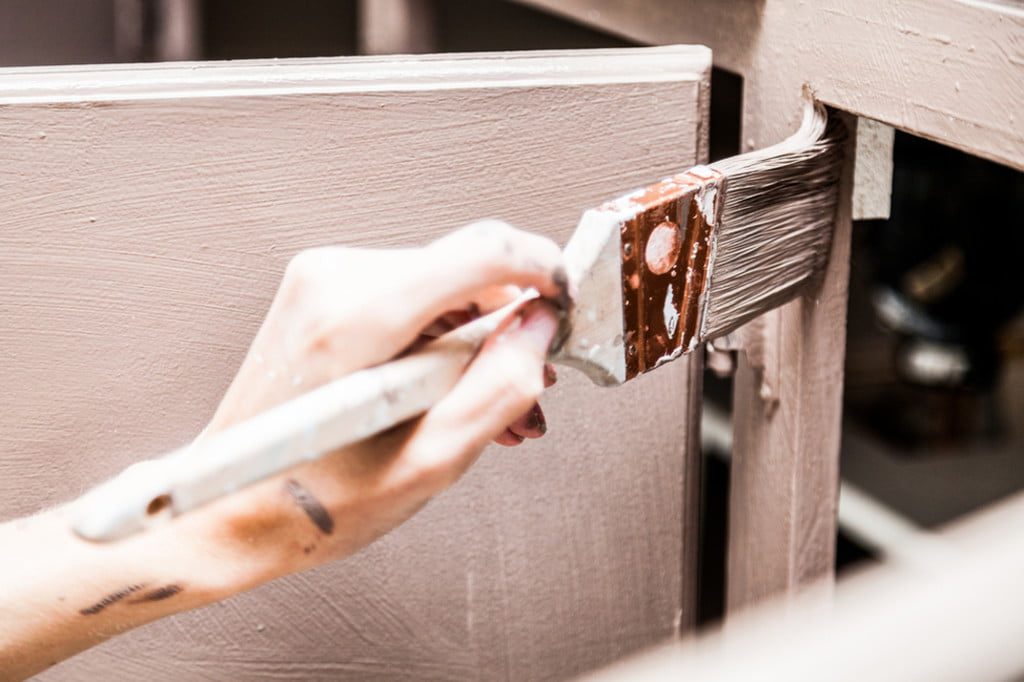
Paint your cabinets
Regardless of the color you choose, we recommend using acrylic latex-based paint with a semi-gloss finish. This is the best paint for kitchen cabinets that will give your cabinets a slight shine that isn’t too overwhelming. Semi-gloss paint is also wonderful for kitchen cabinets because they are more durable than matte and satin finishes.
For a more striking look, feel free to test out a high gloss finish. Be aware that this bright sheen reflects more light than semi-gloss or other finishes, making the smallest imperfections more prominent. To achieve the luxe look without the shine, opt for a satin finish. Be very careful with these, as they are less durable and more prone to scrapes and scratches.
We always recommend coating your cabinets with at least two layers of paint. Though it may look perfectly fine after round one, the second layer ensures full coverage and durability.
You might need to prime
If you decide to paint dark cabinets a brighter shade, you’ll need to add a coat of primer. This prevents those deeper colors from showing through, which can create blotchy areas and an overall unfinished look. If you’re painting over wood, a primer is also necessary to deliver a full-coverage, smooth product. Priming isn’t a necessary step for painting your cabinetry, but it effectively hides any noticeable cosmetic imperfections.
Painting vs. staining: What is the downside to painting kitchen cabinets?
While painting offers endless color options and can hide imperfections, the downside to painting kitchen cabinets lies primarily in the maintenance and durability factors. For example, painting oak kitchen cabinets tends to require more upkeep than staining them would. Painted surfaces are prone to chipping, cracking, and peeling over time, especially in high-traffic areas like the kitchen.
Additionally, while staining penetrates the wood, paint sits on the surface, potentially masking the natural texture and grain of the wood beneath. This means that if paint is not properly applied or maintained, painted cabinets may lose their aesthetic appeal sooner than stained ones.
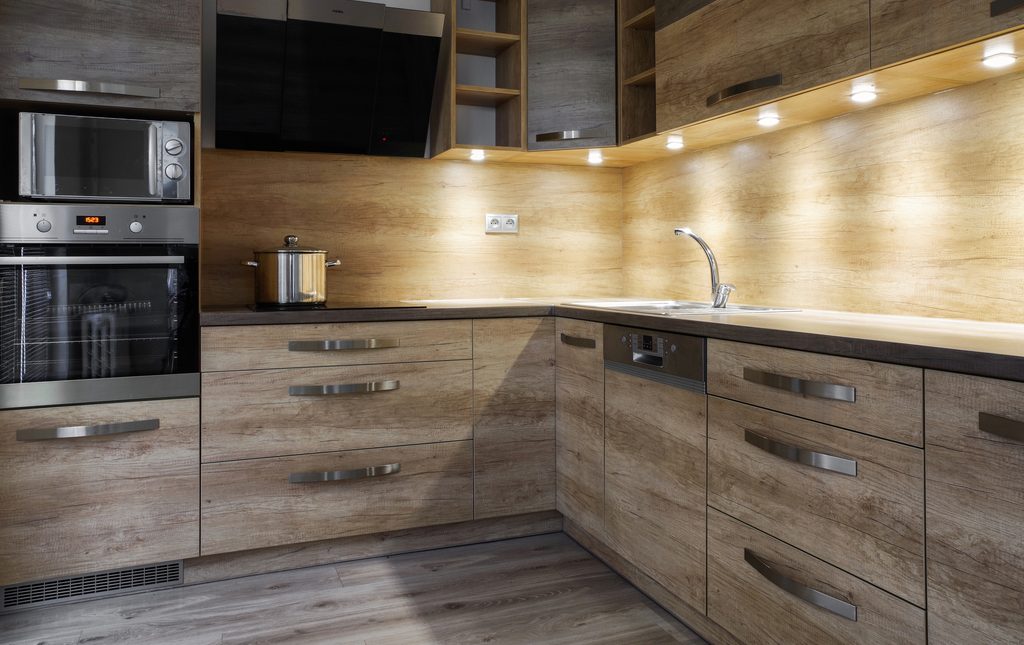
Once painted, replace all the drawers and doors and reattach your hinges. After this easy DIY project, you’ll be left with a fresh new look that is both inviting and impressive. Painting kitchen cabinets is a simple and relatively inexpensive way to renovate your space without embarking on a full remodel. Whether you bring in retro elements with deep reds and bright whites or stick to a cozier rustic vibe with antique-style kitchen cabinets, you can customize your cabinetry to create a stunning kitchen in just a few hours.


