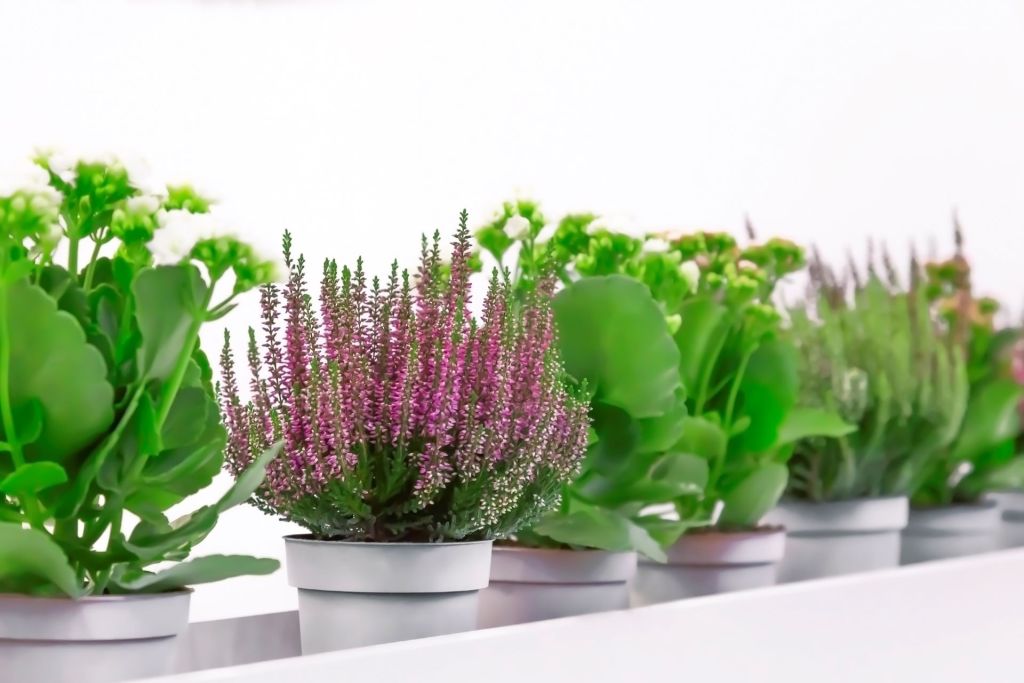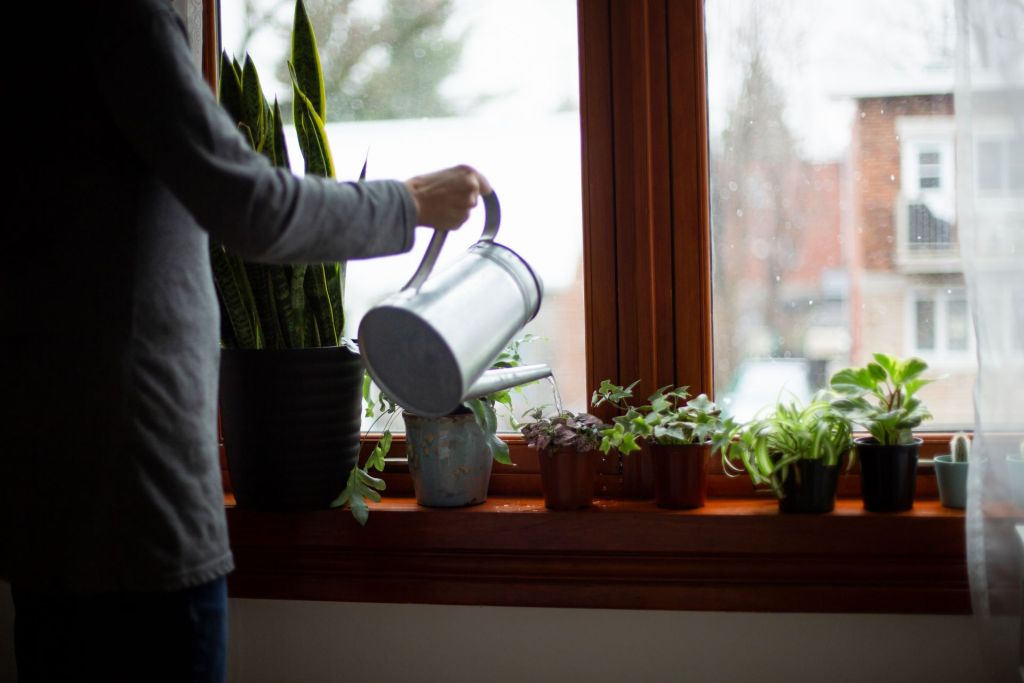
Brand new to plants? Want to find out the basics on how to care for them before you kill too many more? We totally understand! And we can help. We’ve scoured the internet for the most popular household plants and the basics on how to care for them to give you a stronger start on your next attempt. When you’re ready to take notes, come join us and see what we’ve got.
Aloe vera
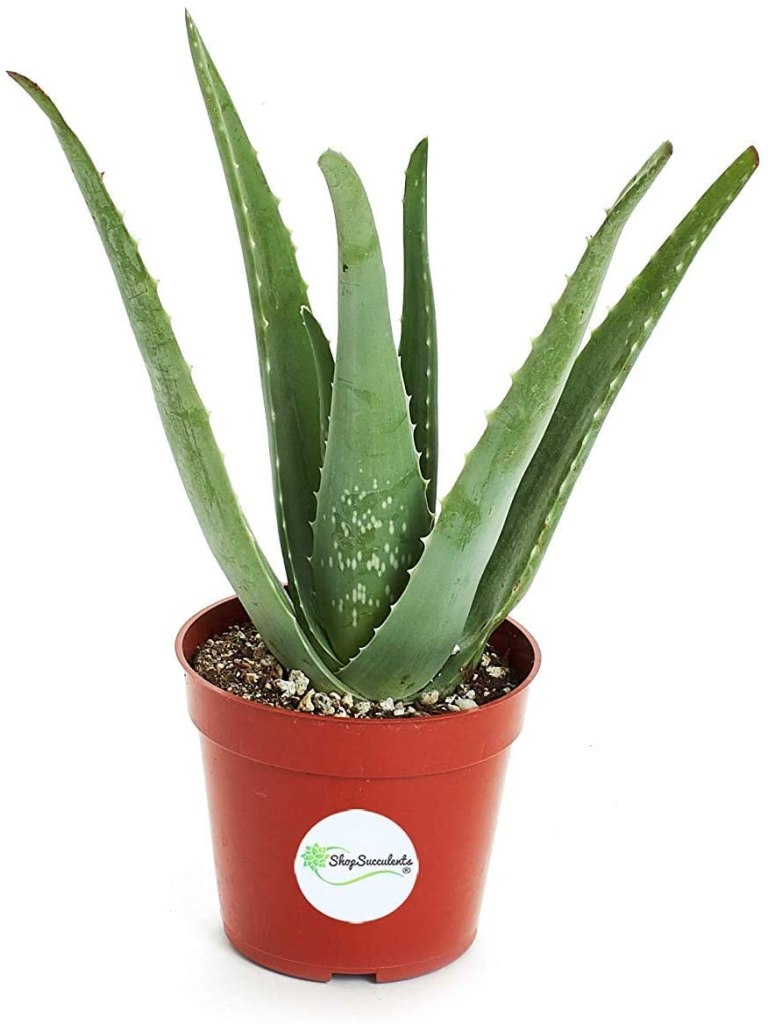
The gel inside the aloe vera plant contains many antioxidants and is known for being antibacterial, antiviral, and antiseptic. This is also why it has seemingly countless uses. It can heal burns and wounds, and it can also prevent scars from small, minor cuts. It can also be a refreshing mouth rinse, alleviate constipation, and even lower blood sugar levels. Keeping a living aloe plant around makes perfect sense, especially if you nick yourself shaving a lot. So, how do you take care of it to make sure it keeps providing its cure-all gel? Here’s what we found:
- Make sure your aloe vera plant gets plenty of indirect sunlight.
- Keep it in an area with a temperature between 55 and 80 degrees Fahrenheit.
- Water it thoroughly, getting every piece of soil wet. However, water only once every two to three weeks. Do it even less frequently in winter.
- Use a fertilizer monthly from spring to autumn.
If you’re ready to purchase your own aloe vera plant, there are many places to search, from Amazon to Walmart to your nearest garden center. Make sure you find a variety that hasn’t been heavily treated with chemicals since you’re going to be using it on your skin.
Calathea
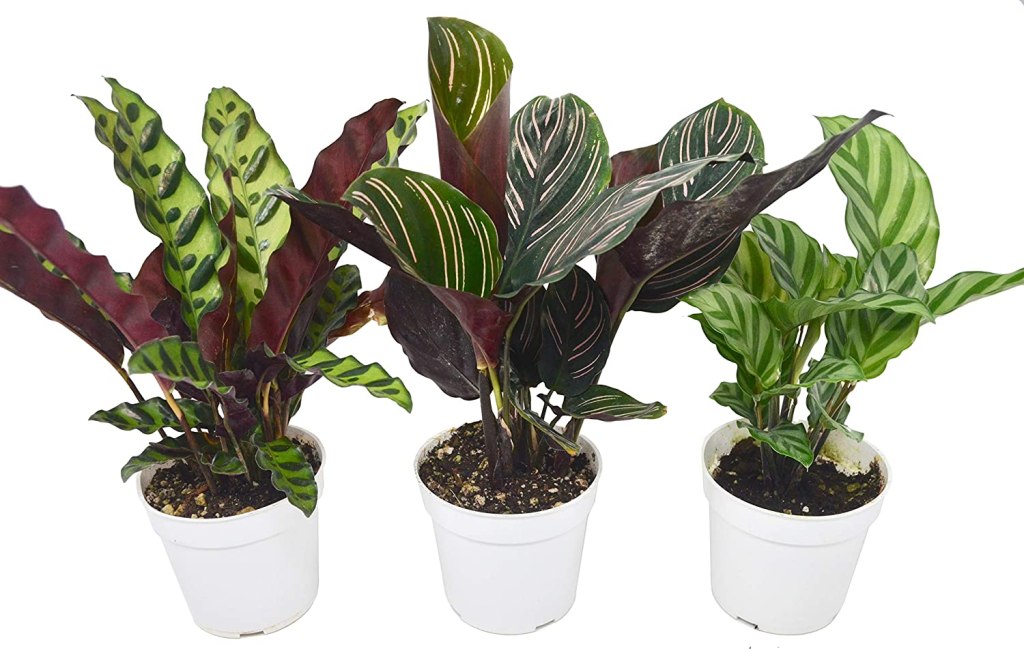
Beautiful calathea is understandably beloved, found throughout numerous homes and gardens in the U.S. Give these stunners:
- Plenty of bright, filtered light.
- Enough water to keep the soil moist, not soggy. When the top inch of soil is dry, give it some water. If possible, make it distilled or well-filtered water.
- Whenever you can, provide them a pleasantly humid atmosphere with a mister.
Pilea
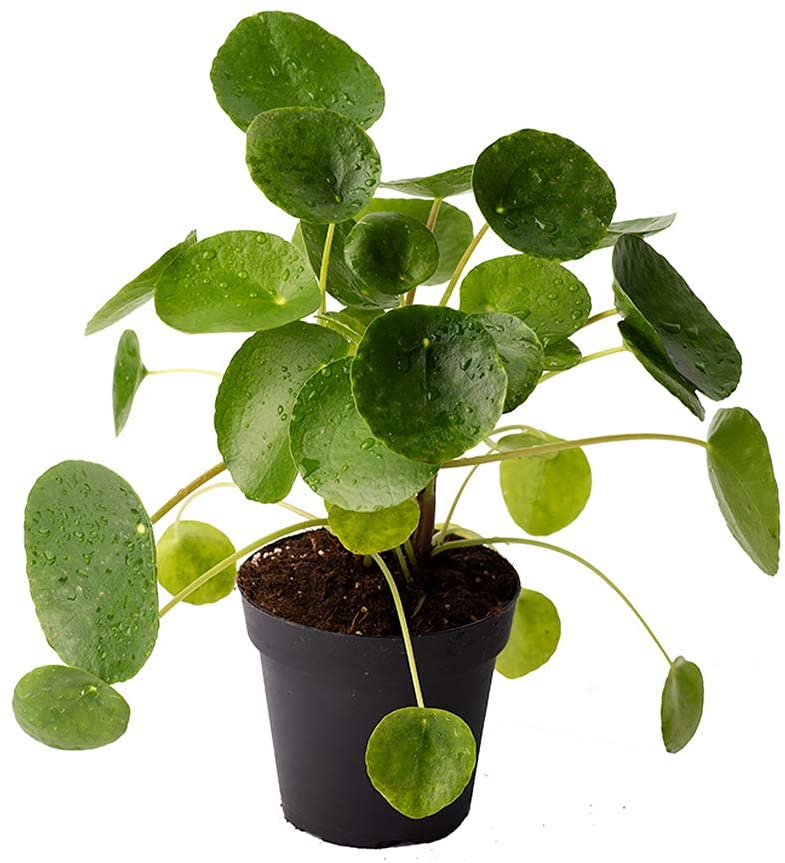
This beauty was brought to the U.S. by way of Norway in recent years, now adorning the households of thousands of Americans with its uniquely gorgeous look. To properly care for yours, you must:
- Water it moderately, but don’t over-water. Make sure you let the soil dry out between watering. If the leaves look dry, give it some water.
- These plants thrive in a dry environment, so no misting this one!
- Give it lots of bright, indirect sunlight. For example, let it sit beside an open window without the sun hitting it directly.
- Wipe off the leaves with a damp cloth to remove dust.
Boston ferns
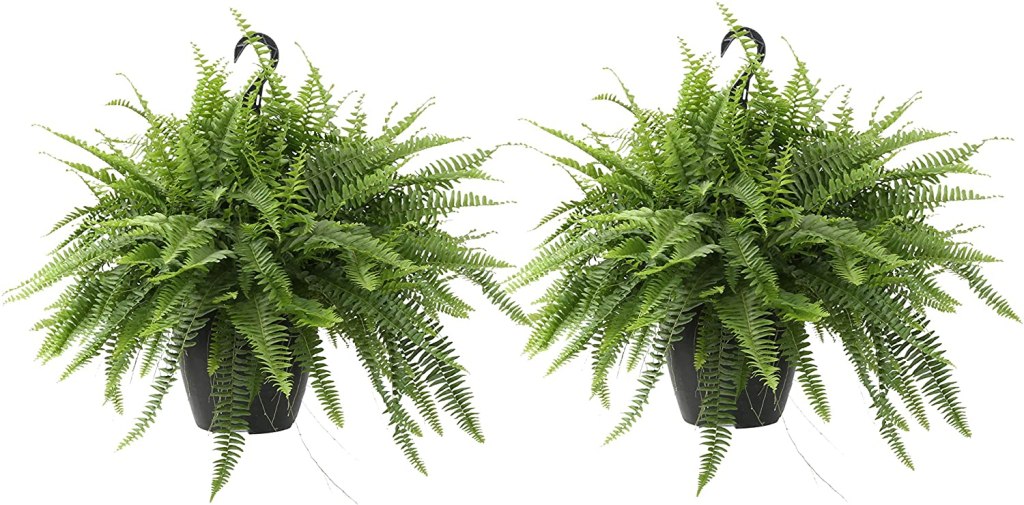
Super easy to grow, Boston ferns love lots of humidity, so get that mister out again. You should do the following, too:
- Keep their soil moist, never allowing it to thoroughly dry out between watering.
- Give them lots of indirect sunlight. Direct sunlight can burn their fronds.
- Maintain a temperature of between 55 and 80 degrees Fahrenheit. However, they may be able to tolerate as low as 40 degrees on rare occasions for a few hours.
Jade

Long considered to be a symbol of good fortune, the jade plant is generally easy to maintain.
- As far as sunlight, jades need lots of it — and they like it to be direct. Make sure they get plenty of full sunlight.
- For watering, jade plants like their soil to stay moist, but not to the point of root rot. Wait to water your plant until the top of the soil feels dry.
- Their optimal temperature range is between 65 and 75 degrees Fahrenheit during the daytime hours and no colder than 50 degrees Fahrenheit overnight.
- Fertilize your jade every six months, but only after a thorough watering. Never fertilize when it’s dry.
Parlor palm

Exquisite little parlor palms can grow to be 4 feet tall if properly cared for — which, for this plant, means exposure to real, natural sunlight. Although they do prefer low or indirect light, it has to be natural light from a window, not a bulb. Place it beside a window in the early morning or late afternoon while keeping it out of direct sunlight for best results.
Here are a few more care tips:
- If it’s cold outside, let the soil dry almost completely before you water. In the summer, water it more frequently and allow the soil to stay somewhat moist. Keep it moderately moist, not soggy, and don’t allow the roots to rot.
- Parlor palms enjoy humidity, so get the mister out once again! Make sure the leaves get a little mist and allow some to moisten the soil as well. Mist once a week in room temperature.
- Wipe its leaves clean with a gentle cloth as you mist it.
- Do not prune this plant!
Now that you have a glimpse of a few of the most popular house plants in the country today, you’ve got an idea of what you’ll need to do to maintain one and what kinds of plants you might want to start out with. Review your choices carefully, and make sure to put up a note where you’ll see it (or a reminder on your phone) for the first few weeks. This will help you remember how to care for it.
With a little time, plant care will become second nature, and you’ll find them thriving without giving it a second thought. If you think you need a little more guidance, come back and check out some of the most unique houseplants you can grow this year.