If you’ve ever stood by an old single-pane window on a cold day, you may have noticed that the cold passes right through it. That’s because glass is a poor insulator, allowing virtually free heat exchange. Similarly, your wood or metal garage door becomes like a wall of ice on freezing cold days, and that cold transfers into the rest of the house. Additionally, your home’s heat escapes through the uninsulated garage door. So, how do you insulate a garage door?
To make your garage more comfortable and save money on your energy bills, you can block out the cold. Follow along as we walk you through the process.
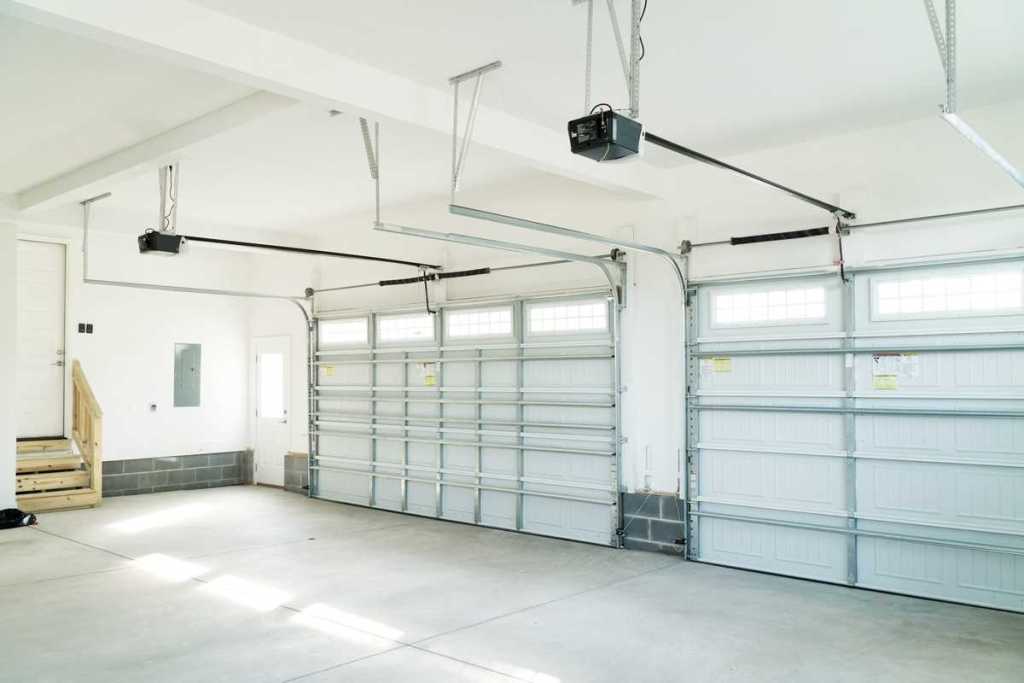
Choose the best garage door insulation

Before heading over to the home improvement store to pick up supplies, consider which type of product is best for insulating your garage door. The best choice depends on your climate, garage location, and type of door. Insulating capability is measured in R-values — the higher the R-value, the more resistant it is to changing temperatures. Therefore, those in colder regions should use insulation with a higher R-value.
- Wooden and uninsulated metal garage doors insulate poorly relative to modern steel garage doors. If you have either of those types, insulating them should be a top priority for home energy efficiency.
- For wooden doors, rigid insulation panels work best, but you can use virtually any type of insulation for metal doors.
- Detached, unheated garages will be fine with low R-value insulation anywhere between R-0 and R-6. As long as you don’t use the space for lounging, you don’t need to insulate it extremely well.
- Attached, unheated garages need R-7 to R-9 insulation, since climate control in this space affects the home’s heating bill.
- Use R-10 to R-13 for heated garages to prevent costly heat from escaping.
- Any garage with living space above it should have R-14 insulation on the door.
- Garage door insulation kits include pre-cut insulation and fasteners. Some also include gloves and utility knives.
How to insulate a garage door
A clean, dry door surface is essential for adhesive fasteners to work properly. Wash the door, rinse it, and let it dry thoroughly for at least several hours before attempting to install insulation.
What you will need
- Fiberglass batting garage door insulation kit (2 per 16-foot wide garage door), OR
- Fire-rated polystyrene foam insulation panels
- Replacement top and side seal weather stripping
- Replacement bottom seal
Step 1: Measure and mark the door
Either two clips or two pins per panel holds the insulation in place. These fasteners mount to the door with adhesive backing or double-sided tape. On each door panel, measure and mark the locations for the two fasteners, one on each end, about 12 inches in from the ends and midway between the horizontal rails.
Step 2: Install retainer clips or retainer pins
For fasteners with adhesive backing, peel off the paper covering and press the base onto the marked locations on the garage door panels. For those using double-sided tape, first cut the tape to the proper length and press the tape onto the marked locations on the panel. Then remove the paper covering and press the fastener onto the tape.
Step 3: Cut the insulation panels to size
Protect yourself against skin and eye irritants. Wear gloves and safety glasses while handling insulation.
Measure each door panel individually, as they may not be the same size. Roll out batting insulation on a piece of scrap plywood with the vinyl side down. Measure and mark the cut lines according to the first door panel’s measurements, leaving one to two extra inches in length. Compress the insulation with a straight edge and cut it with a utility knife.
Step 4: Hang the insulation on the garage door
Following the individual panel measurements, mount each insulation piece on the proper panel with the vinyl side facing outward. If the insulation has a reflective radiant barrier, that side should face outward.
For installation with retainer pins, line up the insulation so that it is centered between the side rails and runs end to end. Push it against the retaining pin until it punctures the vinyl. Then push the cap over the pin until it snaps into place.
For installation with retainer clips, line up the insulation as noted above. Push the insulation flat against the door and feel for the clips. Use the utility knife to slice small slits through the insulation for the clips to pass through. Attach the clip caps to the clip-backs to secure the insulation.
How much does it cost to insulate a garage door?

The cost to insulate a garage door typically ranges from $150 to $500, depending on factors such as door size, insulation type, and installation complexity. Materials like fiberglass or foam board may influence the price, as well as whether you choose DIY installation or hire a professional. Adding insulation can improve energy efficiency and reduce noise, but the final cost will vary based on your specific garage door type and insulation needs. For those seeking a simple upgrade, garage door insulation is often a budget-friendly, impactful improvement.
Insulating your garage door is a simple, effective way to improve comfort and reduce energy costs in your home. With the right insulation type and proper installation, you can keep the cold out and warmth in, creating a more efficient, comfortable garage space. Enjoy the added benefits of noise reduction and enhanced temperature control, making this home improvement project a valuable investment for any homeowner.