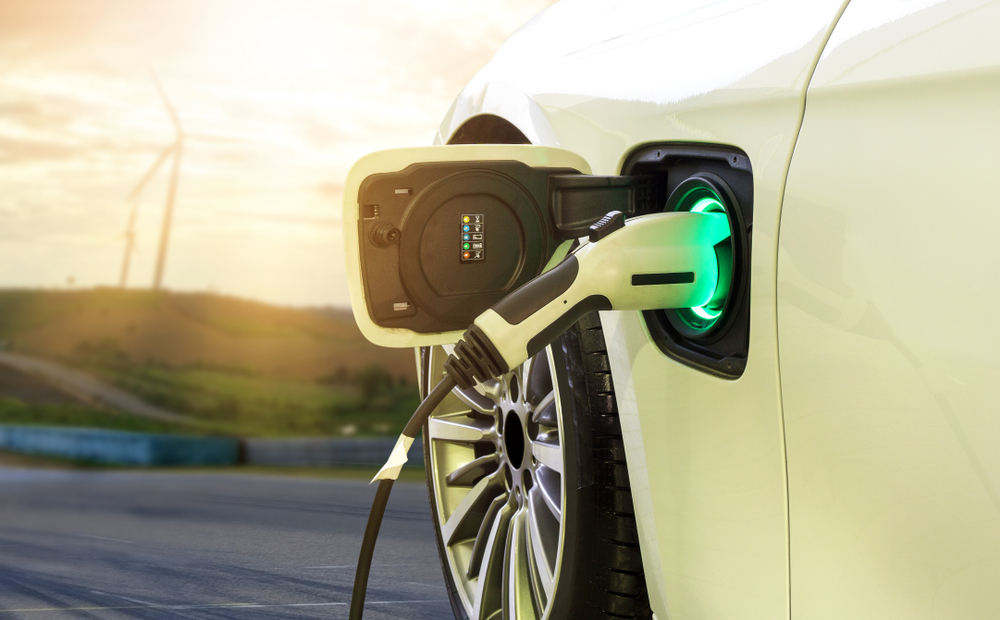
If you’re an earth-conscious person, you’ve likely already made a lot of changes to your lifestyle to reduce your carbon footprint. You buy local and eco-friendly brands, reduce waste in your home, and maybe even switched to a solar-operated home energy system.
One of the most effective ways to reduce your negative impact on the environment is to reduce your carbon emissions from daily transportation. While electric cars are a great way to reduce your reliance on fossil fuels, many owners find that it can be quite a challenge to regularly charge their vehicles. One solution is to install an electric vehicle (EV) adapter in your garage, but is that the most cost-effective option? We’re going to review everything you need to know about the costs of installing these units in your garage to help you determine if it’s the best choice for you.
What are the options for charging your electric vehicle?

Electric vehicle owners have a few options when it comes to powering up their vehicles. Deciding what option is best for your lifestyle depends on the availability of such options, as well as your personal budget and physical space constraints.
Public charging stations
With so many consumers investing in electric vehicles, companies are beginning to install charging stations all over the U.S. at rest stops, grocery stores, and even malls. While electricity costs vary from city to city, the general cost of charging your vehicle to full capacity at a public charging station is roughly $11, and it will take about seven hours to fully charge. If you use your electric vehicle fairly infrequently, this option may be sufficient for you. However, the popularity of electric vehicles is on the rise, so you aren’t guaranteed to find an available public charging station.
Home charging via a standard electrical outlet
Every electric vehicle comes with a Level 1 charger, a charger that can connect to a standard 120-volt, 20-amp electrical outlet in your garage. With this factory-issued charger, there are no upfront or installation costs beyond the cost of purchasing the electric vehicle itself. Unfortunately, this method takes much longer, charging at a rate of roughly four miles of driving capabilities per hour. This means it could take as long as 20 hours to charge completely.
EV adapter installation at home
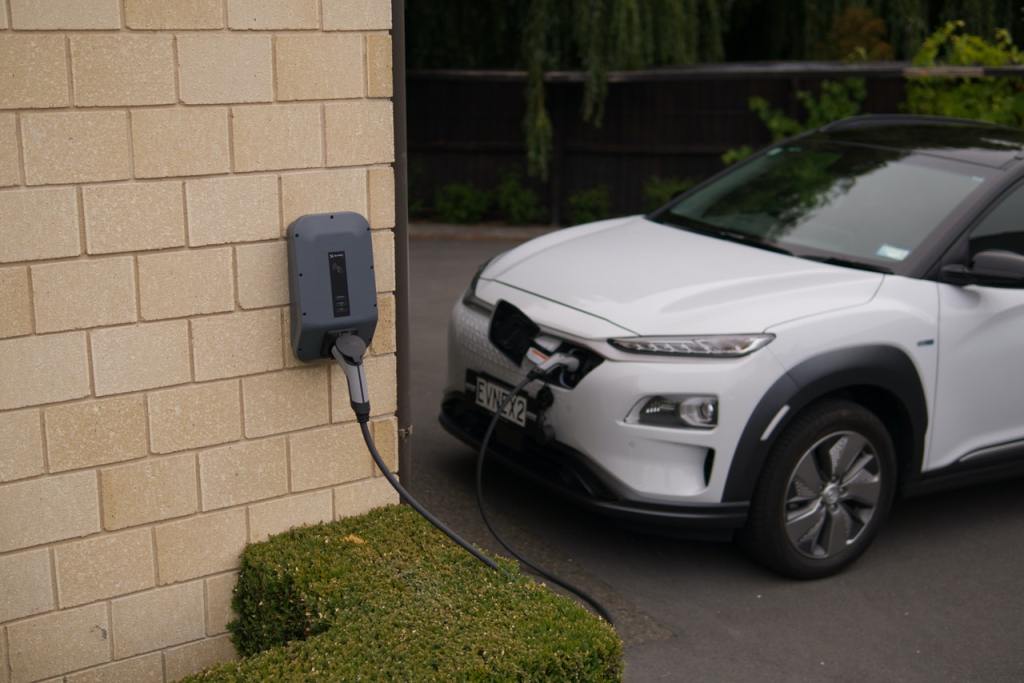
An EV adapter, also known as a Level 2 charger, can be installed in your driveway, garage, or anywhere else you park your vehicle on your property. This will charge your vehicle much quicker at a rate of approximately 30 miles of driving per hour, so it can be fully charged in five hours.
Keep in mind that a Level 2 charger needs to be plugged into a 240-volt, 40-amp electrical outlet. These come standard in most newer homes, but they may not be present in older ones. To install an EV adapter in your home, you may need to upgrade the electrical wiring in the garage and install a more powerful outlet. Additionally, a Level 2 charger will have a higher installation cost and, if used regularly, will increase your monthly energy bills.
How much does it cost to install an EV adapter?

Budgeting for an EV adapter installation is two-fold: the initial installation cost and the energy bill. A Level 2 charger itself can cost up to $800, and with installation labor, the average overall cost will run you about $1,200 upfront. Second, since the charger pulls energy from your property’s electrical grid, it will also impact your energy bill. Depending on how often you use your vehicle, regularly charging it at a Level 2 charging station could add anywhere between $30 and 60 to your monthly electricity bill.
Should you install an EV adapter at home?

- Consider your monthly budget to determine which charging method is best for you and whether installing an EV adapter in your garage will be cost-effective.
- Consider how much use your electric vehicle gets. The more you use your electric vehicle, the more financially beneficial it is to have an EV adapter at home. Further, if you like to charge your vehicle overnight, that’s much more feasible with a private charging station.
- Consider your area. If you live in an area with a plethora of public EV chargers, you may not need one for personal use.
Should EV chargers be inside or outside the garage?

Most experts suggest installing EV chargers indoors and undercover to protect the adapter best. Installing your EV adapter in the garage can prolong its usage and prevent weather damage or wear and tear. However, some homeowners may not have space in their garage to store their vehicle. If this is similar to your situation, don’t fret.
There are two options for homeowners who want an at-home EV adapter but don’t have ample garage space to charge their electric vehicle.
Option one: Install your EV adapter in the garage and run a cord to your vehicle. Extension cords for the EV chargers are available from many EV adapter manufacturers.
Option two: You can install your EV adapter outdoors or on the side of your house or garage. Just be sure that your EV adapter is waterproof and protected from the weather and elements in some way, like under some sort of cover or an overhang.
Additionally, some homeowners install special exterior boxes or covers over the adapters for more protection. However, this will raise the cost of installation if you choose this method.
Switching to an electric vehicle can deliver huge benefits to both the environment and your pocketbook. While EV purchases are on the rise, public charging stations are not quite as easy to find as gas stations, so it’s important to have a plan to regularly charge your vehicle. Before installing an EV adapter, first consider all the variables, including your budget, vehicle use, and region, and then decide what options will allow you to best use and charge your vehicle with confidence and ease.


