
Winter in cold regions can be a fun and magical season, particularly during the holidays. But there are a lot of woes that homeowners face during cold weather. That's why it’s always best to winterize your home before the temperature gets too cold, but sometimes the freezing temperatures take their toll.
One common issue in the winter is frozen pipes, which can lead to some serious damage to any home. We’re going to discuss how to unfreeze pipes and avoid catastrophe before they can cause you headaches.

The danger of frozen pipes
Water pipes run throughout your entire home, and some of them are more susceptible to freezing than others. Pipes that run through areas that aren’t temperature-controlled can quickly freeze. This includes pipes in the basement, crawlspace, kitchen cabinets, or even pipes on an exterior wall.
When the water in the pipes freezes, it expands and creates enormous pressure on the pipe’s material. The pressure causes the pipe to burst open, which not only requires the pipe to be repaired but can also cause flooding if the burst pipe isn’t caught immediately. Flooding, of course, causes a whole slew of problems, from damaged belongings to mold issues.
How to tell if pipes are frozen
Throughout the coldest days of the winter, it’s a good idea to examine vulnerable pipes regularly to be sure they aren’t frozen. Some ways you can tell that a pipe is frozen are:
- Water pressure decreases noticeably
- Water slows or stops when the faucet is turned on
- Toilets don’t refill
- Frost coats the outside of a pipe
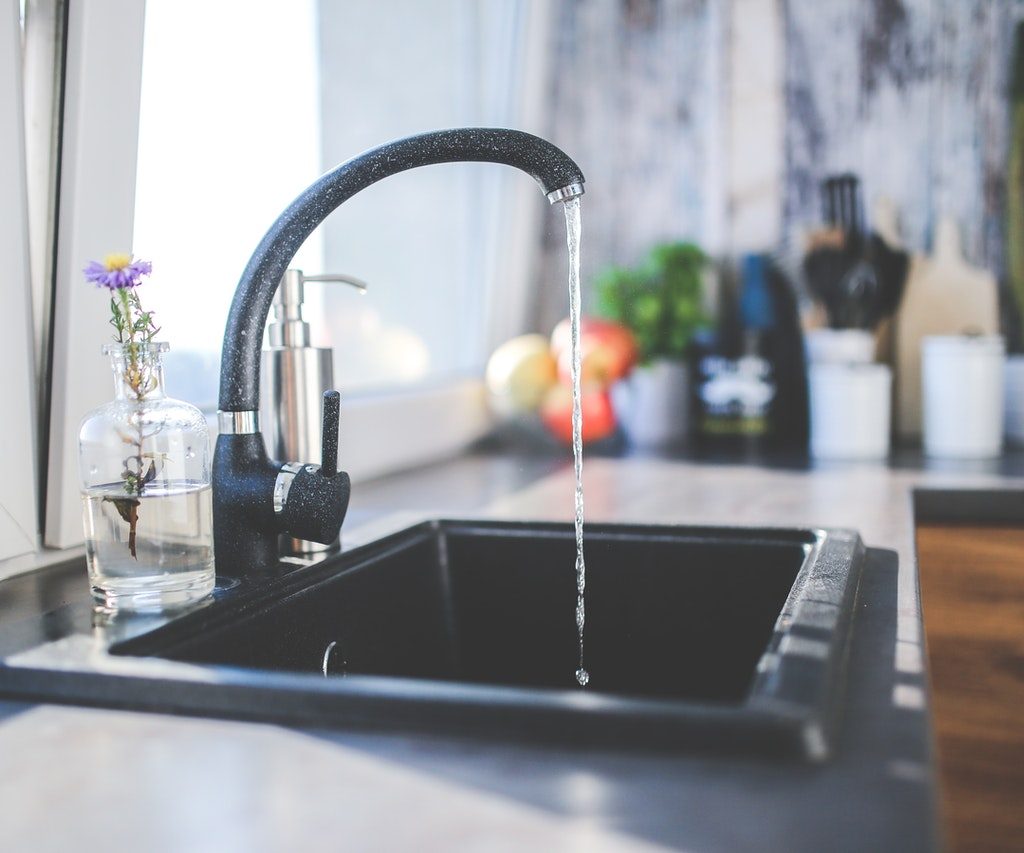
How to unfreeze pipes
If you’ve determined that one or more of your pipes have frozen, you don’t need to panic yet. There is a possibility that you can thaw the water inside before it damages the pipe and floods your space. While this process can be done by experienced DIYers, it’s always recommended that you employ the services of a professional for the best outcome.
Step 1: To prevent flooding once the ice melts, make sure the water is shut off by turning the water supply valve, which is usually located in the basement.
Step 2: Keep the faucet in the open position. The process of thawing the pipe will produce pressure from steam and liquid, so keeping the faucet open will allow it to be released.
Step 3: Heat up the pipe gradually using heating pads or a hair dryer. Don’t use an open flame to heat up the pipe as the direct heat may damage the pipe or cause the water to boil and burst the pipe.
Step 4: As the pipe heats up, monitor the resulting water flow. The ice will melt and water will release through the faucet.
Step 5: Once you see significant water flow, check that the pipe isn’t leaking. If the water flow appears normal and the pipe isn’t dripping, you’ve done your job correctly.
Step 6: Turn the main water supply back on.

How long does it take for water pipes to unfreeze?
The time it takes for water pipes to unfreeze depends on factors like the temperature, the pipe material, and the thickness of the ice. Generally, pipes in a warmer indoor environment may thaw within a few hours, while those in an unheated space, like a basement or attic, could take much longer. If outdoor temperatures remain low, it can significantly delay the process.
Once temperatures rise above freezing or direct heat is applied, pipes usually begin to thaw within 30 minutes to a couple of hours.

Steps to take when frozen pipes burst
If the worst should happen and your pipes burst, you’ll need to act quickly to mitigate the water damage that will likely result. When pipes burst, here’s what needs to be done.
Step 1: Turn off the main water supply immediately. This will stop the flow of water in the home and prevent additional flooding.
Step 2: Temporarily or permanently repair the burst pipe with plumber’s tape, putty, or pipe clamps. You may be able to perform the repair on your own, depending on the location of the pipe and how severe the damage is.
Step 3: Turn the water back on and be sure the pipe repair was successful and no water is escaping from the damaged portion.
Step 4: Clean up water thoroughly. Depending on how much water leaked from the burst pipe, you may need to call in a professional water damage cleaning service. More than an inch of water can cause serious damage to your home, as well as mold growth.

How to prevent frozen pipes
Once you’ve gone through the process of fixing frozen or burst pipes, you’ll never want to experience it again. Preventing frozen pipes is always ideal, and here are some ways you can accomplish it:
- Keep your home’s thermostat set to at least 60 degrees Fahrenheit at all times.
- Winterize your home to make sure heat is kept in and cold air is kept out.
- Open kitchen cabinet doors regularly to let warm air in around the pipes.
- Disconnect and drain outdoor faucets before temperatures freeze.
- On days with extremely cold temperatures, let faucets run on a low drip to keep the water flow moving.
Cold days in winter have their own woes when it comes to snow removal, car window defrosting, and seasonal colds. You don’t need the added headache of frozen or burst pipes to top it off. When you see that pipes are freezing, quick action will go a long way in preventing burst pipes and the damage they cause. With this guide, your pipes will be kept safe and in working order throughout the cold winter.


