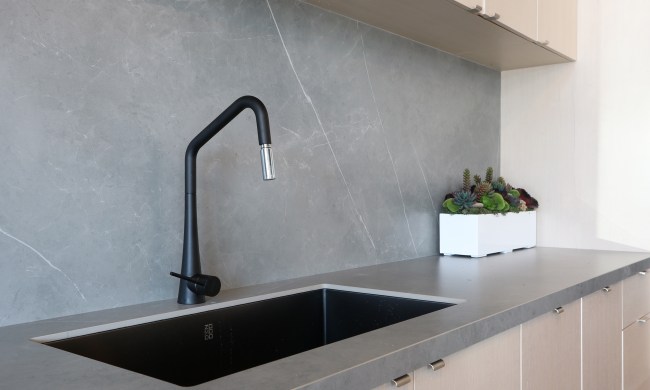
Home DIY projects are a great way to save money while giving your house a facelift. Some projects quickly raise your curb appeal, like installing a raised patio or redoing the driveway, and others are known to raise the value of your home exponentially, like a kitchen renovation. The good news is you can revamp your kitchen and give it a whole new look for under $400 simply by tiling your backsplash.
How much do pros charge for tiling backsplash in the kitchen?
The average cost of installing a backsplash in your kitchen is $1,000. This depends upon many factors: the materials you choose, the size of your space, the complexity of the project, and whether or not you’re hiring a professional or tiling the backsplash yourself. Typically, labor costs between $40 and $60 per hour, which means you can save a lot by tackling the project yourself. Since it’s a fairly quick and easy project for those who are proficient DIYers, you can’t go wrong tiling your own backsplash.
Where do you start when tiling a backsplash?
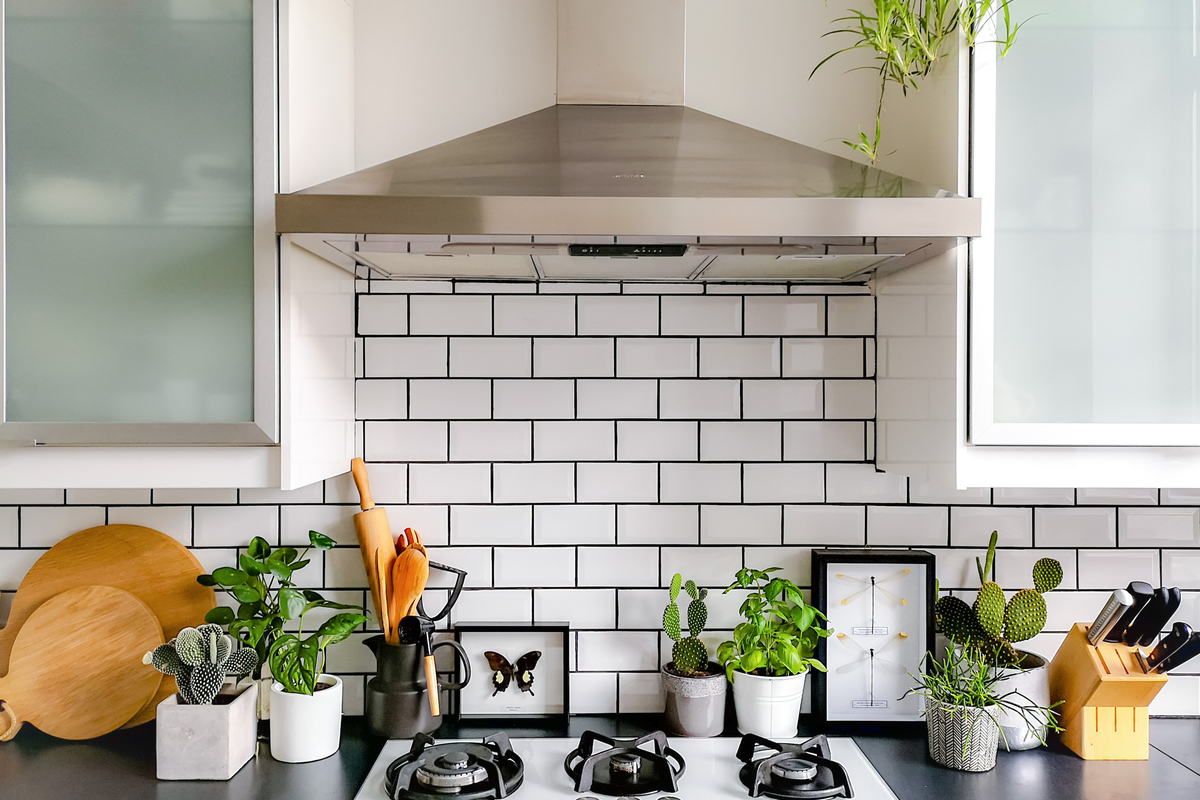
The first step in the project is to choose your new tiles. Depending on your budget and style preferences, you have a few different choices in materials. The most common tiles used on kitchen backsplashes are mosaic tiles and subway tiles. Both look chic and modern and will give your kitchen a stylish upgrade.
How do you prepare a kitchen wall for a backsplash?
Once you’ve chosen your tiles, it’s time to prepare the space for installation. Make sure the space is safe to work in by disconnecting and moving any appliances and countertop clutter, as well as shutting off electricity to any outlets in the area you’ll be tiling. Cover countertops to keep them from getting stained or dirty during the project, and then use painters tape to mark off areas where the cabinets and countertops meet the backsplash.
Clean the wall before tiling the backsplash
Next, you’ll need to clean the wall that tiles will be installed on, since tiles will not adhere if there’s dust, dirt, or grease on the surface of the wall. Use water and dish soap and a clean rag to wipe the wall clean. Any tough grease stains may need to be removed with a degreaser. Make sure the wall is completely dry before moving on in the project.
What do you put behind backsplash tile?
If you’re tiling an area that will see a lot of moisture, like near the kitchen sink or behind the stove, the wall should be waterproofed before adding backsplash tile. This will prevent water damage and mold growth on the wall. Waterproof your drywall or apply a waterproof membrane to the wall before adding tiling.
How do you tile a kitchen backsplash?
Once your space is prepared for work and the wall has been cleaned, dried, and waterproofed, it’s time to get to work putting that gorgeous tile up.
What you’ll need
- Tile sheets of your choice
- Tile spacers
- Mastic
- Small and large trowel
- Tile cutter or wet tile saw
- Large bucket
- Grout mix
- Grout mixing paddle
- Grout float
- Sponge
Pro tips for purchasing tile and tools
- Make sure to measure the wall space you’ll be tiling so that you purchase enough tile to complete the job.
- Go with tile sheets instead of individual tiles for easier and more even-looking installation
- Purchase small plastic tile spacers to push in between the tile sheets before mastic dries. These tools ensure the sheets are spaced exactly the same and look even.
Apply mastic and install tile sheets
Using your trowel, apply a layer of mastic onto the wall in sections and press the tile sheet onto the section. When you add the next tile sheet, press tile spacers between the sheets on the sides as well as on the top and bottom.
Pro tip for applying mastic
- Have a large trowel on hand to apply mastic to the wall, but have a small trowel on hand as well. If there are small spaces that the large one can’t reach, use the small trowel to apply mastic directly to the back of the tile instead.
- Apply mastic to the wall in small sections so it doesn’t dry before you lay the tile sheets on it.
- Let mastic and tiles dry overnight before applying mortar the following day.
Mix and apply grout
Add grout mix to the bucket and add water slowly, based on the package instructions, until it becomes the consistency of cake batter. Stir the mixture thoroughly using a grout mixing paddle.
After removing the plastic tile spacers, apply the grout directly to the tile surface using a grout float. Be sure the grout is filling the spaces between each tile completely. Use a wet sponge to wipe any access grout from the tile surfaces and let it dry.
Pro tips for applying grout
- Choose a grout mix based on whether your tiles are sanded or un-sanded.
- Wipe tiles down with a damp sponge before applying mortar to remove any dust or debris.
Your kitchen is a room that’s used every day and is seen by most guests that come into your home. You want this space to reflect your style and be as beautiful as possible, but you don’t want to break the bank making it gorgeous. A new kitchen backsplash is a great way to give your tired kitchen a facelift at an affordable price.