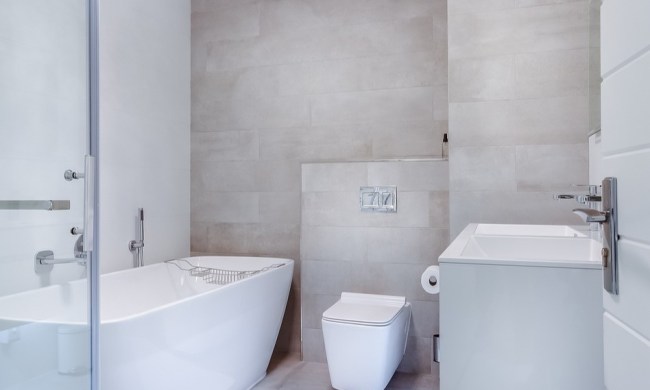
How to replace your bathroom faucet for a fresh, modern look

how to replace bathroom faucet shutterstock 64842238
Image used with permission by copyright holder

Every bathroom in your home should feel like a private oasis. It needs to be safe and functional, with protections against frozen pipes and leaks, but it also needs to be a modern and luxurious space. A remodeled bathroom can also significantly increase your home's value, a benefit that is particularly helpful if you plan on selling your home. Remodeling projects can start to feel very overwhelming very quickly, but there's no need to fear. When in doubt, begin with the faucets. Updating these fixtures gives the room an immediate facelift and improves the aesthetics of the whole space. Plus, it's easier to do than you think. Here's how to replace your bathroom faucet.
Recommended Videos

Difficulty

Easy

Duration

2 hours

What You Need

  • Adjustable wrenches

  • Bucket

  • Towels

  • Bathroom cleaner

  • Plumber's tape

  • Supply lines (if the original ones are old and the new faucet doesn't come with them)

  • Your new faucet

how to replace bathroom faucet shutterstock 64842238
Image used with permission by copyright holder

How hard is it to replace a bathroom faucet?

Replacing an existing faucet with a new one is a simple job that you can complete in just a few hours. With some basic tools and a little DIY know-how, you can give yourself a brand new fixture and save a good amount of cash in the process.

Do you need a plumber to replace a faucet?

To replace a bathroom faucet, you don't necessarily need a plumber's assistance. As long as the sink has been functional, you won't need to run new plumbing. Installing a brand new sink in a new location is a different story.

Since replacing a faucet means you'll be dealing with plumbing elements, consider enlisting the help of a plumber if you're not confident in your DIY skills. After all, faulty plumbing connections could lead to leaks and extensive water damage. Then you'll definitely need to hire a professional for help.

How to select a new bathroom faucet

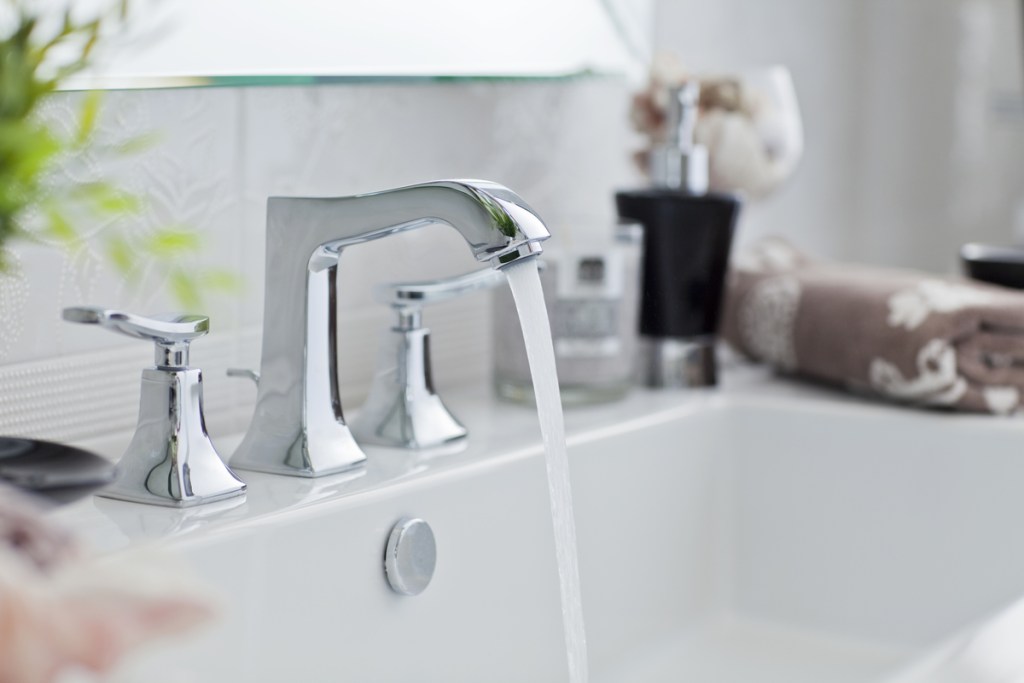
Replacing your bathroom faucet starts with purchasing a new fixture, but be sure to do a little research before you buy. Not all faucets fit on all sinks. For example, if you currently have a single handle on your old faucet, it's possible that there are only enough openings under the faucet for a single-handle sink. If you have separate hot and cold handles, be sure to measure how far apart the two handles are so you can purchase a faucet that will fit properly.
how to replace bathroom faucet shutterstock 1607161978
Image used with permission by copyright holder

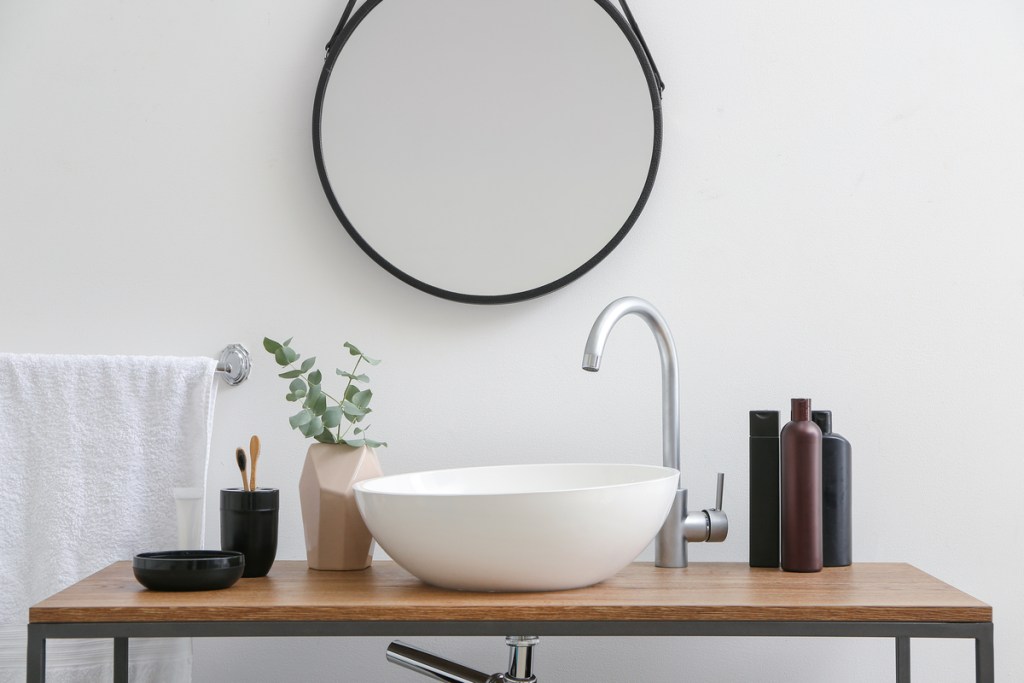
How do you remove an old bathroom faucet?

To install a new faucet, you'll first need to remove the old one. Since you're dealing with plumbing and water pipes, take precautions while removing the old faucet to prevent leaks and water damage.

Step 1: Shut off the water to the sink by turning the valve under the sink to the off position.

Step 2: Place a bucket under the supply line to catch any drips of water during the process.

Step 3: Use a wrench to disconnect the old faucet's supply lines from the wall and allow any residual water in the lines to drip into the bucket.

Step 4: Remove any hardware that's securing the old faucet in place under the sink.

Step 5: Lift the disconnected faucet from the top and pull the old supply lines through the holes in the sink.

Step 6: The surface of the sink may be a bit grimy. Use bathroom cleaner and towels or rags to clean the area before installing the new faucet.

How to install a new bathroom faucet

Step 1: To install the new faucet, first, connect it to the new supply lines.

Step 2: Feed the supply lines through the appropriate holes at the top of the sink and rest the new fixture on top.

Step 3: Under the sink, attach the mounting hardware (included with the new fixture) and secure it to the sink.

Step 4: If you have separate hot and cold handles, connect the hot and cold water lines to the appropriate handles.

Step 5: Attach the new supply line to the wall spigot and turn the water shutoff valve to the on position.

Step 6: Turn on the water and examine all areas for leaks before removing the bucket.

Updating your bathroom makes it more beautiful, valuable, and livable. It gives the sink space an immediate facelift and can even improve water flow and efficiency, particularly if your old faucet had a lot of mineral deposit buildup. Replacing your bathroom faucet is also an easy thing to cross off your bathroom renovation checklist. The process is straightforward for most faucets, so your bathroom will look sleeker than ever with no blood, sweat, or tears necessary.

Veronica Sparks
Veronica Sparks is a writer from Milwaukee, Wisconsin who loves writing about gardening, home décor, and DIY life. She’s…
How to eliminate that musty ‘basement’ smell
Mold and mildew are big basement problems, but they can be solved
Finished basement with wood paneling

Do you avoid spending time in your basement because of its unpleasant odors? Whether it's finished or not, basements are typically cool, damp, and have little airflow going through them, which are all factors that contribute to its musty smell. Unfortunately, it takes more than general cleaning practices and air fresheners to rid the space of mustiness for good. Take a look at some of these tried-and-true methods for how to get rid of musty smell in basement spaces, so you can keep it smelling light, airy, and fresh.
1. Find the culprit of the musty smell

If you smell that common musty stench, the culprit is often mold or mildew. Since basements tend to be damp and have little airflow, they are common hot spots for mold and mildew growth. The first step in preventing further growth by sealing any leaky spots and inefficient drains.
Leaking windows and doors
Check your basement's exterior doors and windows for signs of moisture. Since leaks on the first floor can often drain into the basement, check the windows and doors on the main floor as well. If you find moisture around these entry points from rain or condensation, re-seal the area or call a professional to repair it.
Leaking pipes
Whether pipes are visible in your basement or not, you need to check them regularly for leaks. Examine any water and sewage pipes for signs of leaks and repair any cracks or poor seals. If plumber's tape or epoxy putty can't repair the leak, it's time to call a professional.
Dried-up drains
Basement floor drains direct water out of the home to keep the floors dry and prevent them from flooding. The stagnant water in this drain also traps bad odors emanating from the sewage system below. However, these drains can dry up from infrequent use, releasing stench into the air. If you notice smells arising near your floor drains, just pour a few cups of water into the drain to block the gases from escaping.
2. Clean up the basement

Read more
How to clean your gross bathroom in 20 minutes flat
This overused space deserves a deep refresh
A clean bathroom

You want your bathroom to be a spa-like retreat, but it sees a lot of use throughout the week. While it's best to freshen as you go to prevent a build-up of dirt and grime, sometimes it just needs a deep clean. The thought of diving into the sink, toilet, and shower can be a bit overwhelming, though, especially at the end of a long week.

Take a deep breath — there's no need to fear. By tackling your dirty bathroom in stages, you can clean your bathroom, from top to bottom, in 20 minutes flat. We'll walk through all the tips and tricks you need to scrub your bathroom and still have time left on your podcast.
How to clean a bathroom: Step by step

Read more
How to paint your kitchen cabinets in 9 simple steps
A simple and low-cost way to refresh your space
Man holding paint rolling after painting kitchen cabinets

Kitchen renovation is one of the most impactful and cost-effective home remodel projects, with returns on investment of about 87 percent. While it’s no wonder that kitchen remodels are popular, but they’re also very expensive — cabinetry alone runs $5,000 to $6,000 on average. If money is tight, or your kitchen only needs a minor update, painting the cabinetry, rather than replacing it, will save you thousands of dollars while giving the room a completely new look. Plus, you can do it yourself in a couple of days.
Tools and supplies you'll need for the job

Rosin paper
Painter’s tape
Plastic sheeting
Screwdriver 
Household cleanser or trisodium phosphate commercial degreaser
Abrasive pad
Liquid deglosser
Wood filler
Putty knife
100-grit sandpaper
220-grit sandpaper 
Tack cloth 
Latex caulk 
Paint scraper
Primer paint
Trim or enamel paint with a durable, high-sheen finish
4- or 6-inch roller, with foam cover
3- or 4-inch square brush
2 ½- or 3-inch angle brush

Read more