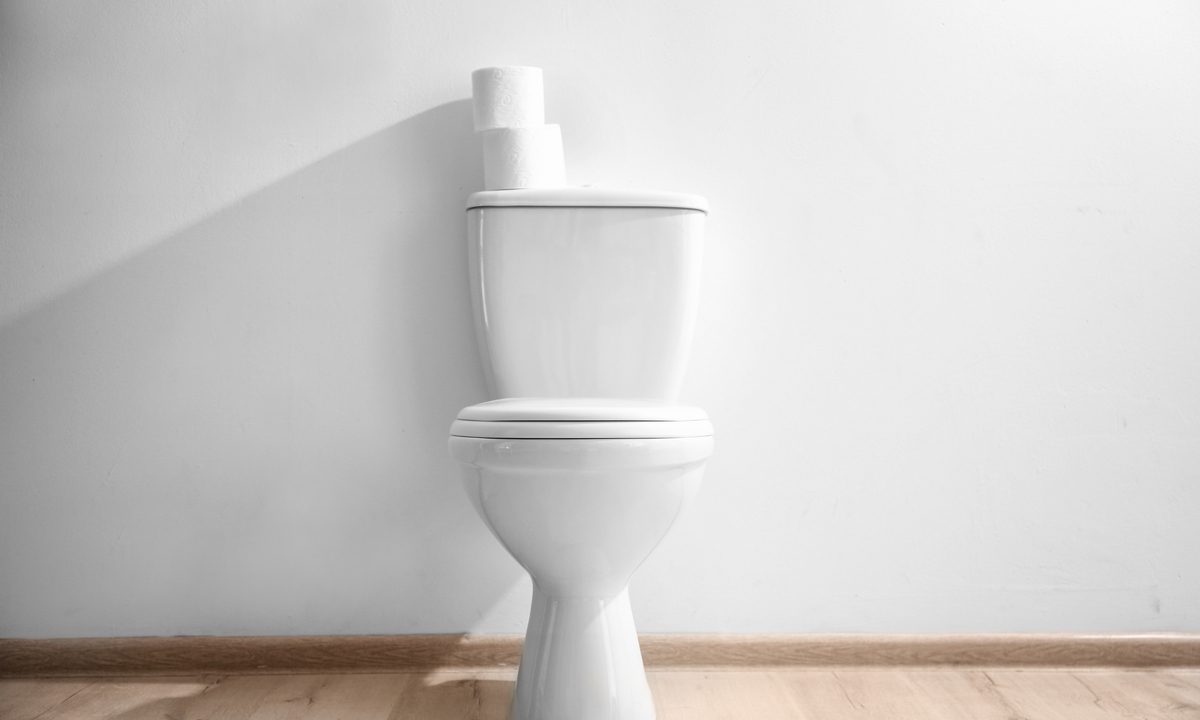
When remodeling your bathroom, one of the first features you want to replace is the toilet. Whether your old toilet is in disrepair or you want a fresh new look, you may be wondering, can I replace my toilet myself? We’ll walk you through some things you should be prepared for during this type of project, the tools you need, and the steps to successfully install a new toilet in your bathroom.

Is replacing a toilet difficult?
Whether you’re new to DIY or have some home renovation skills under your belt, replacing a toilet may seem like a daunting task. That’s why most people are apprehensive about taking on the challenge alone. But can you install a toilet without a plumber? Is it a difficult project? The reality is, the biggest challenge when replacing your toilet is that it requires a bit of strength. After all, toilets are pretty heavy. If you’re wondering what you need to know when replacing a toilet you’ve come to the right place. You can certainly tackle this project if you have the right tools and little help.
How to replace a toilet yourself: Removing the old toilet
When you’re picking out your new toilet, make sure you’ve measured the space your old toilet is sitting in so that you know your new toilet will fit properly and can be sat on comfortably. Then, you can move on to removing the old to make way for the new.
Step 1: Turn the water supply valve under the toilet to the “off” position. This will prevent any new water from coming through the pipes and flooding your bathroom during the removal and installation process.
Step 2: Flush the toilet to remove the water from the tank. Since the water supply is shut off, it won’t refill. Remove residual tank water by soaking it up with a large sponge and wringing the sponge out into a bucket.
Step 3: Pour some water solidifier into the bowl to prevent the water from spilling while you remove the toilet.
Step 4: Disconnect the water supply line from the toilet’s tank. Keep a bucket under the supply line opening in case any water is remaining in the line.
Step 5: Use a wrench to remove the hardware holding the tank to the bowl and lift the tank away. Then, remove the hardware holding the toilet’s base to the floor and lift the rest of the toilet away. It’s a good idea to have some garbage bags or plastic laid down so that you can rest the old toilet components on the floor without making a mess.
Step 6: Now that your old toilet is removed, you’ll see the flange sitting on the drain hole on the floor and the old wax ring sitting inside it. Remove the old wax ring and stuff a dry rag into the drain hole to prevent any sewer gasses from escaping while you work.
Step 7: Use a screwdriver to scrape off and lift any wax residue around the ring of the drain and clean the whole area thoroughly.
Step 8: Remove the closet bolts that are securing the flange to the floor. Your new toilet should come with this hardware.
Step 9: If your old flange is broken, replace it or repair it with a flange repair kit.

How to replace a toilet yourself: Installing the new toilet
Now that the old toilet has been removed and discarded, your new toilet can be installed. Most new toilets come with the necessary nuts and bolts, and the tank comes with the valves and parts already assembled inside. All you have to do is install it into its new home.
Step 1: Attach the new closet bolts to the flange by sliding them into place and twisting the washers so they’re tight against the flange.
Step 2: Take your new toilet base and turn it upside down. You’ll see a hole at the bottom of the base where the toilet will connect with the drain hole in the floor.
Step 3: Grab your new wax ring and run it under warm water to make it soft and a bit pliable.
Step 4: Press the wax ring around the hole on the bottom of the toilet base so that it seals in any water and sewer gasses once installed on the drain.
Step 5: Take out the rag you previously placed in the drain hole.
Step 6: Flip the toilet base right side up, lift it over the drain hole, and slowly lower it so that the closet bolts on the flange insert into the screw holes on the toilet base.
Step 7: Add the washers and bolts to the screws at the base of the toilet and alternate tightening them so that the toilet is level when installed. You may need to use a hacksaw to cut down the excess length of screw before adding the screw caps on the base.
Step 8: Grab your new toilet tank and flip it over so you can slide more closet bolts in place and install the rubber gasket on the bottom.
Step 9: Set the tank on top of the toilet and tighten the nuts and bolts that secure the two pieces together.
Step 10: Turn the water valve back on slowly and examine the connections and the base of the tank for any leaks. Tighten bolts or replace the gasket if leaks are present.
Step 11: Flush the toilet and check the toilet base for leaks. Tighten bolts or replace the wax ring if leaks are present.
Step 12: Use a screwdriver to secure the toilet seat to the bowl and set the tank’s lid in place.
Your bathroom gets a lot of use, so you want it to be as clean, new, and pleasant as possible. A new toilet is a great way to start your bathroom renovation. With our guide, you’ll be able to save a bunch of cash by replacing your toilet yourself instead of calling in a plumber.


