Cold weather and ice aren’t just uncomfortable for us physically. They can also cause a lot of damage around your property. While you can winterize your flower beds, your lawn, and even your house in order to prevent winter damage, there’s a lot less you can do about cold weather damaging your concrete. While concrete is tough, cracks inevitably happen, and they make for unsightly and unsafe gaps in driveways, stairs, and walkways. Read on to learn about why you should repair cracks quickly and how to fill large gaps in concrete.
Why you should repair cracks in concrete
Sure, a crack in your concrete patio or walkway is ugly, but is it really necessary to fix them? There are actually some important reasons you should repair cracks sooner rather than later. Here are the benefits of fixing those gaps.
Enhances curb appeal
If you’re trying to sell your home, curb appeal is crucial. Cracks and gaps in your concrete give your home an unkempt appearance and may make prospective buyers wonder what else has been neglected. Fixing those gaps enhances your curb appeal and could lead to higher property value since buyers will be willing to pay more for a home with pristine concrete.
Eliminates safety hazards
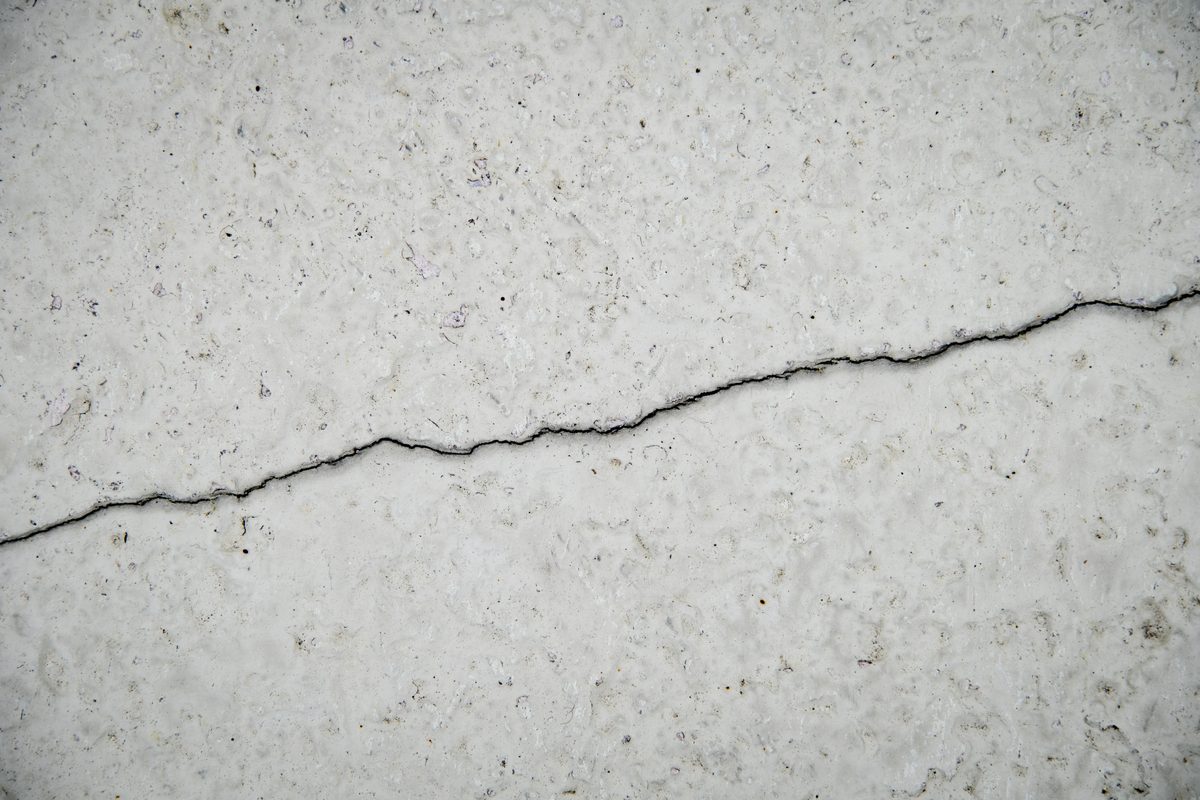
Small cracks in concrete grow and turn into large gaps, which pose safety risks such as trips and falls. Keep your family and guests safe by filling in the gaps and making the hazardous spot safer.
Prevents further damage
Small cracks are easier to repair than the large gaps they grow into, so it’s best to fix the problem while it’s small. Also, cracks in your concrete take in water, which washes away the soil underneath the concrete and makes the gap grow even more. Water in the cracks poses an even bigger risk — flooding your basement — if the crack is close to the foundation of your house.

How do you repair large cracks in concrete?
Let’s start by addressing the most urgent concrete repairs, which are large gaps. Unfortunately, you can’t use new concrete to repair old concrete because the wet form won’t adhere to the dried form without a special bonding agent. It’s best to use a concrete patching compound or a mortar mix.
What you’ll need
- Concrete repair product of your choice
- Hammer and chisel
- Wire brush
- Garden hose
- Wet/dry vacuum
- Trowel or putty knife
- Dust mask
Instructions for how to fill large gaps in concrete
- Be sure to wear a protective mask to prevent breathing in the dust that the project produces.
- Use a chisel and hammer to knock away any pieces of concrete in the gap that are crumbling or loose.
- Take your wire brush and scrub all edges of the crack to be sure any debris has been removed.
- Spray the crack with a hose to eliminate dust. This will help the repair product adhere.
- Use a ShopVac to remove any remaining debris and standing water from the crack. While it’s okay for the area to be a bit wet when you apply the repair product, pooled water cannot be present.
- Prepare the concrete repair product as directed on the instruction label.
- Use a trowel or putty knife to fill the gap with the prepared product. Make sure to press down hard into the gap to eliminate any air bubbles.
- Smooth the product out on the surface, and prepare it for drying according to the product instructions. For example, some products direct you to sprinkle the surface with water periodically and to keep the area under a tarp for a few days to keep it moist as the product hardens.
How do you fill deep gaps in concrete?
Concrete cracks that are narrow can be repaired using a concrete caulk or concrete filler material. However, even if a crack is narrow, it could still be one that goes deep under the surface. If your narrow crack is deeper than one-half inch, you’ll need a backing rod to fill in the space before caulking. Backing rods are typically made of foam and expand to fill the space. Here’s what you do to repair deep cracks.
What you’ll need
- Foam backing rod (choose a size that is appropriate for your crack’s width)
- Concrete caulk
- Pointed trowel or putty knife
- Air compressor or leaf blower
- Foam brush
Instructions for filling deep gaps in concrete
- If there are plants, dirt, or other debris inside the crack, they will need to be removed prior to inserting the backing rod. Use a pointed trowel or putty knife to loosen up compacted dirt and remove weeds.
- Once loosened, use your leaf blower or air compressor to remove all dust and debris remaining in the crack and ensure good caulk adhesion.
- Insert the foam backing rod into the entire length of the crack. Be sure to press it down tightly into the bottom of the crack using your pointed trowel or a screwdriver.
- Apply the concrete caulk over the whole backing rod for the entire length of the crack. Be sure all open spaces of the crack are covered with caulk.
- Use a foam brush or a wet finger to smooth out the surface of the caulk so that it’s flush with the surface of the concrete.
- Allow the caulk product to dry according to the package instructions.
Concrete is easy to maintain and it’s a tough material, but unfortunately, it’s not indestructible. Time and weather impact its strength, and cracks eventually form. The good news is, now that you know how to fill large gaps in concrete, you can repair your driveway, walkway, or patio so the exterior of your home will look pristine.


