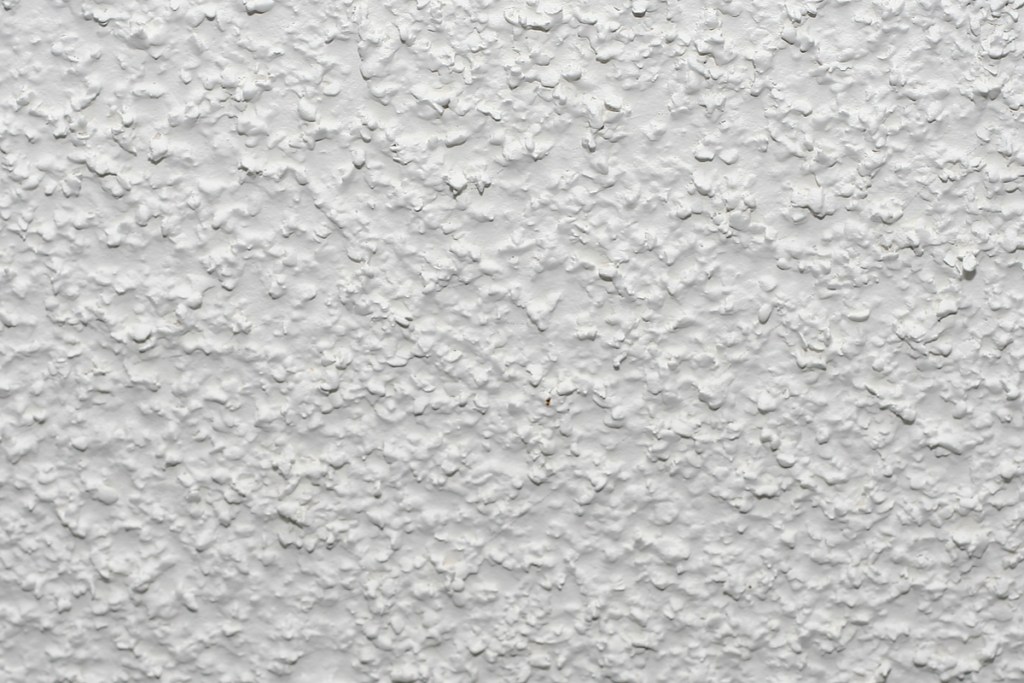
Having an older home has its charms. It's especially great if you upgrade essential rooms, like the kitchen, while keeping some of the original beauty of the home. Many not-so-new homes have some incredibly dated features, though. Popcorn ceilings are one of those eyesores that plague many homes built in the 1970s or earlier. Originally used for their quick, cheap installation and soundproofing benefits, these lumpy, tired ceilings have fallen out of the graces of homeowners.
The good news is this ugly feature in your home can be removed with a good chunk of time and some elbow grease. Here's how to remove popcorn ceiling in five easy steps.
Can I remove my popcorn ceiling myself?
While you can absolutely do a DIY removal of popcorn ceiling with basic tools, the reality is that it's an exhausting job. It takes a lot of effort since you'll have to manually scrape off all that material. If you think you can take the physical exertion, you should be able to complete the project over a couple of days with some breaks to rest your muscles in between.
Is it worth it to remove popcorn ceiling?
Since it's a dated feature in your home, a popcorn ceiling automatically lowers the resale value of your property. Removing it and repainting the ceiling will give the space a more modern appearance, making buyers willing to pay more. If you're planning to sell your home in the near future, it's definitely worth a couple of days of hard labor for the payout.

How to remove popcorn ceiling
If you've decided to take on this physical challenge, you're a hero among homeowners. Before you get started, there are a couple of things you need to do to ensure your safety and the protection of your belongings. We'll walk you through it.
Test the ceiling material for asbestos
Prior to any scraping or removal of popcorn ceilings, it's crucial that you get the material tested for asbestos. Particularly for popcorn ceilings installed prior to 1979, the materials used could have contained asbestos since they may have already been manufactured prior to the ban in 1977.
To test the materials, you can purchase a testing kit yourself or enlist the help of a professional. If you do your own testing, you'll need appropriate safety gear, like a dust mask, gloves, and safety goggles. Samples will need to be sent to a lab prior to removal to confirm that no asbestos is present. If it turns out that the ceiling contains asbestos, you'll need help from a licensed professional to remove it.
Prep the the room for the mess
Once you've confirmed that no harmful materials are present, you can begin prepping the space for the project. There's a lot of water involved in the process for removing popcorn ceilings, so it's important to protect against electric shocks. Removal is also a messy job and will result in dust and debris all over the room, so you'll want to protect yourself as well as furniture and floors.
Step 1: Shut off the power to the room and remove any light fixtures on the ceiling. Cover any electrical outlets or fixture boxes with plastic and painter's tape to protect them from water.
Step 2: Remove all furniture from the room or cover it with plastic sheeting.
Step 3: Cover floors with drop cloths.
Step 4: Put plastic sheeting on the walls to protect them from dust and debris. Use painter's tape to secure them to the wall.
Step 5: Open up windows to allow for proper ventilation.
Step 6: It's also a good idea to shut off your heat or air conditioning to prevent dust from being carried all over the house. Cover vents with plastic sheeting.
Spray and scrape the ceiling
Step 1: Spray a 3- to 4-foot square of ceiling with water using your garden sprayer or spray bottle. Let the water sit for several minutes.
Step 2: Use your scraping knife to carefully scrape away the wet material. Be careful to not scrape the material under the popcorn ceiling.
Step 3: Work around the room in 3- to 4-foot squares by spraying, letting the water sit, and then scraping.
Sand down residual material
Your scraper may not get all the material off in the first round. Use sandpaper to scratch away residual popcorn materials that the putty knife left behind.
Prime and paint
Since your room is already prepped and protected, now is a great time to get a fresh coat of paint on the ceiling. Make sure all the dust and debris is wiped off from the scraping before priming and painting the ceiling.
Your home should be a reflection of your style and taste, and a dated feature like a popcorn ceiling doesn't suit that goal. While removing popcorn ceilings isn't a walk in the park, your time and effort will be rewarded with a modern space that adds value to your home and more enjoyment to your everyday living.