
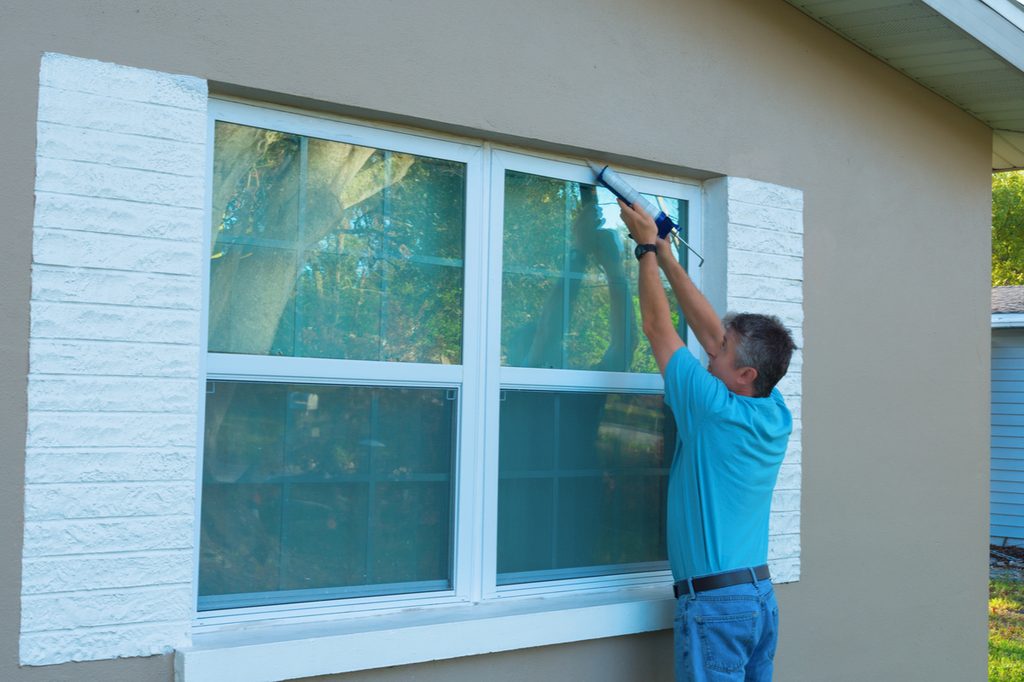
Sealing certain areas in your home against both moisture and escaping air is a good practice for preventing heat loss and water damage, and caulk is a tried-and-true sealant to use. Whether it was used in the bathroom, on exterior windows, or on your welcoming front door, caulk can not only get grimy and stained after a while, but it can also start to break down and lose its effectiveness. That’s why periodic re-caulking is a recommended practice, but you need to get rid of the old gunk before applying the new stuff. Here’s a guide on how to remove old caulk.

How do you know when it’s time to re-caulk?
When caulk loses its elasticity and waterproofing abilities, it’s time for replacement, and knowing when it’s time to re-caulk is pretty simple. Signs of deteriorating caulk include visible cracks or gaps, peeling, or a discolored and moldy appearance.
Additionally, if you notice water leaks, door drafts, or increased moisture in places like bathrooms, kitchens, or around windows and doors, re-caulking is probably needed. Regular inspections, typically every 2-5 years depending on your region, can help you identify when it’s time to refresh the caulk to prevent further damage and maintain those crucial seals in your home.
Why should you remove old caulk?
It’s a lot of work to remove old caulk, so a lot of homeowners wonder if they can simply skip this step. Applying new caulk over the old material, though, is actually pretty useless. Caulk adheres to a lot of surfaces, but it doesn’t adhere to itself. This means you’ll eventually end up with a poorly sealed area that could contribute to moisture damage and poor insulation.

How do you soften caulk for removal?
While you can forgo the use of chemicals and simply use a sharp caulk-removing tool to cut and scrape off the old caulk, chipping away at hardened caulk takes a lot of elbow grease and quite a few hours. Applying a caulk remover softens up the material and makes it easier to lift from the surface in bigger pieces. This will save you a lot of time and effort.

How to remove old caulk in 4 easy steps
Removing grimy old caulk takes a bit of patience and effort, but it’s actually a simple process that doesn’t take a lot of skill. Even newbies to the world of DIY can tackle this fall home maintenance project in just a couple of days. Here’s how to do it in four quick steps.
What you’ll need
- Caulk remover product
- Plastic putty knife or razor scraper
- Caulk removing tool
- Rubbing alcohol
- Clean rags or washcloths
Step 1: Apply a caulk remover product
Following the instructions on your caulk remover’s product label, apply it to the surface, being sure to cover the old caulk completely. It’s a good idea to clean the area completely before applying the caulk remover, so that dust, dirt, and other grime aren’t hanging around as you work. Let the product sit and work for the recommended amount of time, which is often overnight for the best results.
Step 2: Cut and remove old caulk strips
The good thing about using a caulk removing product is that it softens the old caulk to the point where it will come off in strips. It’s a much easier task than having to hack away at the hardened material. Once the product has worked its magic, you can get to work peeling up the bigger pieces of caulk with your caulk removing tool.
To encourage larger pieces to come loose in strips, you can use a razor blade or sharp cutting tool to cut the caulk away from both sides of a surface before using your angled caulk removing tool. Just be careful if you’re scraping the caulk away from vulnerable materials like tiling in the bathroom. Some surfaces can get easily damaged if they’re scraped, so it’s best to use a plastic rather than metal tool.
Step 3: Scrape away residual caulk
Once you’ve removed the larger chunks of old caulk, you’ll see that residue is still remaining. All of those remaining chunks will need to be removed in order for the new caulk to adhere properly. Use a razor scraper or a plastic putty knife to scrape all the residual material off.
Step 4: Clean the whole area thoroughly
Dust and debris from the old caulk, as well as any grime or dirt that’s in the area, will make the new caulk struggle to adhere and result in a seal that’s not completely watertight. This can lead to seeping water, which will cause mold and mildew problems.
After removing all the old chunks of caulk, use rubbing alcohol and clean rags to thoroughly wipe the space and get all remnants of old caulk, dust, and dirt out of there. After the area is squeaky clean, you can move on to applying your new caulk.
Tips to make caulk removal easier
Make sure tools are sharp
A dull blade, whether metal or plastic, will make for a longer job and more vigorous work. It’s a good idea to either sharpen tools or purchase new ones if yours are getting too dull.
Use a shop vac to clean up larger debris
Instead of wiping, sweeping, and tossing away larger pieces of debris, use a shop vac to make easy work of getting all the dust and old caulk pieces out of the area.
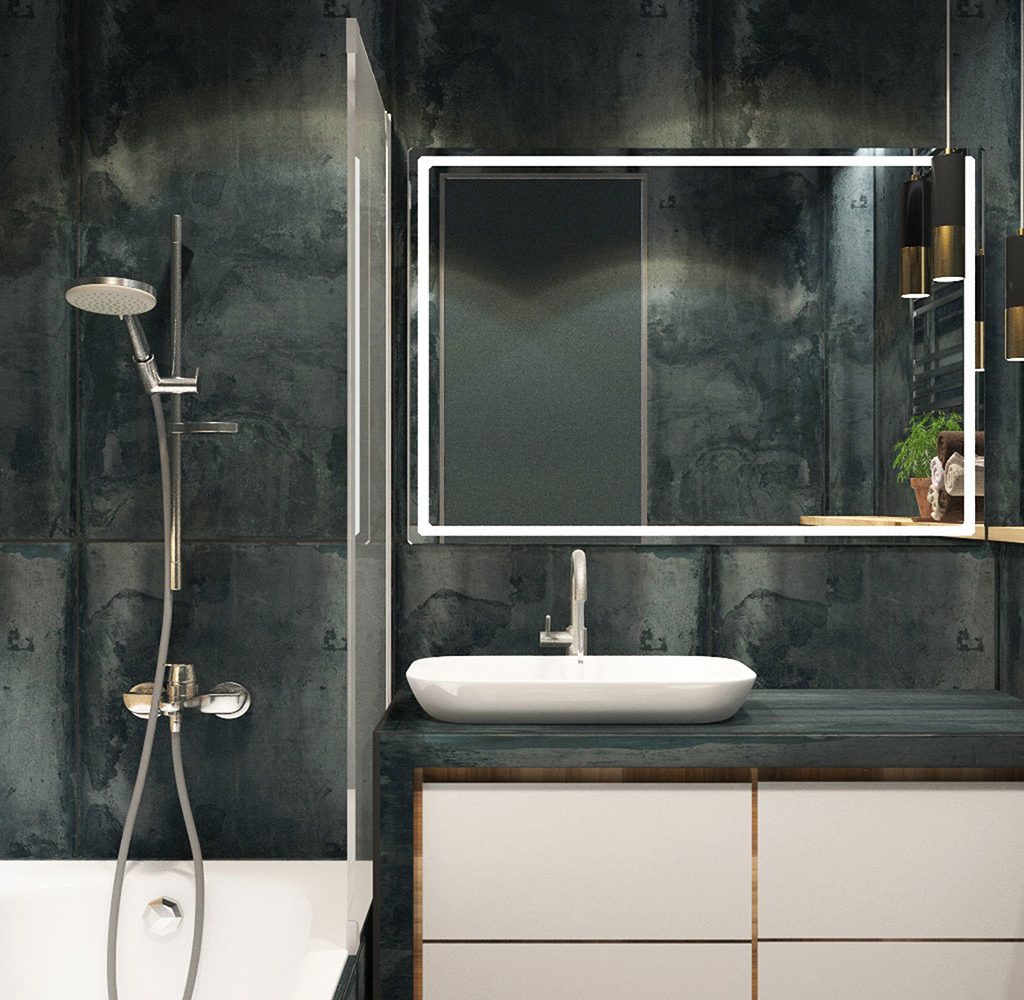
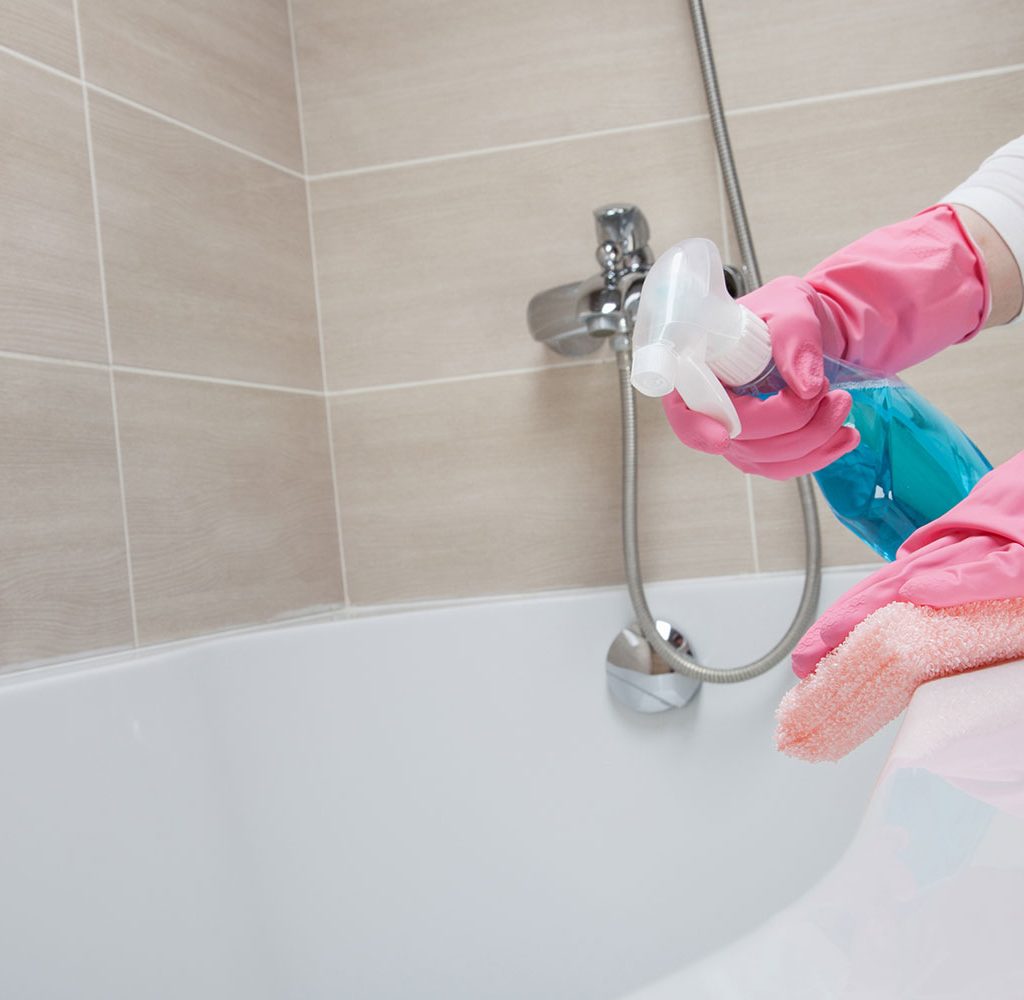
Get rid of soap scum too
If you’re re-caulking in the bathroom, soap scum and mildew are big problems. If you lay new caulk on top of them, it won’t adhere well and the seal won’t be watertight. Use a bathroom tile cleaner to get the area super clean and free of these substances before applying new caulk.
Sealants have an important job to do, and it’s crucial to make sure they’re applied properly so they can be as effective as possible. Removing old caulk is a tedious job, but it’s necessary to help the new caulk work well and prevent poor sealing and costly water damage. With these simple steps for removing the old stuff, though, your new caulk will work like a charm.


