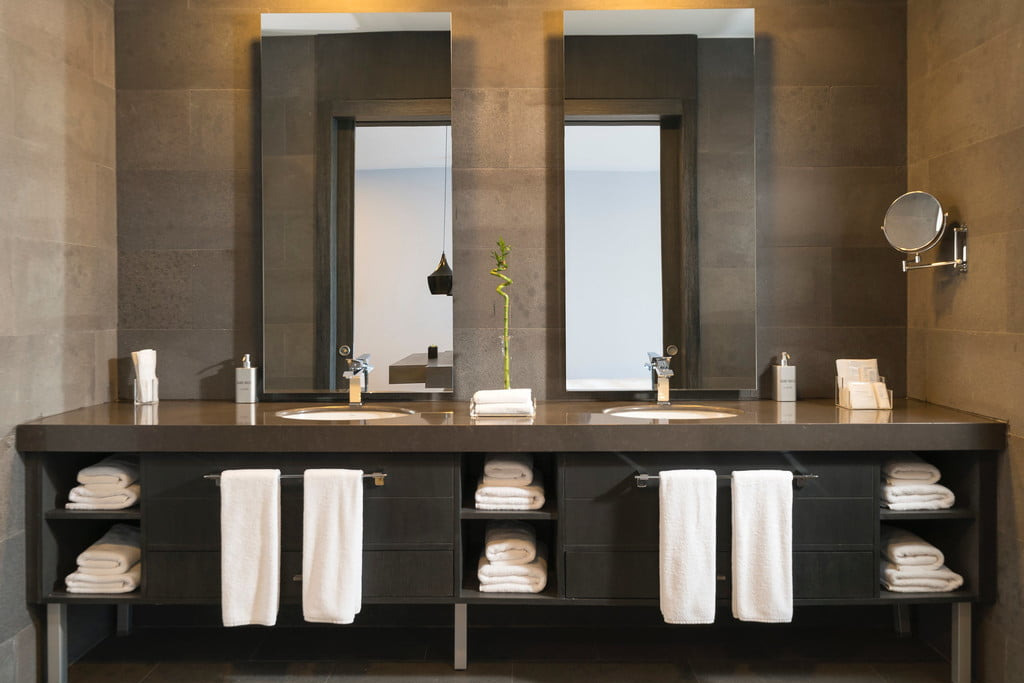
Years of daily use can leave the cabinets in your bathroom looking worn and unsightly. Luckily, you can rejuvenate the vanity quickly and inexpensively with nothing more than a fresh coat of paint. If your cabinets are in good shape but you’re bored with the current décor, repainting the vanity can quickly update the look of the entire bathroom.
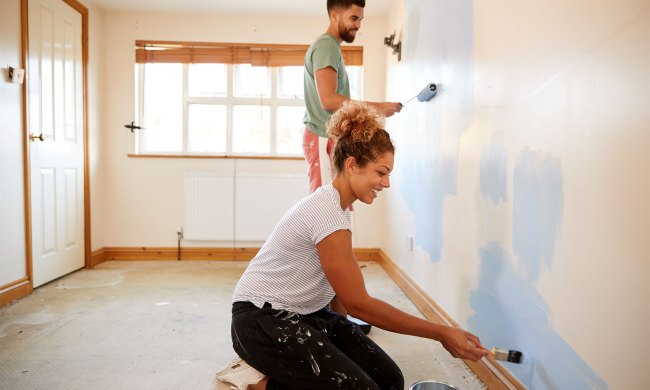
Painting any part of your home can be messy — you have to worry about protecting the walls, floors, fixtures, and baseboards from wayward paint splatter. Painting bathroom cabinets is especially tricky since you have less room to move around in. With a few tips and tricks, you can take the headache out of this project, ensuring you can breathe new life into your vanity without creating a mess or stressing yourself out.

Remove or disassemble the cabinets
If possible, take the cabinets out of the bathroom and paint them elsewhere, such as in the yard or a well-ventilated garage. This way, you can avoid spreading dust all over the bathroom or getting paint where it shouldn’t be.
If you can’t remove the cabinets, at least try to take them apart. After emptying out the vanity, remove the handles, knobs, and doors. Put the hardware in separate plastic bags and label the bags and doors to keep track of everything and make the reassembly process much smoother.
Protect the rest of the bathroom
Before you proceed, protect other items and surfaces in the bathroom. Remove objects like toiletries, towels, trash cans, and laundry baskets so you don’t have to worry about paint splattering onto them. Cover remaining surfaces, including the floors, with one or more drop cloths or old sheets.

Clean and sand the cabinets before you paint
Even if your bathroom cabinets look clean, there’s likely small amounts of dust and debris settled on them. Further, daily use can also leave them covered with dirt and greasy fingerprints that aren’t visible now but will be if you paint atop them.
- Thoroughly clean the vanity using a degreaser, such as trisodium phosphate, to help the paint adhere better. Follow the product’s directions and be sure to rinse the cabinets before you apply primer and paint.
- Check the cabinets for damage and fix any holes with wood filler.
- Sand the exterior surfaces using 220-grade sandpaper to roughen them up and help the primer and paint stick. If you’ve removed the doors, sand them in a well-ventilated location to minimize the amount of dust in the bathroom.
- Remove the leftover dust with a damp cloth and a vacuum. Be very thorough during this step — if you paint the cabinets with specks of dust still on them, they will be visible after you’ve finished the project.

Prime, paint, and reassemble the cabinets
Use painter’s tape around the edges of the vanity to protect the walls, floor, and any parts of the cabinets that you don’t want to paint, such as the gliders. Then, use a roller and brush to apply coats of primer and paint. A roller will let you quickly cover most of the cabinets, and a brush ensures you can reach into corners and contoured areas so you don’t miss any spots.
Use light coats of paint to keep drips to a minimum, and allow each coat to dry completely before you apply the next one. Follow the manufacturer’s guidelines so the paint has enough time to cure between coats. While this may extend the length of the project, being patient will pay off in the end when you’re left with smooth, glossy cabinetry.
If you were able to disassemble the cabinets, paint them in an open space, such as the garage or backyard, to avoid creating a mess in the bathroom. Otherwise, you can complete the project in the bathroom on top of a drop cloth that protects the floor.
Once every coat is dry, reassemble the vanity. Match the fixtures with the doors, an easy process if you labeled everything ahead of time, and enjoy the refreshed room.
Give your bathroom an easy refresh
Remodeling your bathroom can be an expensive and time-consuming process, but it doesn’t have to be. Instead of a full-scale renovation, repaint the vanity to transform the room with ease. This is a relatively simple project, but it can be messy and stressful if you don’t approach it the right way. By following these simple steps, you can make the process straightforward and keep your stress to a minimum.


