Winter can be a magical time with all the festive holidays, cozy sweaters, and hot chocolate. The season can also get extremely cold and uncomfortable in some regions, and people in these areas tend to crank up the heat in their homes. Homeowners may also winterize their homes when the weather gets chilly — and you should too, starting with your windows. We’ll discuss why you should seal windows for winter and how to do it on a budget.
Why seal windows for winter?

Heating a home can get expensive. In fact, according to the U.S. Department of Energy, home heating systems account for almost 30% of homeowners’ monthly energy bills. What’s worse is that at least one-fourth of that energy bill is spent on heat that’s not even warming up the home; it’s actually escaping through the windows. Sealing windows for the winter adds a layer of insulation to them so that the cost of heat loss through windows is reduced.
How to insulate windows that are damaged
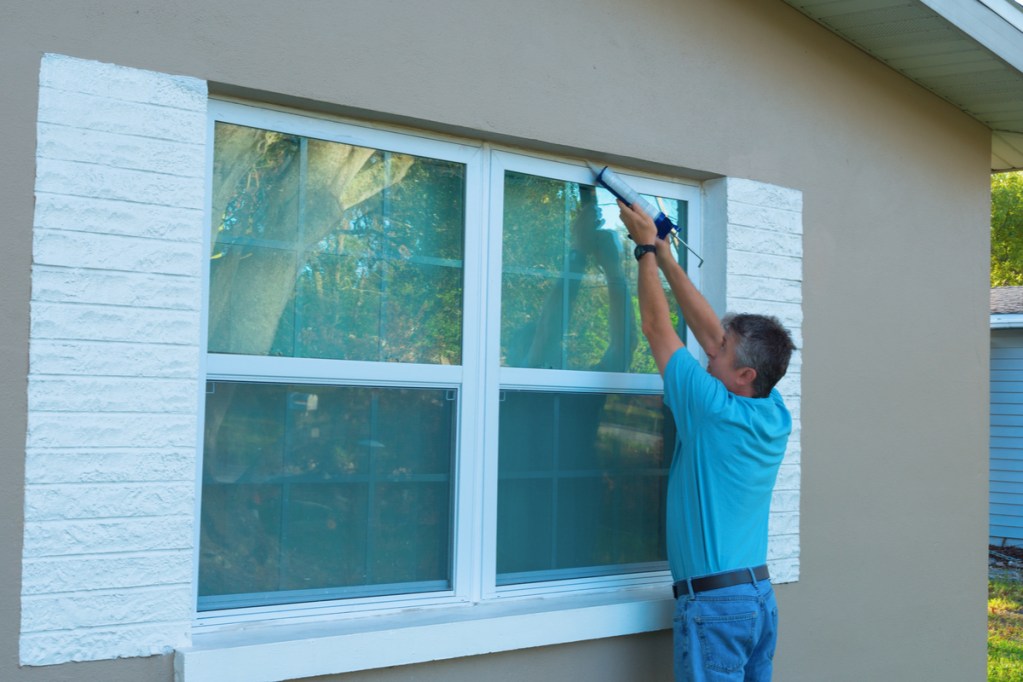
Particularly in older homes, window panes can start to see damage that causes cold air to seep into the house. This happens when the wooden window frame is exposed to moisture, which makes it expand and contract. This can cause the wood to crack or rot; then heated air escapes through the damaged portions. While rotted window frames will need to be replaced, you can repair cracks with a polyurethane caulk designed for windows. Here’s how to do it:
- Inspect each window and feel around the frame for cold drafts.
- If any cool air is detected, use a caulking gun to apply caulk to the crack and seal it.
- Be sure the area you’re applying the caulk to is a stationary piece of window pane that doesn’t need to move for the window to open.
How to seal a window from the inside

If you determine that the window frames are in good condition and your windows don’t need to be replaced, you’re not necessarily out of the woods yet. The glass on your windows itself allows a lot of heat loss in the winter, so it’s a good idea to take measures that will seal up windows and block the cold air from entering. Here are a few economical methods.
Plastic window films
You’re probably familiar with this window insulation method if you’ve lived in a cold region for a while. While they’re not the best option for aesthetics, plastic window films do a great job of adding a layer of insulation to windows. You can pick up a window film kit at your local hardware store. Here’s how to install them:
- Clean windows and window pane thoroughly. If dust or dirt are present, the window film won’t adhere as well and insulation will be poor.
- Apply double-sided tape around the perimeter of the window’s inside frame.
- Follow the window film product instructions for rolling it over the double-sided tape.
- Use scissors to remove excess film around the outside of the tape.
- Use a hair dryer around the window frame to shrink the window film. The heat helps it to adhere well to the tape.
Draft stoppers and weather stripping
Weather stripping materials and draft stoppers are great tools to use on drafty windows. They seal up any gaps left open when the window is closed. Draft stoppers are incredibly easy to use. Similar to door snakes, they are a tube-shaped cloth filled with insulation material. Simply place one across the base of the window where it normally opens, and the cold air won’t get in through the gap.
Weathers tripping is typically made from rubber, foam, or a spongy material. It comes in various widths and thicknesses and often has an adhesive side that sticks to the bottom of the sliding piece of the window while it’s open. Once the window is closed, the weather stripping compresses down and seals the gap completely.
Thermal window treatments
If you’d rather not have plastic on your windows for the winter, another effective window insulation method can be found in window treatments. Honeycomb blinds are window shades that have a cellular design. The air in the cells act as insulation and blocks cold air from entering the home. Similarly, thick blackout curtains are one of the best window treatments for not only blocking out light but also trapping in warm air and preventing it from seeping out through the windows.
Storm windows
A tried and true method, storm windows are certainly efficient at keeping cold air out, but they can be a bit pricier than other window sealing options. If you have single-pane windows, this may be your best option. Storm windows can be installed on the interior or exterior of your window. They are typically easy to install, as they just snap into place.
How much does window sealing cost?

The cost of sealing windows varies depending on the materials and methods used. Simple DIY solutions like weather stripping or caulking can cost as little as $10 to $50 for basic supplies. Window insulation kits typically range from $20 to $40 per window.
For professional sealing services, expect to pay between $100 and $400 per window, depending on the size, condition, and labor rates in your area. While there’s an upfront investment, sealing windows is a budget-friendly way to improve energy efficiency and save on heating bills in the long run.
When it’s time to hunker down for the winter, keeping your home toasty warm is essential. In order to get the most out of your heating system and save money on energy costs, it’s important to seal windows for winter. Keep the warm air in and the cold air out with one of the five methods on our list so you and your family can stay cozy this winter.