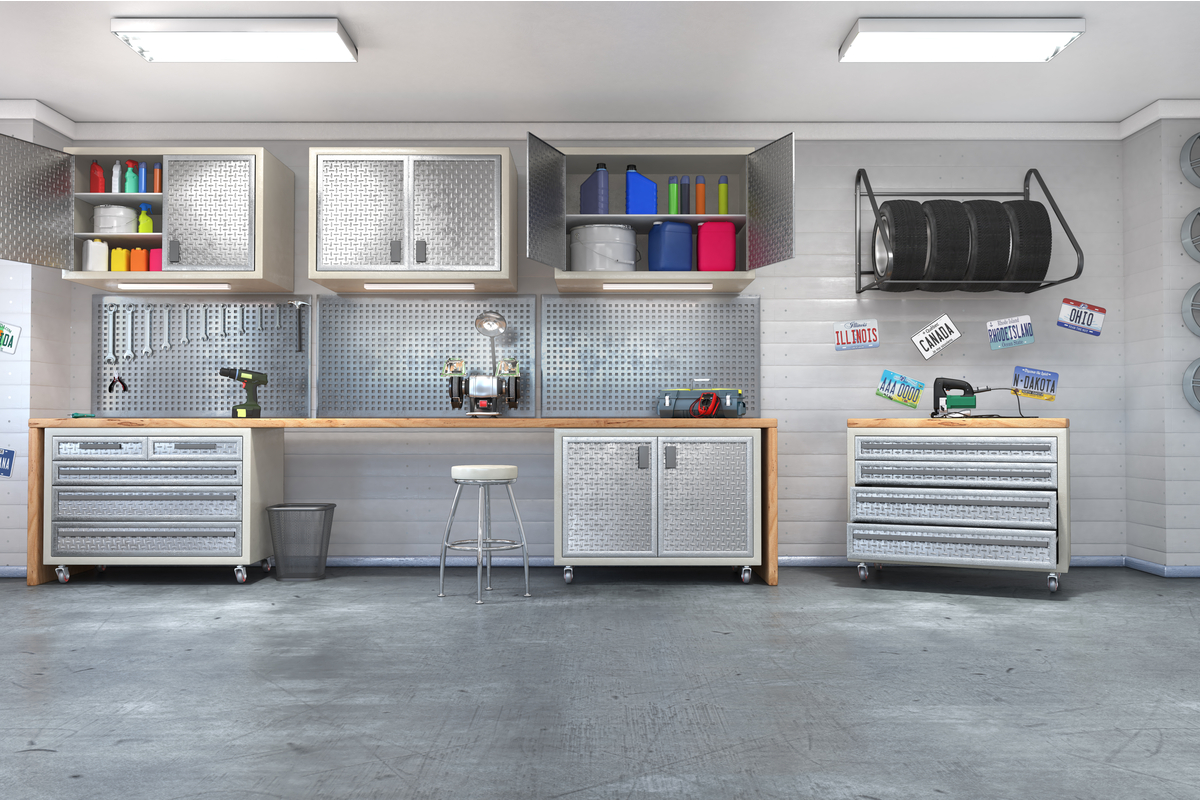
If you live in a chilly climate, you know there are certain areas of the house that reach uncomfortably cold temperatures in the winter. Basements, attics, and garages are all popular spaces to install convection or radiant heaters. When you go with a mountable heater, installation is obviously a bit trickier than just using a portable space heater. That’s why we’re going to walk you through how to install a wall heater in one of the most crucial work areas of your home: the garage.

How much does it cost to install a wall heater?
The price of electrical wall heaters varies between $100 and $400, depending on wattage and overall quality. These can typically be self-installed to save on labor costs, but if you decide to hire an HVAC specialist to install it, this will add between $200 and $300 for a couple of hours of labor.
Do wall heaters use a lot of electricity?
Electric wall heaters tend to cost a lot less to operate than propane heaters since they’re more energy-efficient. They will still increase your energy bill every month, though. During cold months when you’re heating the garage regularly, you should plan for an additional $100 per month on your electric bill with a wall heater.
Can I install a wall heater myself?
Installing your own wall heater takes a good amount of time and some DIY skill with running electrical wiring. Typically, most simple installations take less than a day to complete, but that time lengthens if the job is more complicated. There are some factors that could require a professional installation due to safety risks or complexity:
- Adding a 220-volt circuit, which should be done by a licensed electrician
- Using a gas or propane heater, which will require inspection after installation
- Installing a ductless, or mini-split, unit, which will require a separate outdoor compressor unit

How to install a wall heater in your garage
If you’ve decided to install your own electric wall heater in the garage, we’ve got you covered. Just gather these tools and materials before getting started.
What you’ll need
- Cordless drill and bits
- 3 colors of 10-gauge stranded wire, 2 hot legs, and 1 grounded wire
- Cable stripper
- Wire connectors
- Flexible metal conduit with connectors, elbows, and fittings
- Double circuit breaker, 30 amp
- 2 junction boxes
- Flexible appliance whip
- 4-in-1 screwdriver
- Your new electric heater
Determine the best location for the heater
Your heater’s electrical wires will need to connect to the home’s circuit breaker. Some heater models are mounted on the wall, and others can be suspended from the ceiling. You’ll need to mount the heater in a location that will be both beneficial for heating and safe for mounting, running wires, and sustaining high temperatures.
Safety first at the breaker
- Turn off power at the breaker to prevent electric shocks during the installation process.
- Confirm that you have available spots on your panel to add a breaker for the heater.
- Remove the panel cover to expose its wiring.
- If your breaker box shares a wall with the garage, you’ll just need to drill a hole in the wall so that wires can be run through it to connect to the breaker. Depending on the layout of your garage in relation to the breaker, you may need to run wire outside the garage.
Wire the wall heater
- Run conduit from the circuit breaker through the wall hole you drilled and into the garage. Install a junction box just inside the wall from the breaker, and connect the conduit to it for easy access to wiring.
- Run wires through the conduit out to the breaker, and attach the ground wire to the ground bar on the circuit panel. Attach the two hot leg wires to the terminal screws on your breaker.
- Use two screws to install another junction box a few feet from the mounting site.
- Install the conduit onto the walls or ceiling to connect the two junction boxes. Use fittings, elbows, and conduit connectors to attach different sections.
- Run wires through the full length of conduit using fish tape.
- Cut off excess wire at both ends of the conduit.
- Use wire connectors to connect the wire that’s run throughout the conduit to the wires from the breaker at the junction box.
- Mount the heater on the wall or ceiling by following the manufacturer’s instructions. If mounting on the wall, be sure you’re installing it on a stud for stability.
- Run more wire through a flexible appliance whip and attach the whip to the junction box near the mounting site.
- Use wire connectors to connect the other end of the wires in the appliance whip to the heater’s wiring, and attach the whip to the heater.
- Connect the two sets of wires inside the junction box, and replace both junction box covers.
- Flip the power back on at the breaker, and test out your new garage heater!
Your garage doesn’t have to be unlivable in the winter. With some DIY skill and a few tools, you can live or work in a warm space by installing a wall heater in your garage. It may be a taxing job, but you’ll be thankful you did it when temperatures drop below freezing.


