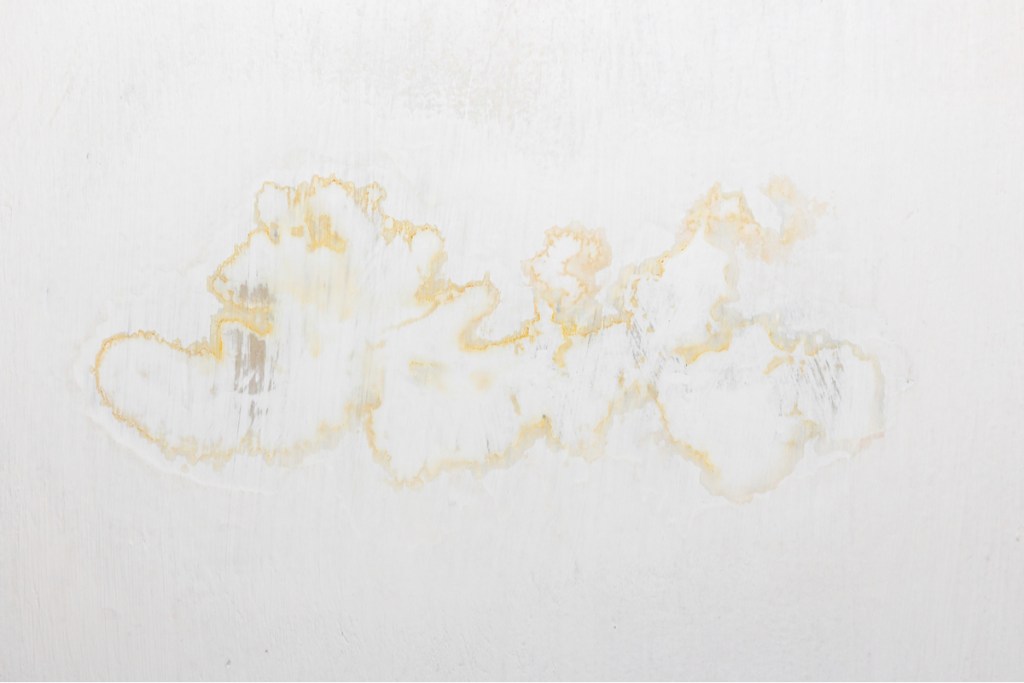
When you’ve worked hard to keep your home clean and you've decorated your space perfectly, plumbing leaks or flooding can be frustrating. Not only does water destroy drywall, but it also leaves behind nasty stains on your ceiling, creating an eyesore in your otherwise pristine room.
The good news is that you may not have to replace the drywall or take on a huge painting project to get rid of that water stain on the ceiling. Try this easy stain removal method instead and clean up your space without breaking the bank.
Is a water stain on the ceiling serious?
While the seriousness of a water stain depends on the underlying cause, it's generally a good idea to investigate and address it promptly. Water stains on the ceiling can be caused by various issues, all of which could get worse if left alone. Ignoring the stain or delaying repairs could lead to further damage, such as mold growth, structural deterioration, or additional water leaks.
Why are there water stains on my ceiling?
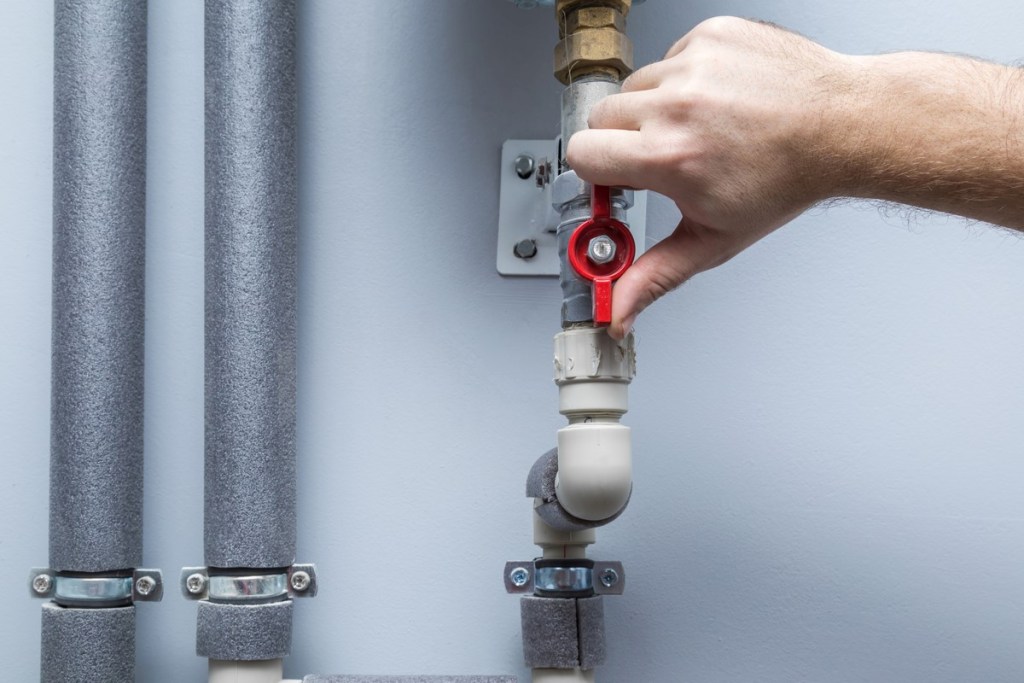
Stains can emerge due to flood damage, leaks from frozen pipes, or another source of moisture. The first step in removing this eyesore is to locate the source of the water and repair it. Otherwise, trying to repair the surface without fixing the underlying condition will leave you fixing the spot over and over again.
Once the leak is identified and remedied, you can move on to eliminating the stain.

Can you just paint over water damage?
Painting over a water stain can address the problem, but it only works after the source of the moisture is addressed. However, this method will cost more time and money than other more efficient strategies.
If you don’t have the exact paint to the match ceiling, it will be difficult to find something that fits the precise color and texture of the pre-existing paint. You’d likely have to paint the entire ceiling again to achieve a seamless finish.

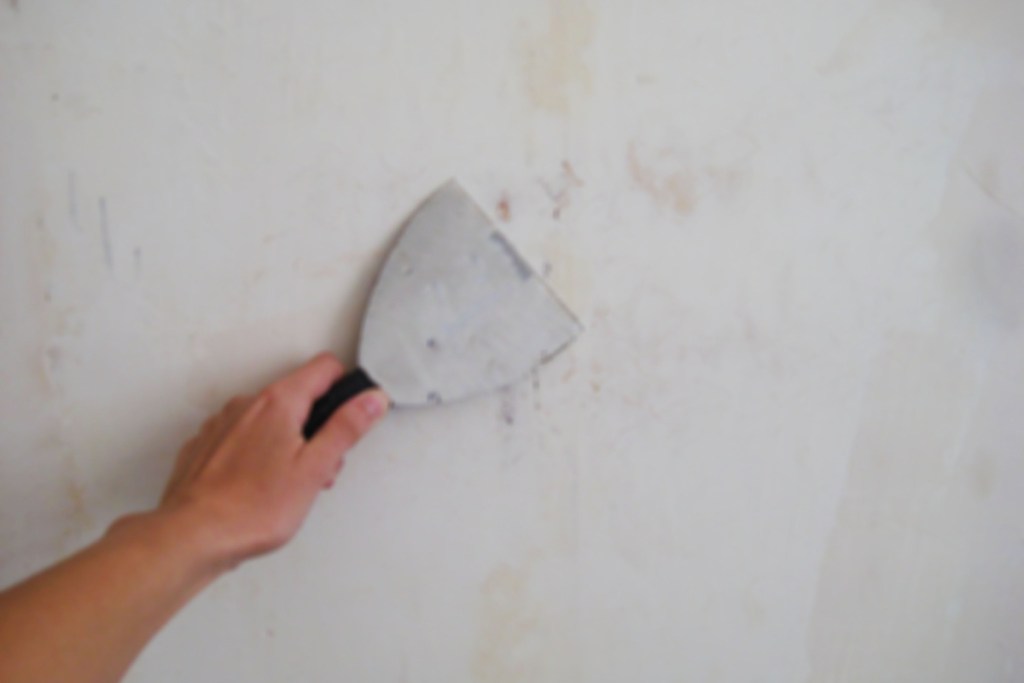
How do I get water stains off my ceiling?
Want to remove those water stains without spending too much time and money? All you need is bleach, water, and a spray bottle. However, bleach is a powerful chemical that can damage your belongings as well as your skin and lungs. Before mixing and spraying the bleach solution, take some precautions.
Step 1: Cover furniture and wall art in the room and wear clothes you’re OK with getting bleach on. Also wear protective gloves and a mask if needed.
Step 2: Fill a misting spray bottle with 1 part bleach and 2 parts tap water.
Step 3: Spray a light mist of the solution onto the stain and let it sit for about a minute.
Step 4: Spray the stain again and then let the whole treatment sit for up to 24 hours.
Step 5: If the stain is still visible after the waiting period, repeat the treatment for multiple days until the stain is gone.
Step 6: After cleaning, let the room air out for 24 hours before lounging in the space.

Will you have to paint after bleaching a water stain?
If your ceiling is white, there’s a good chance you won’t have to repaint it after treating the stain with bleach. If, however, your ceiling is off-white, cream, or any other color, the bleach will lighten the paint in that area. If that’s the case, see if you have any matching paint you can use to cover the lightened area. Otherwise, you may need to repaint the entire ceiling.
When should you avoid using bleach to eliminate a water stain on the ceiling?
While the bleach method is effective at removing water stains, there are instances in which bleach will further the damage. If the moisture has caused the paint to peel or the drywall to crumble, the chemical may corrode the materials further. In these instances, you’ll likely need to repair the drywall and repaint it.

How much does it cost to fix water stains on the ceiling?
If you prefer not to tackle water stains on your ceiling yourself, hiring a professional is a wise choice. Typically, a painter, water damage restoration specialist, or even a handyman can address this issue effectively. The cost varies depending on the severity of the damage and your location, but expect to pay between $100 and $500 per stain.
These types of professionals will:
- Assess the cause of the stain
- Repair any underlying issues like leaks
- Patch and repaint the affected area
- Apply a primer to prevent future stains
While it might seem costly, investing in professional expertise ensures a thorough and lasting solution.
When your living space is renovated and decorated to your heart’s content, water damage can throw a big wrench in your plans for rest and relaxation. Aside from any costs related to repairing the moisture leak, you’re also left with ugly stains that distract from an otherwise beautiful home. Before completing a full renovation of your wall or ceiling, try this quick and easy method to save your ceiling as well as your time and money.