A home's outdoor space is like a blank canvas. You can design it to be an area that fits your needs, matches your style, or serves your entertainment purposes. Outdoor features like raised patios, flower gardens, and fountains add gorgeous focal points that bring the whole space together.
A retaining wall is another feature that adds a ton of character to your yard. It creates a more complex appearance of levels in a sloping yard and adds some charming design possibilities. Retaining walls also serve an important function since they prevent soil erosion and open up your sloping yard as more usable space. Let's talk about how to build a retaining wall on a slope that functions well and looks great.

What is the easiest retaining wall to build?
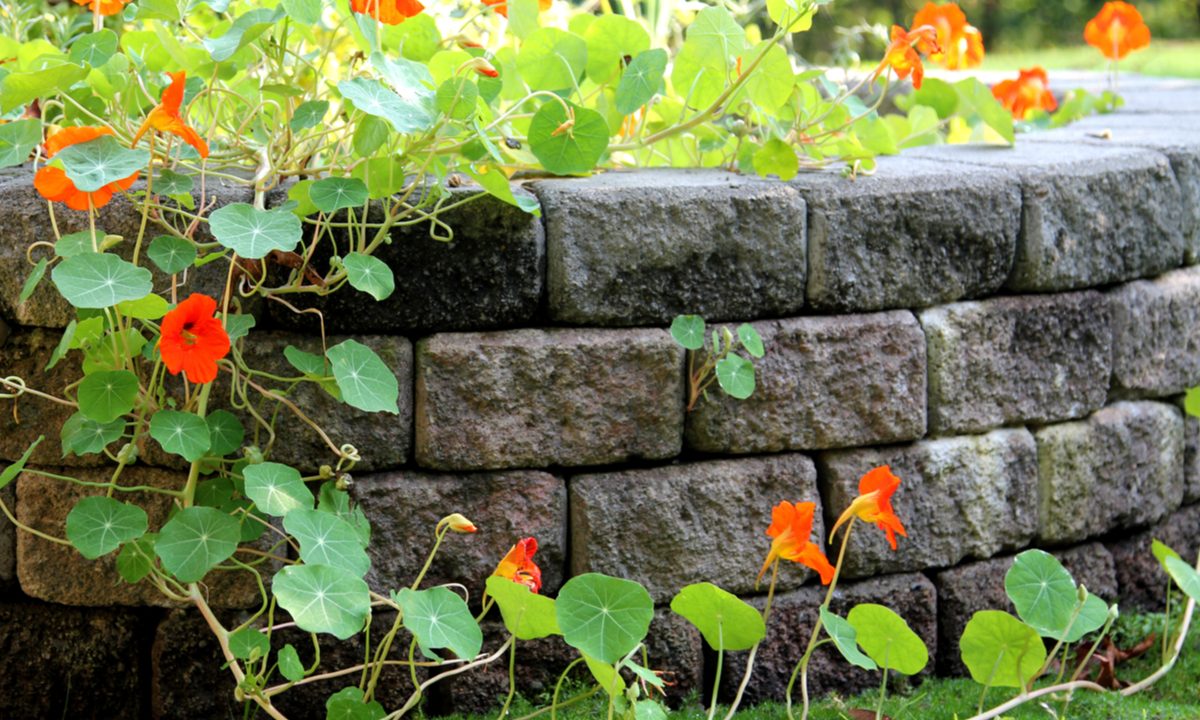
There are several options when it comes to what your retaining wall can be made of. Some are made of wood, which is a cheaper option. Others are made from sturdier, longer-lasting materials like natural stones, bricks, or cement blocks. If you're building your own retaining wall, the easiest material to use is cement blocks. These blocks are solid and heavy, and they don't necessarily need adhesive to stay put like stones or bricks do. Many cement retaining wall blocks are designed to interlock for more security.
Map out your wall's location
Determine where in your yard's slope you'd like to build the retaining wall. Then gather a tape measure, garden stakes, and plenty of string or rope.
Step 1: Measure the width you'd like your retaining wall to be, and indicate where it will start and end with a line of garden stakes.
Step 2: Measure the height you'd like the wall to be against the height of the stakes, and tie a string between them to indicate the desired height. It's ideal for retaining walls to be no more than 4 feet high, as this height can be DIYed and requires no anchoring.
Level the ground for your wall
For safety purposes, and to keep the structure of your retaining wall intact, it's essential for its foundation to be built on a completely level surface. If your yard is significantly sloped, this means you'll have to do some digging.
Step 1: Using a shovel, begin to dig a trench that will accommodate the entire base of your wall. The trench should stretch the length of the entire wall and should be the width of two retaining wall blocks. One common question homeowners have is, "How deep should a trench be for a retaining wall?" Since the trench will need to be filled with with gravel before blocks are laid, a good depth for your trench is roughly 8 inches for a retaining wall that's 3 feet in height.
Step 2: Use a tamper to compact the soil at the bottom of the trench and level it out.
Step 3: Place a 2x4 plank at the bottom of the trench, and place a level on top of it to ensure the entire length of the trench is leveled out. You can remove the 2x4 once you're finished.
Pour your base into the trench
One thing you don't want to do is lay your retaining wall blocks directly onto the soil in your trench. Soil erosion causes structures to shift after they've been built. For that reason, using fine gravel as a foundation for your retaining wall will help prevent the cement blocks from settling and looking uneven down the road.
Step 1: Pour about 3 inches of gravel into the bottom of the trench.
Step 2: Rake the gravel so that it's evenly dispersed throughout the bottom of the trench.
Step 3: Use your tamper to press the gravel down, making it compacted and level.
Set your retaining wall blocks
Now it's time to start building your wall. Realize that the process may take some time, as you'll have to be sure the rows of blocks are level with one another as you're going along. Keep some extra gravel, the level, and a rubber mallet nearby.
Step 1: Starting at the very middle of your trench, lay your first block down.
Step 2: Use your level to make sure the block is laid completely flat. If it's not, add some more gravel underneath the block where it's sagging and tap it with the rubber mallet to get it nestled in place.
Step 3: Continue laying blocks in a single row in both directions from the middle, and ensure each block is level. Use more gravel under ones that sag too low, and tap down the ones that are a bit too high.
Step 4: Once the first row of blocks is laid, fill the area behind the blocks — the area against the soil — with gravel. Use your tamper to compact the gravel behind the blocks so that it will reinforce the strength of the wall.
Step 5: Add your second level of blocks to the wall. Be sure you lay each block of the second layer in a staggered fashion so that it lays on the crack between two blocks on the layer below.
Step 6: Blocks on the end of your second layer will need to be cut in half due to the staggering design of the blocks. Use a masonry blade in a circular saw to cut the blocks in half.
Step 7: Repeat the process, and continue adding layers of retaining wall blocks until you've reached the desired height.

Fill in the back of your retaining wall
Backfilling your retaining wall not only helps fortify it and keep it structurally sound, but it also helps the area behind the wall to drain properly. This relieves the pressure and weight that wet soil has on the back of your retaining wall.
Step 1: Use a shovel to layer gravel or sand into the area between the soil and your wall.
Step 2: Add the material in small amounts, using your tamper to compact it as you go.
Step 3: The top couple of inches behind the wall can be layered with sod or soil if you want to use the space for planting.
Retaining walls, while they're a bit labor intensive to install, add some amazing aesthetics to your sloping yard. Follow this guide when building your own retaining wall, and you'll be done with the project in as little as an extended weekend.


