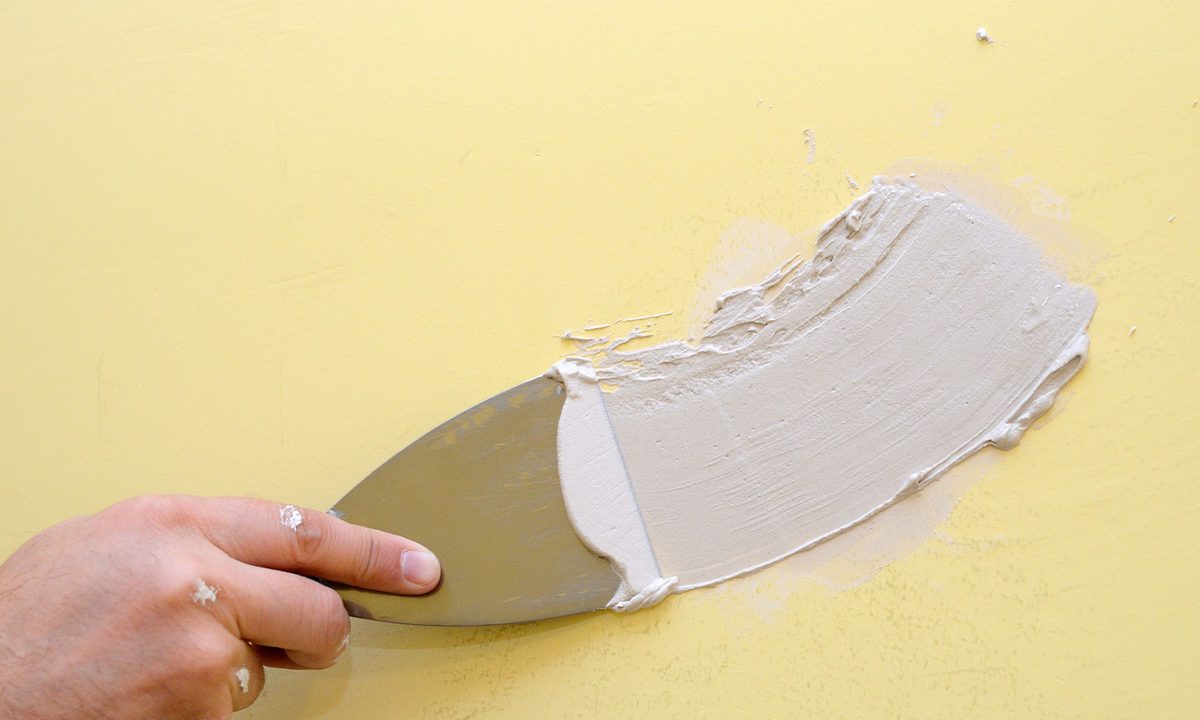
Knowing how to patch drywall is a vital skill for any homeowner. Whether you’re covering screw holes, repairing drywall damages, or need to prep your walls for painting, having the know-how to spackle your walls is an essential home maintenance tool.
However, spackle requires a bit of time to harden. If you’re in a rush to sand, prime, and paint your walls, you may struggle to account for drying time. How long does spackle take to dry? We have the answers and a few tips to make it dry faster.
Types of spackle
There are several brands and types of spackle to choose from, meaning each will come with its own recommendations for drying time. Though, in general, spackle can take anywhere from 2 to 2 hours to dry and roughly 24 hours to cure.
Standard
Standard spackle comes premixed and ready to apply. It is a gypsum-based mixture that is meant for patching small holes and simple repairs. Standard spackle can take approximately 2 hours to fully dry, but may take longer to cure. Reference the manufacturer’s instructions for exact timing.
Epoxy
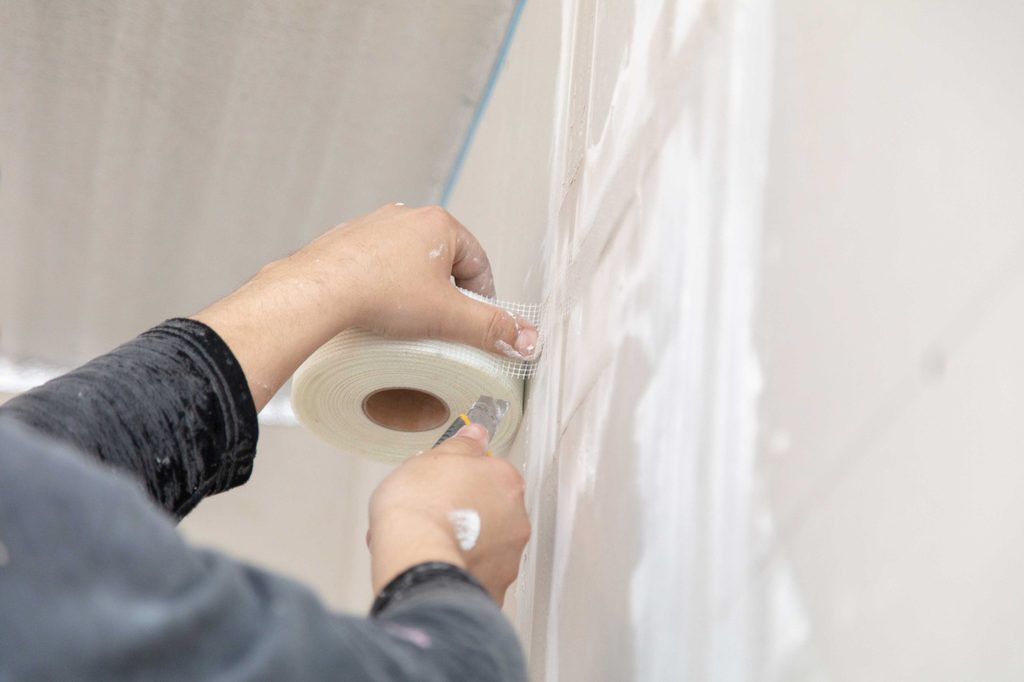
Epoxy spackle has a higher adhesive strength, making it ideal for more extensive projects like spackling large holes or cracks. However, epoxy spackle requires a longer drying time, roughly 24 hours. Additionally, based on the manufacturer’s instructions, you’ll need to allow the epoxy the proper time to cure before you can move on to sanding and painting.
Acrylic
Acrylic spackle is the go-to choice if you’re working with materials other than drywall, like wood, stone, or brick. This spackle is best for large gouges and holes. It will take about 2 to 4 hours to dry and requires more powerful sanding and smoothing tools since acrylic spackle doesn’t crumble when dried.
Vinyl
Vinyl spackle is similar to epoxy, but it’s made with elastic polymers. It’s a versatile spackle that can work on a variety of surfaces, like cement, brick, stone, wood, or drywall. It takes 2 to 5 hours to dry fully.
Quick-dry
If you’re running short on time, quick-dry spackle is a fantastic choice. It comes in both premixed and unmixed varieties. Quick-dry spackle is recommended for more minor repairs and projects like patching screw holes in the drywall. Premixed solutions can take 30 minutes, on average, to dry. Powder varieties need to be mixed with water to form a paste and can dry within minutes of application.
What affects drying time for spackle?
Aside from the brand and type of spackle you choose, environmental factors and the scope of your project can also impact drying time.
Size of the repair
The larger your spackle project, the longer it will take to dry. Deep gouges, holes, or large gashes will require longer drying times than smaller repairs. You can expect patching nail or screw holes to dry much faster than patching half a container’s worth of spackle in a deeper gash. Similarly, shallow repairs will dry faster than deeper repairs as more of the spackle is exposed to the air.
Temperature and humidity
Ideally, you’ll want the temperature in your project space to be between 50 and 90 degrees for the fastest drying time. Extreme cold or hot temperatures could slow the drying process of your spackle and increase the wait time.
Additionally, areas with high humidity require longer drying time. Spackle holds moisture, and the drying time is essential for that moisture to evaporate. A high-humid environment, however, will prevent the moisture from evaporating quickly.
How to make spackle dry faster
If you’re short on time and need your spackle to dry faster so that you can meet your sanding and painting deadlines, you can try the following tips to speed up the process.
Use a fan or air conditioner
Circulating the air around your spackle project will help hasten drying times. Use an air conditioner to cool down excessively hot spaces or to reduce high humidity. A fan can also help dry larger spackle projects.
Try a dehumidifier
If your project environment is too humid for your spackle to dry quickly, try using a dehumidifier. This will help reduce the amount of moisture in the air, allowing the moisture in your spackle to evaporate faster.
Hair dryer on cool setting
For small, concentrated projects, you can use a hair dryer to help speed up the drying process. Set the hair dryer to a cool setting and aim it at a small spackled hole or crack. After 5 to 10 minutes, you can test the spackle with your finger to see if it’s dry.
Not all spackle is the same, so it’s important to read through the manufacturer’s instructions to familiarize yourself with the proper drying and curing time. Additionally, spackle and joint compound are not the same, so be sure to double-check that you have the right product for your project. Follow our tips to dry your spackle faster, if necessary.


