Are you planning a painting project but worried about the moisture in the air and how it will impact your paint job? If you’re concerned about humidity levels while you paint, you’ve come to the right place. Since paint needs to dry properly to have a beautiful and smooth-looking result, humidity is certainly an issue. So, is painting in humid weather possible? While the answer to that question is yes, we’ll discuss some of the concerns and tips for dealing with humidity and painting indoors or outdoors.
How does humidity affect your paint job?
Moisture in the air means there’s moisture on the surface you’re about to paint. A damp surface is not ideal for painting, and you may find that your overall result doesn’t look as great as you’d hoped. Let’s dig into the specifics of how high humidity negatively impacts your paint job.
Moisture could lead to mold growth
When you’re dealing with high humidity, surfaces tend to dry slowly. When you’re painting indoors, for example, you always want to wash your walls before slapping down a coat of paint, so high humidity could slow down the drying process. If your walls are damp when you start to paint, this could lead to mold growing between the wall and the paint. The mold will eventually grow through the new layer of paint, and you will need to clean the area and paint again.
Paint will struggle to dry
For most paint types to dry, the water in the paint needs to evaporate faster than the solvents. In high humidity, the water struggles to evaporate, making for a gunky, gel-like layer of paint. Eventually, when the humidity level falls, you’ll find that this type of consistency will dry with a wavy texture since it has not been set properly. You likely won’t be satisfied with the result.
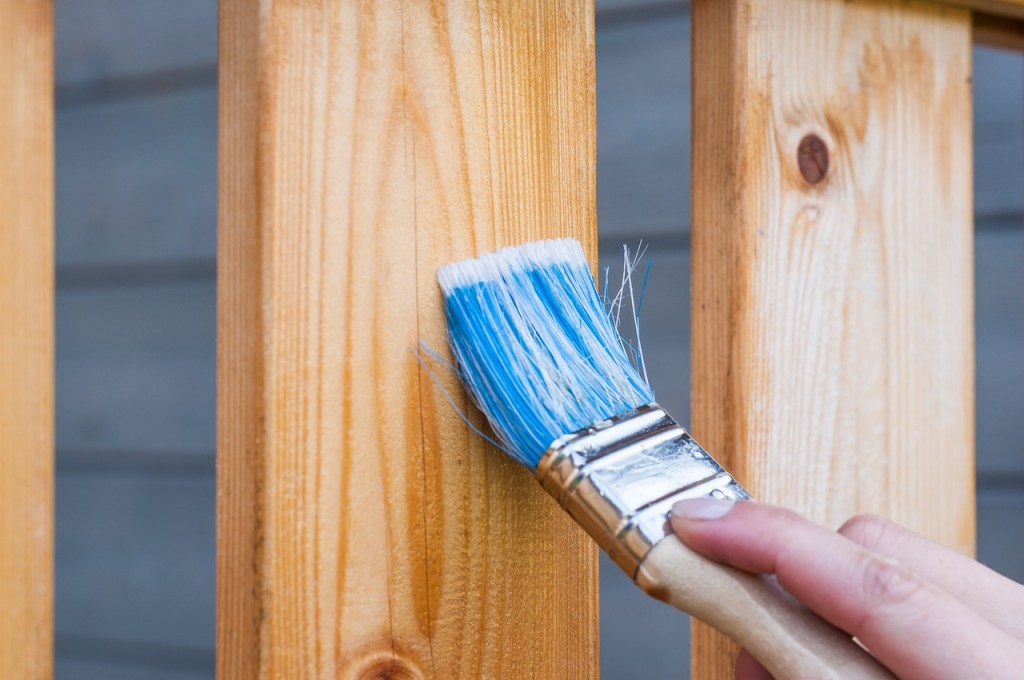
Wood surfaces could swell
As you may know, moisture on wood causes it to swell. If you’re painting wood when there’s a lot of moisture in the air, the wood could start to swell a bit after you’ve put on a coat of paint. This swelling could cause cracks or chips in your coat of paint, which will eventually lead to the surface needing to be repainted.
Paint may not adhere to metal surfaces
Painting metal objects can already be difficult since paint doesn’t adhere to them as easily as it does to wood or other materials. Humidity can worsen this effect, so if you’re trying to paint something metal, it might be best to leave that for a drier day.
What is the ideal humidity level for painting?
For optimal painting results, it’s essential to maintain humidity levels between 40% and 50%. High humidity can cause paint to dry too slowly, leading to issues like drips, uneven finishes, or even mildew growth. Conversely, low humidity can cause the paint to dry too quickly, resulting in brush marks and poor adhesion. Keeping humidity within this ideal range ensures a smooth, durable finish.
Tips for painting in high humidity

The perfect humidity level for painting, particularly outdoors, is between 40 and 50 percent relative humidity. Some moisture in the air is a good thing when you’re painting since you don’t want the paint to dry too fast and start to crack or peel.
While painting in humidity levels above 50 percent is possible, you have to take some additional precautions to ensure a smooth and clean result. However, painting in humidity levels over 85 percent is highly discouraged since the paint will have such a difficult time drying.
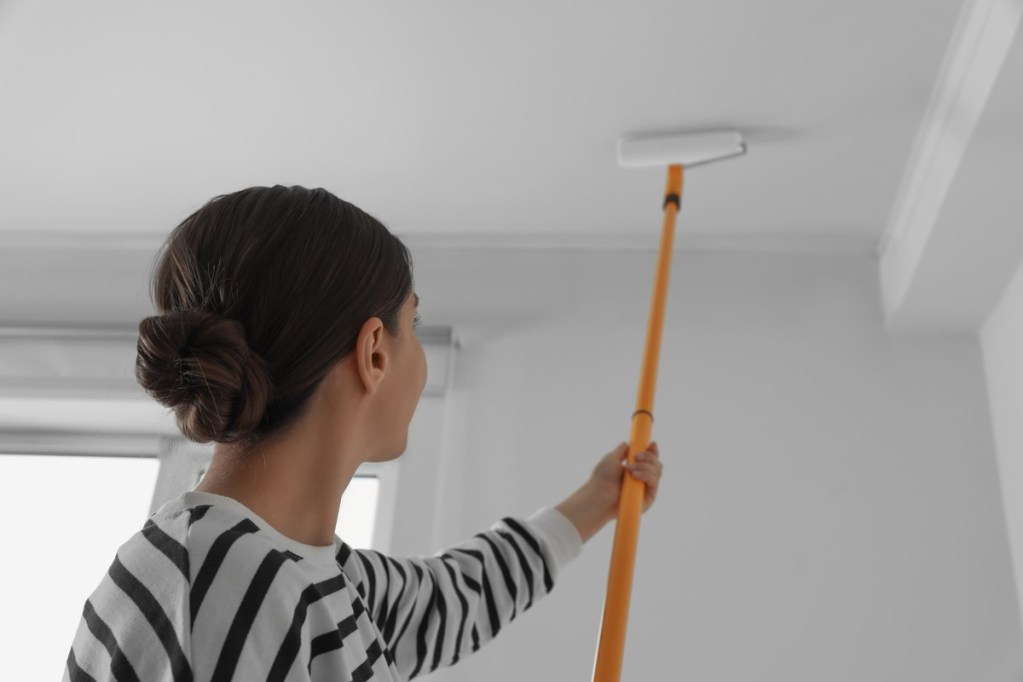
Thoroughly dry the surface before painting
If you’re painting indoors after you’ve washed your walls, be sure to wipe them thoroughly with a dry cloth to soak up any excess water. Then, set up some oscillating fans or even industrial blowers in the room for up to several hours to rid the walls of any residual moisture. It’s also a good idea to run a dehumidifier in the room for several hours after washing the walls and before painting.
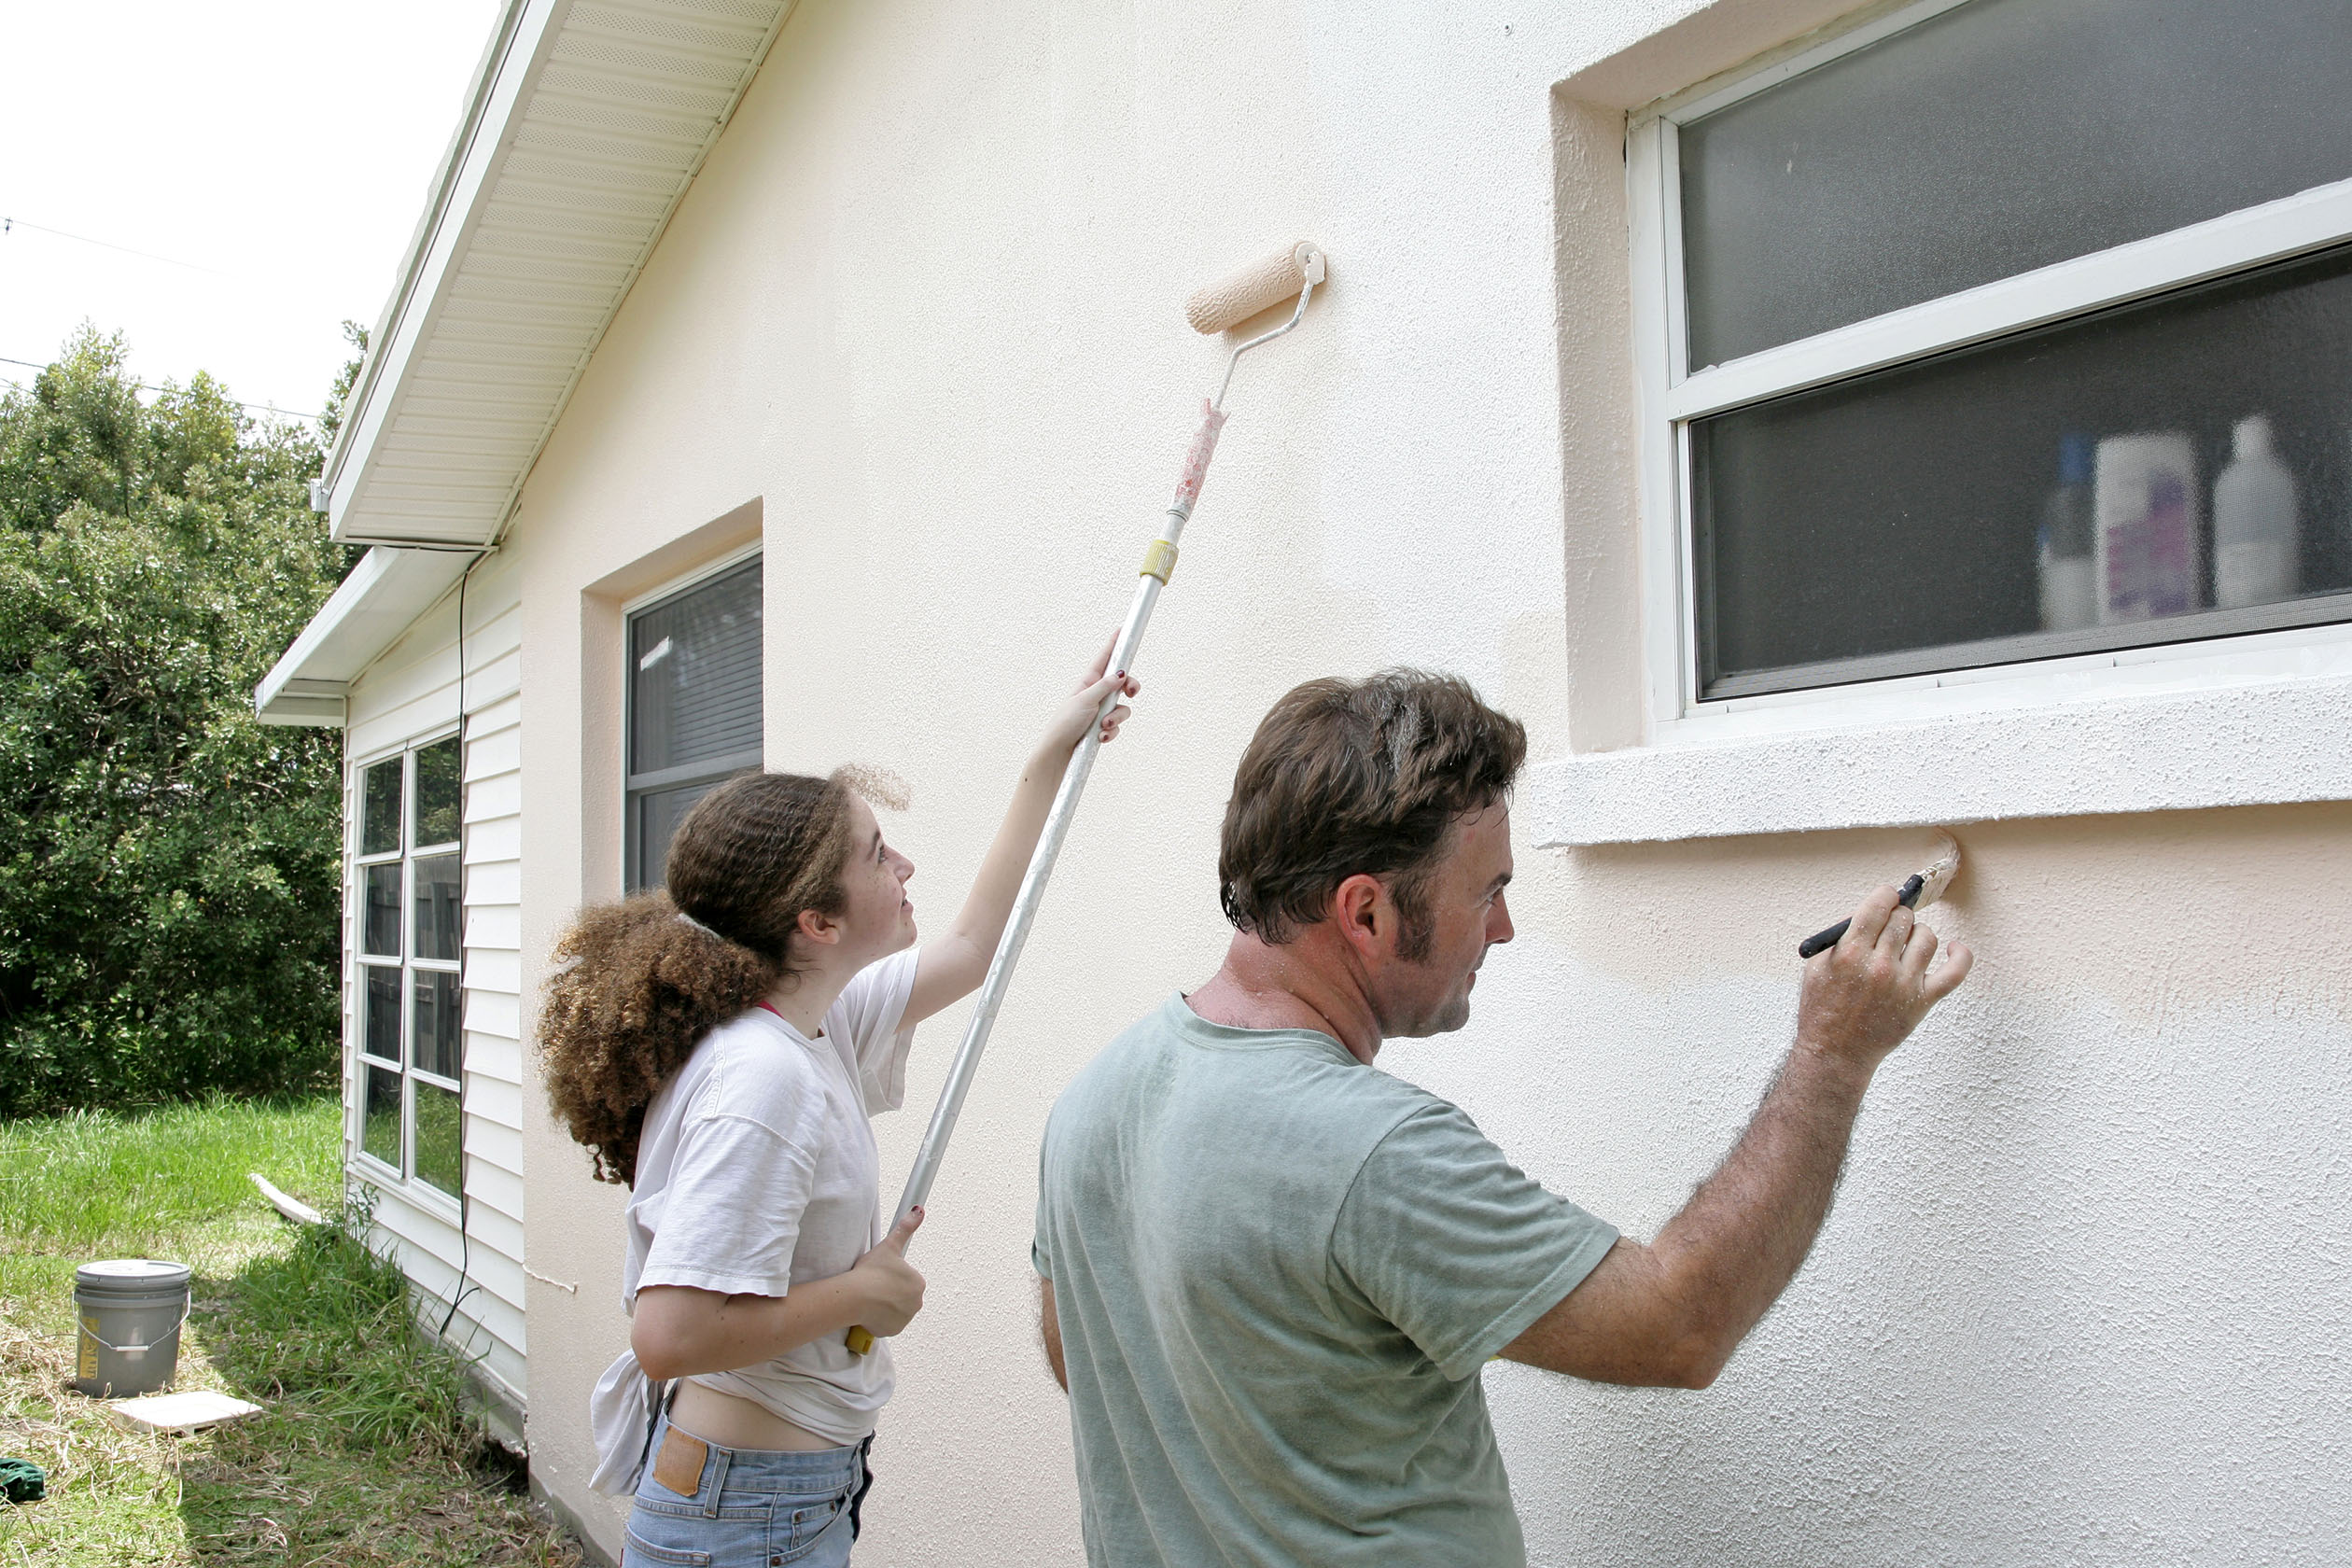
Paint at the right time of day
Particularly if you’re painting outdoors, the time of day plays an important role in your paint job’s success. As you approach midday, temperatures rise, and humidity falls, so begin painting during the early morning hours. That way, your paint will begin drying as the humidity gets lower. As the day goes on into the late afternoon, humidity levels increase as the temperature lowers, and you run the risk of condensation building up on your newly applied coat of paint. It’s best to stop painting as the day gets later.
Follow the sun
You don’t want to have freshly applied paint in direct sunlight since the paint will dry too quickly and not adhere properly, but the sun does help with warming surfaces and reducing moisture. When you’re starting your outdoor painting job, plan to begin with the surfaces that have been previously sitting in the sun but are now moving into the shade. These areas will be warmed and less moist but will not be in the sunlight as they dry.
Paint in thin layers
This one may be obvious, but thin layers dry more quickly, so if you’re facing highly humid conditions that will slow down the drying process, this is one way you can combat it. In the spirit of full disclosure, painting thin layers will require additional coats, but you’ll be more pleased with the outcome overall.
What paint is good for high humidity?
When it comes to tackling high humidity in your painting project, opting for paints with a glossy sheen, such as satin or semi-gloss, is your best bet. Unlike matte or eggshell paint finishes that absorb moisture, glossy finishes deflect it. These paints have a harder finish, making them more resistant to the effects of humidity. Also, look for paint labeled as “mildew-resistant” or “moisture-resistant.” These types of paints are designed to resist mold and mildew in humid conditions, ensuring your paint job stays fresh and beautiful for longer.
In a perfect world, you would only be painting when the humidity levels are ideal. However, since that’s not always a possibility, you may find yourself needing to paint when the humidity is high. That doesn’t mean your paint job needs to suffer — painting at the proper time, taking the right precautions, and using the right products will go a long way in combating the moisture in the air so that you can enjoy a properly dried, evenly distributed, and beautiful coat of paint.