For many homeowners, Christmastime is all about the decorations. But unfortunately, the Season of Giving turns into a season of healing and recovery for thousands of dedicated home decorators each year.
In a moment of holiday cheer, or possibly a frustrating loss of patience, it’s all too common for a momentary lapse in judgment to end in personal injury or property damage. Avoid these safety mistakes this year to keep yourself and your family safe while decorating for Christmas outside.
Causing clutter
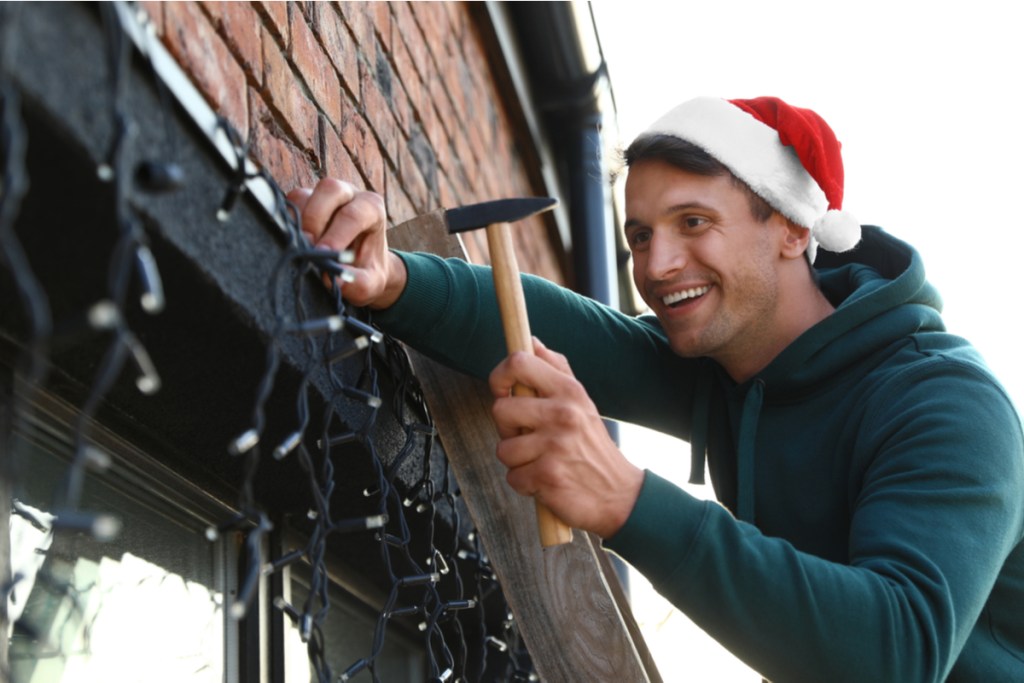
While unpacking, setup, take down, and packing up again, the driveway and front yard can quickly turn into a gauntlet of hazards. With tools, electrical cords, boxes, ladders, and other equipment lying around, it’s no surprise that slips, trips, and falls are some of the most frequent causes of emergency room visits this time of year.
Stay safe and get organized. Store outdoor Christmas decorations in an organized way so that you can grab only what you need when you need it:
- Use boxes or totes to keep adjacent items together and label them with their contents.
- If you use multiple storage locations, make an inventory of what is stored in each location.
- Set up zones for staging boxes close to the parts of the yard where the items are needed.
Never leave ladders and tools lying on the ground. Stand or lean ladders in place where they are needed to avoid stepping around or over them. Keep hand tools, like screwdrivers, wire cutters, saw, hammer, and drill in a tool bag or tool belt when not in use.
Neglecting safety gear
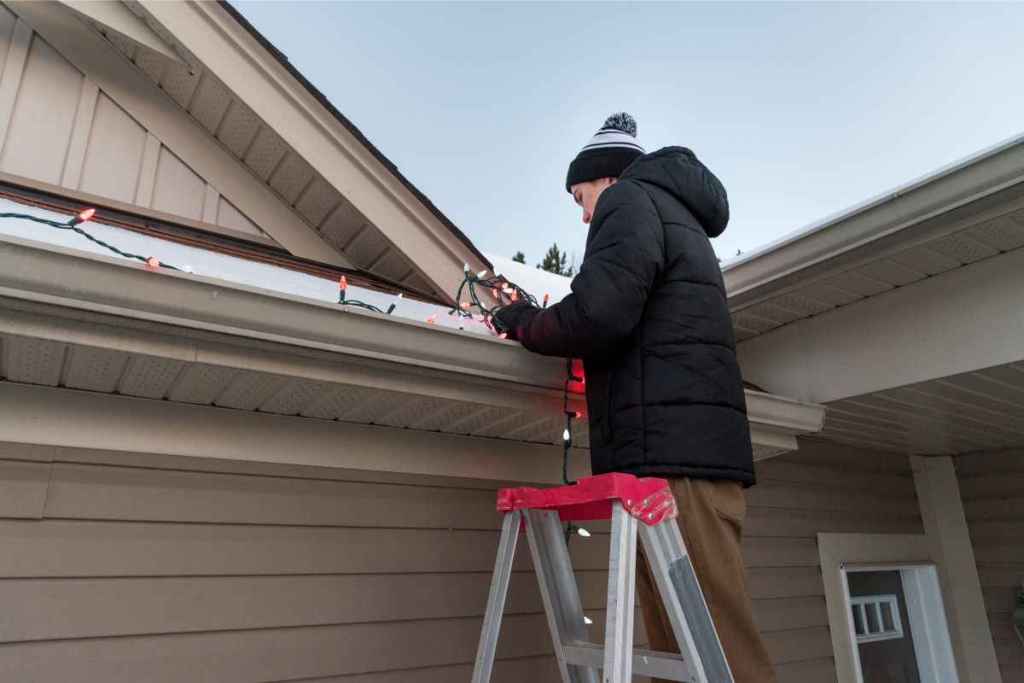
Who thinks about using safety glasses, work gloves, and earplugs while decorating for the holidays? These seemingly insignificant bits of safety gear can make a big difference in preventing injuries.
- Safety glasses protect the eyes from errant tree branches and falling debris.
- Gloves protect the hands from cuts while working with scissors and utility knives, or abrasion and blisters during other tasks.
- Earplugs are helpful anytime power tools are used.
Also, be sure that your first aid kit is stocked up and readily accessible. Hopefully, you won’t need it, but it’s best to be ready just in case.

Out of shape and overconfident
Going to the gym three times a week is not the same as climbing ladders and carrying boxes indoors and out, up and down flights of stairs. The process of taking heavy, bulky holiday decor out of storage, possibly loading and unloading a truck, and spending a long day (or several) setting it all up places different kinds of stress on our bodies. We should acknowledge that upfront. The dangers of overexertion include sprains and strains and many kinds of minor injuries due to fatigue and lack of focus, as well as more serious issues like a heart attack.
- Work with a buddy or a crew, and look out for each other’s safety.
- Start the day with a good meal to fuel your body.
- Warm up before getting started and stretch at the beginning, during, and at the end of the day.
- Take breaks to avoid fatigue.
- Stay hydrated and save the alcohol for afterward.
Disrespecting heights
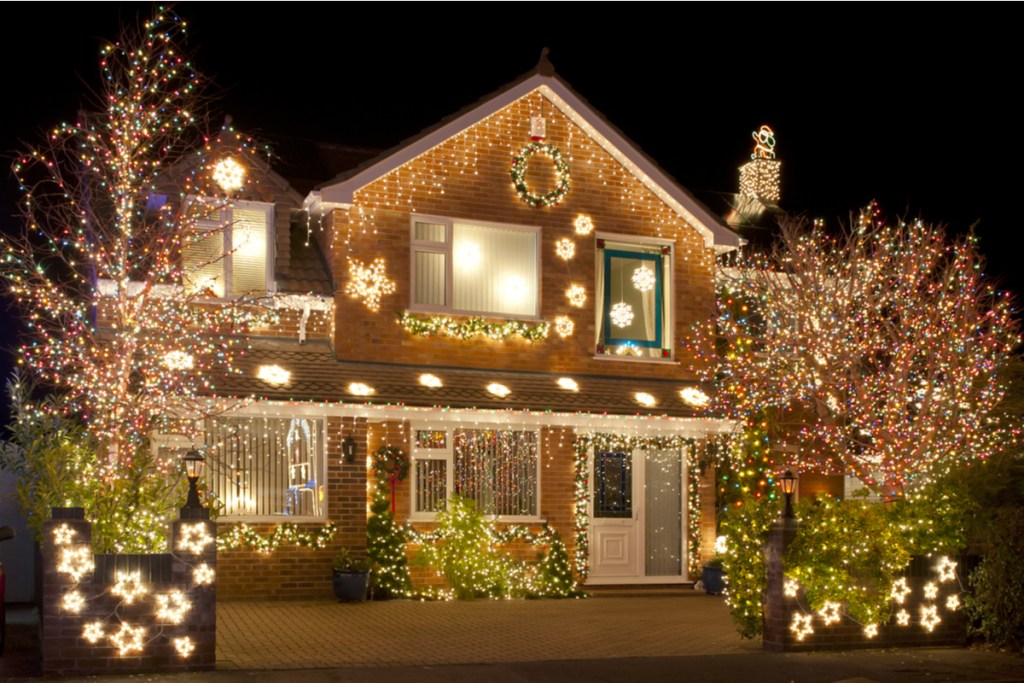
No one wants to fall from a ladder, roof, or tree, but it happens every year. If decorating for the holidays involves climbing to high places, safety precautions begin with good preparation. Be sure your ladder is in safe working condition, and securely standing on a firm, level surface.
Extension ladders should rise 3 feet above the roofline or other supporting surface. Set the base according to the 4-to-1 rule. For every 4 feet from the ground to the point of contact (with the roof or wall) the base should be slanted 1 foot out. If the ladder is leaning against a 12-foot eave, the base should be 3 feet out from vertical.
Related: Christmas yard decor
Ensure that the rungs are clean and dry. Wear non-slip shoes and clothing that will not get in the way. Always keep both feet on the ladder and keep your body weight centered.
- Never climb past the fourth rung from the top of an extension ladder.
- Never climb past the second rung from the top of a stepladder.
- Never stand on your tiptoes.
- Never overreach.
- Never place a ladder near low overhead power lines.
Ignoring electricity
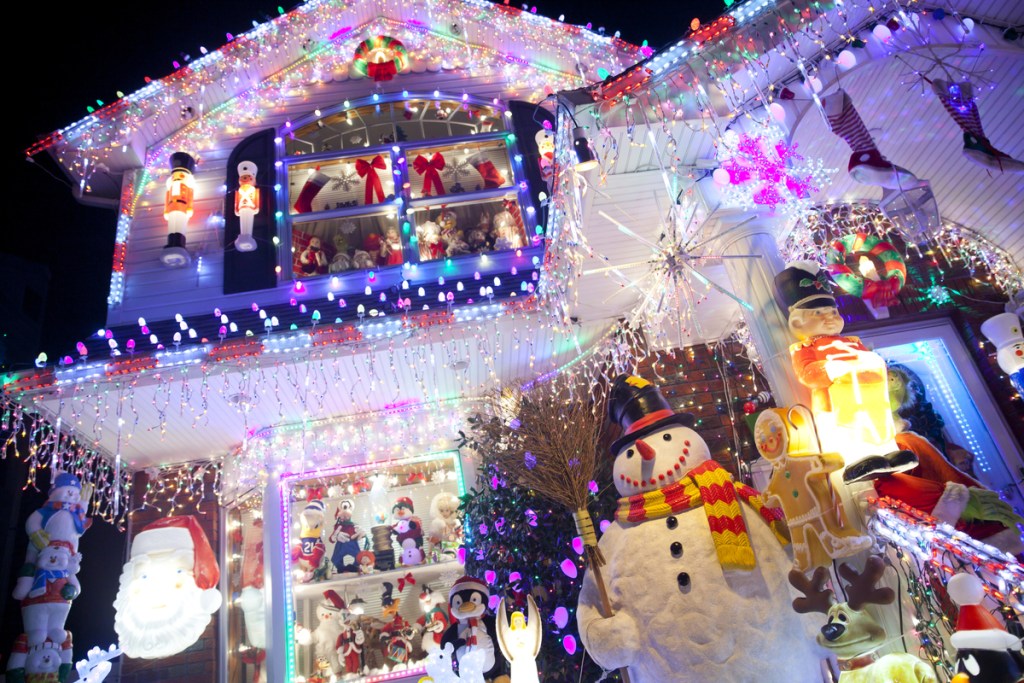
Setting up outdoor Christmas lights and inflatables presents a few safety concerns as well.
For starters, only use lights and cords that are approved for outdoor use and are in good condition. To find out which kind you have, locate the Underwriters Laboratories (UL) label attached to the wire. A red UL label, or silver with red writing, is approved for outdoor use. A green UL label, or silver with green writing, is not approved for outdoor use and could be subject to moisture damage as well as risk for electric shock and fire.
Next, avoid overloading circuits. The circuit includes all outlets and fixtures that share the same breaker switch. While calculating, be sure to factor in the wattage of all devices that share the same circuit. When choosing lights, bear in mind that LEDs use significantly less power than any other bulb type. Most household circuits are either 15- or 20-amp circuits.
- 15-amp circuits can safely handle 1,440 watts
- 20-amp circuits can safely handle 1,920 watts
Mount lights so that the wire is supported without causing a trip hazard, and the wire insulation is protected from abrasion and punctures. Outdoor lights should only be plugged into ground fault circuit interrupting (GFCI) outlets. These outlets stop the current when either moisture or excessive heat is detected. Use timers or unplug the lights overnight while you are away.
A trip to the hospital or visit from the fire department is not the recipe for holiday cheer. Keep yourself and your family safe this season by avoiding accidents that are avoidable.


