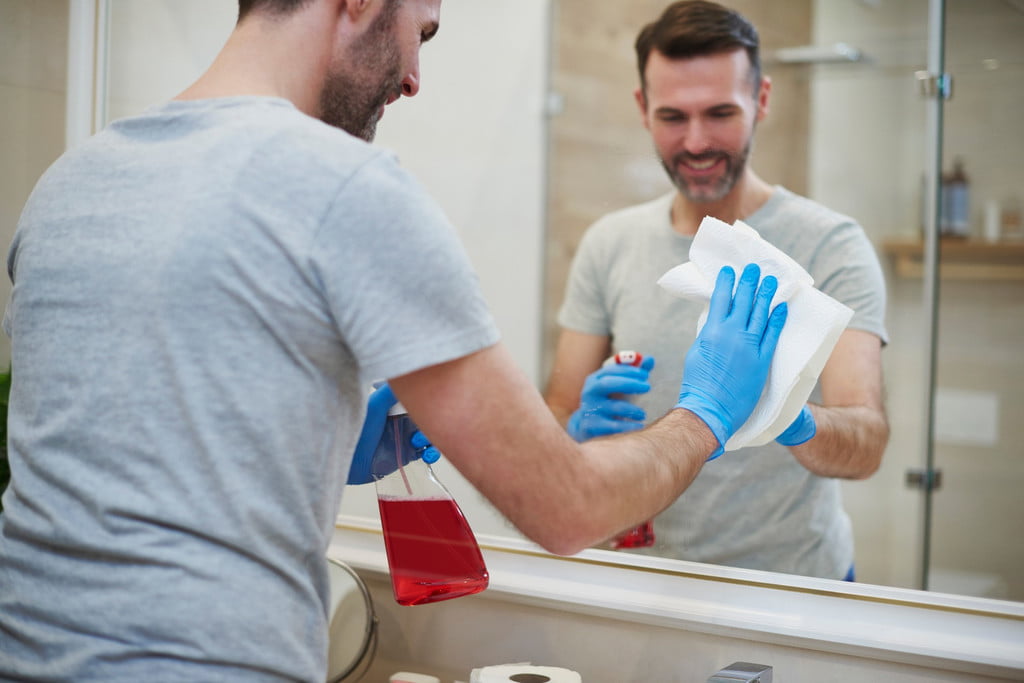
The mirrors in your home serve both a functional and aesthetic purpose. When they look their very best, it helps you feel even prouder of your space. Not to mention the fact that it's much easier to style yourself in front of a mirror that's crisp and clean.
Cleaning mirrors without leaving streaks is simple whether you want to use conventional cleaning products or DIY natural products. In this article, we'll cover how to clean your mirrors perfectly using a variety of materials.

How to get streak-free shine on glass
Alright, you’ve got some beautiful mirrors in your place. Perhaps there's one in the entryway and another in your bedroom, and down the hallway, there are mirrors in your bathrooms and children’s rooms. Without realizing it, you’ve somehow managed to bring a lot of reflective glass into your life and now you want to know the best way to clean it.
Step 1: Spray your mirror from top to bottom with your preferred cleaning solution.
It doesn’t really matter if you use a commercial window cleaning product or make your own solution. The results can be quite similar and there are advantages to either. We'll cover how to make a natural cleaning solution later, in case you haven’t tried this yet.
Step 2: Use a microfiber cloth to clean the solution.
Pull the cloth from one side of your mirror to the other in a smooth, fluid motion. The smoother you are, the fewer streaks there will be. In general, this task shouldn’t require a great deal of muscle or force. Instead, it’s a bit of a finesse move. When you get to the edges, fold the cloth over and soak up any extra solution that you might have pulled to the edge.
We recommend microfiber because other mediums, such as paper towels and normal terry cloth towels, leave a trail of paper or fabric pieces all over your mirror. No one wants that.
That’s really all there is to it. Now we know many professional glass cleaners rely on squeegees to get rid of streaks and accomplish this same mirror-cleaning feat. A squeegee can definitely help, but it’s not essential. If you have one handy, simply follow the same above steps and then finish things off with your squeegee.
How to clean mirrors using natural products
If you're wondering how to clean a bathroom window or any other glass surface in your home without using commercial products, you're in the right place. Believe it or not, you can create almost every commercially available cleaning product using completely natural ingredients. Back in the day, many people relied on these simple concoctions to clean their entire homes.
Today, many people are reconsidering natural DIY cleaning products because they want to live a more balanced and holistic lifestyle. The truth is, many commercial cleaners contain ingredients that are questionable at best when it comes to their overall safety profiles.
Step 1: Combine equal parts water and vinegar in a spray bottle.
This tried-and-tested cleaner works just as well as commercial window cleaners, but it contains none of the dangerous chemicals that these other products contain.
The natural acid in vinegar is what gives it the cleaning power to break down the schmutz all over your windows and other glass surfaces. As a bonus, you may be happy to know you can also use this DIY home product on countertops, floors, and other surfaces of your home.
Step 2: When in direct sunlight. don't clean a glass window with commercial or homemade cleaning solutions.
This is a safety precaution. The heat from the sun can cause cleaning products to react and produce unhealthy fumes. It’s best to clean your windows only when there is no direct sunlight coming through them.

Find what works best for you
Everyone needs to take care of their home in their own way. What works for some families might not work for others. That’s perfectly fine. We recommend you stay open to experimenting to see what is best for you. It’s your space and you can take care of it the way you want.
Cleaning windows to reveal a streak-free shine is exceptionally easy. You can take care of all the glass surfaces in your home in just a few minutes. If you’ve been putting this job off because you weren’t happy with the results last time, simply follow our steps above and reveal perfectly shining and reflective glass surfaces today.


