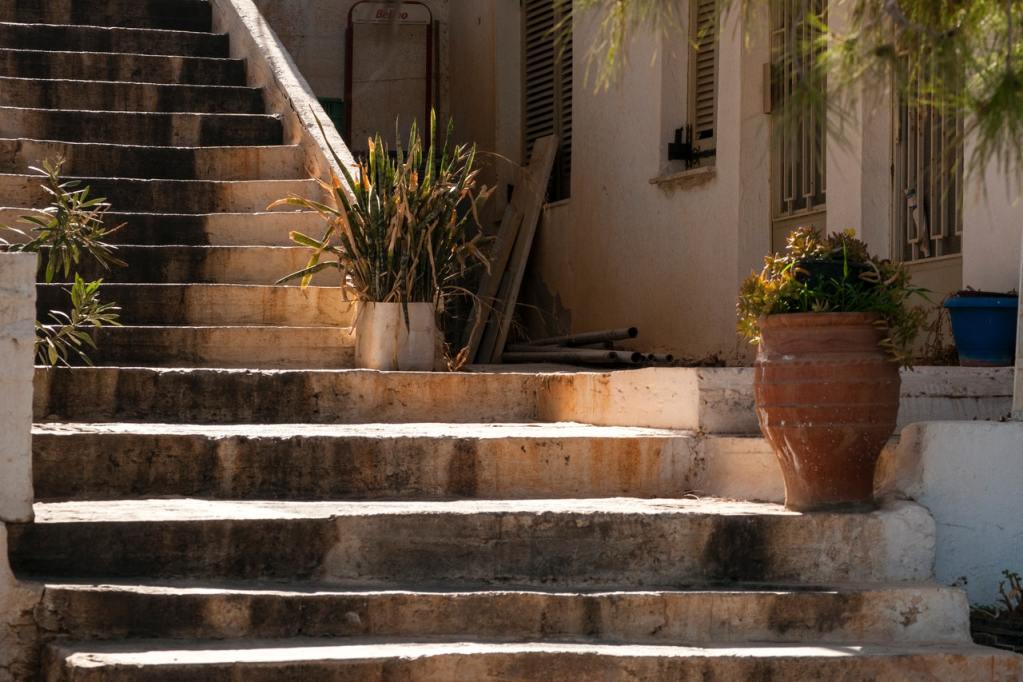
Concrete stairs are common features in homes, specifically outdoors, near entryways, or in backyards. Concrete is an obvious choice for outdoor steps due to its high level of durability and long-lasting qualities. However, even concrete will wear over time and become damaged.
High levels of foot traffic and extreme weather are the enemies of concrete stairs, and they will eventually cause cracks in the material. Cracks lead to crumbling, and crumbling gives way to large gaps in your steps. Since gaps are an obvious safety hazard, you’ll want to fix your steps as soon as possible.

Remove dust and debris
Since you’ll eventually be applying a bonding agent to the damaged area, the cracked or crumbling surface needs to be as clean and dust-free as possible. Using a wire brush, clean off dust and loose chunks of cement. As you’re brushing, look for deeper cracks that will be difficult to fill entirely with cement mix. It’s a good idea to chisel away the edges of these cracks to ensure that the cement gets packed in there tightly.
Create a wood form
You’ll need a wood form to help create your new step’s shape accurately. Cut a piece of plywood to an appropriate size and place it horizontally along the side of the step. It should be flush against the side and rise above the top of the step about an inch or two. If you are creating a corner for your step, you’ll need a second piece of plywood for the perpendicular side. Screw the two pieces of wood together into an “L” shape to make the wood form into the shape of the corner. As an optional pro tip, spray the wood’s interior side with cooking spray to prevent the cement from adhering to the wood. Place your wood form against the edges of the step and keep it flush against it using heavy objects like cinder blocks.
Apply a bonding adhesive
Using a paintbrush, apply a generous amount of concrete bonding adhesive to the step’s damaged area. The adhesive instructions should explain how much to use and how long to let it dry, depending on how many inches of concrete you’ll be layering on. Drying time is typically between one and three hours.
Create your concrete mix
Be sure your step is prepped, and you are ready to begin applying concrete before you start creating your concrete mix. The mix will start to dry very quickly. Following the instructions on the concrete mix package, pour the mix into a large bucket or concrete tray and add the appropriate amount of water. Continuously stir up the mixture until it is the consistency of ice cream or peanut butter.
Apply concrete to damaged areas
A pointed trowel works best for this step. Use the trowel to scoop out portions of the mix and press it down onto the step’s damaged area. Be sure to press the mix into deeper cracks to prevent air bubbles that will have you repairing the step again sooner than you’d like. Overfill the damaged area a bit and then use a steel trowel to scrape away excess cement. Smooth out the top with the trowel and make the added cement level with the undamaged areas of the step.
Fill in gaps
Remove your wood form and put it aside. Check the sides of the step for gaps since, again, air bubbles will be problematic. Fill gaps in with more cement using your pointed trowel and use your steel trowel to straighten out the sides of the step. Once you’ve addressed any visible gaps, use a level to be sure the top and the sides of your new concrete step are straight and leveled out. If needed, continue adding mix or scraping it off to make it level.
Smooth the surface
For this step in this process, grab an edging tool and a damp cement sponge. Round off the edges of the step using the edging tool. A rounded edge is safer to walk on, and it actually lengthens the life of your new step since a round edge is less likely to crack against pressure and weather. Take your cement sponge and wipe it along the surface of the new cement to create a smooth appearance.
Let it dry
Check the package instructions on the cement mix to see how long it will take for your new step to dry completely. It may take a day or two, so be sure you’ve informed occupants of your project. Plan out an alternate route of accessing the building, and make sure you’ve roped off the area to avoid the headache of someone strolling through and ruining your hard work.
A damaged cement step is not only a safety hazard, but also unsightly. It’s best to get it repaired sooner rather than later since the damage will only get worse as time goes on. As you’ve seen, repairing a cement step is relatively simple, and a DIY fix is entirely within reach. With the right tools and a good amount of resolve, we’re confident you’ll get that step looking good as new in a snap.


