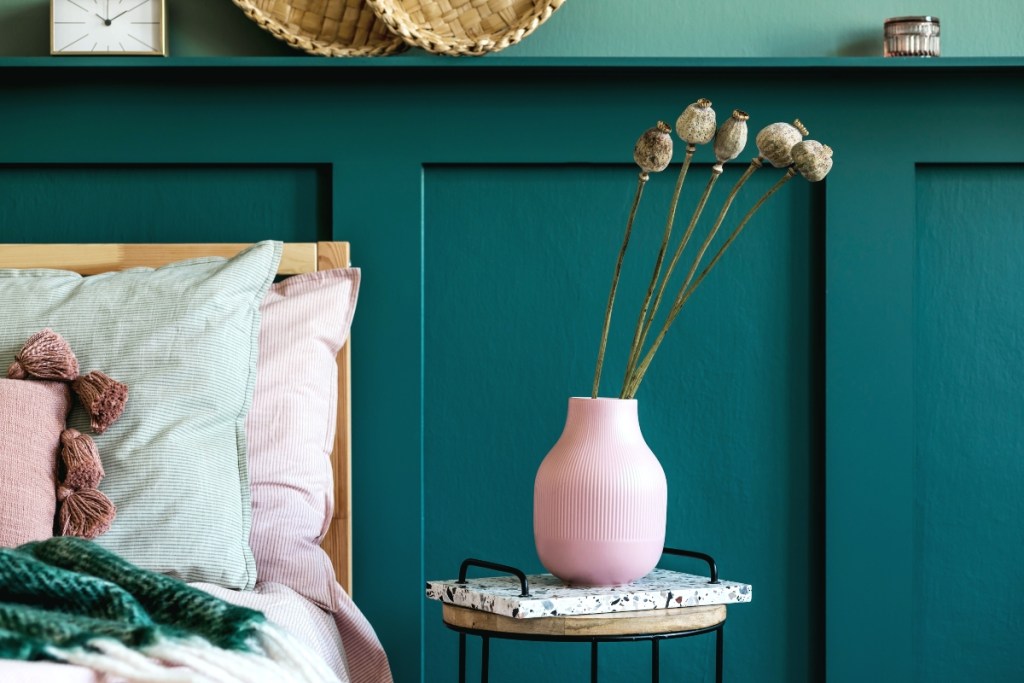
If dated, ugly wood paneling in your home is becoming an eyesore, don’t rush to rip it out just yet — you can paint it for a fresh, modern look. And painting this feature is an easier and less expensive alternative to a complete renovation.
Painting your old paneling is an inexpensive and DIY-safe project and we’ve found the best method for how to paint on wood panels to get a flawlessly finished product. Bring these shaggy panels into the 21st century and transform your space with nothing more than a few simple tools and a can of paint.

What kind of paint do you use on wood paneling?
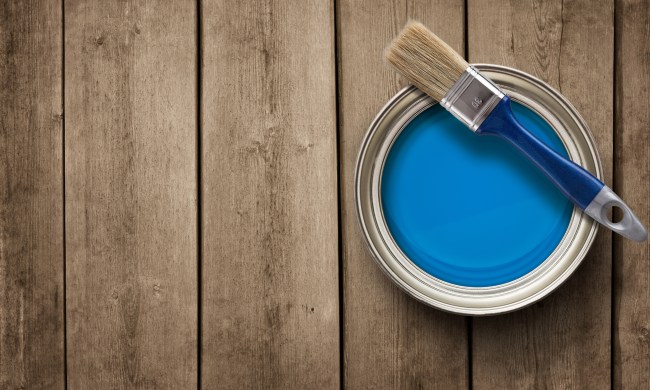
There are several types of paint you can use for wood paneling, and the type you choose depends on factors like where in your home the paneling is. Either way, it’s essential to choose a paint specifically formulated for wood surfaces.
In high-traffic areas, opt for either oil-based or latex-based paint, both of which adhere well to wood and provide durable finishes. In areas like kitchens and bathrooms, consider paints labeled as “interior/exterior” for versatility and enhanced protection against moisture and temperature fluctuations.
Satin or semi-gloss finishes are popular choices in spaces like living rooms, hallways, and bedrooms, as they offer a balance between durability and aesthetic appeal, providing a smooth, easy-to-clean surface suitable for most indoor settings.

How do you prepare wood paneling for painting?
Remove the trim and paint it separately
If there is trim around the paneling, it’s a good idea to remove it, whether you intend to paint it the same color as the rest of the paneling or pick a different hue to create a fun accent color. Not only will the trim be easier to paint when it’s off of the wall, but the finished product will also appear smoother since there will be fewer imperfect areas where excess paint splattered onto it.
Be sure the paneling is clean and dry
Before painting, clean the panels with a damp (not soaking) cloth to wipe away any grime from the surfaces and crevices. Painting over dust, cobwebs, or other debris will leave flaws on the surface that prevent it from looking clear and smooth. Let everything dry thoroughly before moving on. Don’t rush the drying process — painting moist wood can cause uneven surfaces, peeling or blistering paint, and even mold growth.
Fill in holes and cracks
Next, address any damages and imperfections on and around your paneling. Painting over nail holes, cracks, scratches, and gaps will make these blemishes glaringly obvious, so don’t cut any corners. Use putty and a putty knife to fill holes, cracks, and scrapes, then use caulk to fill any edges where the paneling lifts slightly from the wall. Sand down the repaired areas so that they are flush with the rest of the surface, and run your hand along the wall to make sure they are as smooth as possible.
Sand the paneling lightly
Most paneling comes with a glossy finish. Because paint and primer have trouble adhering to this, it’s crucial to sand away this top layer before painting. Use fine sandpaper with a maximum of 150 grit to lightly sand the entire surface. Wipe down and dry the panels again to clear away any dust and debris.
Protect the rest of the room
This is a tedious step, but covering and taping off the area around the paneling will protect your walls, furniture, and flooring from paint drips, splashes, and spills. Even if you have a steady hand and trust yourself not to splatter, it’s better to be safe than sorry. Even professionals experience a spill or errant brush stroke every now and again. Tape off the surrounding areas with painter’s tape, being diligent around corners and edges, then cover the floor and furniture with plastic tarps or sheets to make sure they stay paint-free.

How to paint wood paneling
Use an appropriate and high-quality primer
The type of primer you use depends on the material of your paneling. For wood, choose an oil or latex-based primer with stain-blocking properties. Wood surfaces tend to harbor stains and oils that can begin to show over time, so a wood-safe primer is will ensure your paint job lasts for years to come.
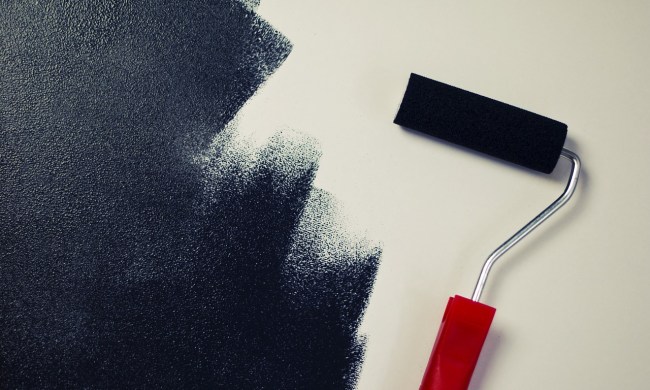
Apply two coats of paint
Once your primer is dry, apply your first coat of paint in downward strokes using a paintbrush or roller. Let it dry completely, then apply a second layer. While one layer may look just fine, don’t let it fool you. The single coat will fade quickly over time, and the underlying paint will begin to show through. Adding a second coat provides a smoother, opaque finish that will last much longer.
Painting your paneling is much easier on your body and your pocketbook than pulling down the paneling and engaging in a full-scale remodeling project. Further, the wall behind the panels may be unfinished or damaged, which will require even more construction to repair. As long as you prepare and paint the feature carefully, you can transform your space in just a few days, all while staying on budget.