
Painting 101: The best wall-painting techniques everyone should know

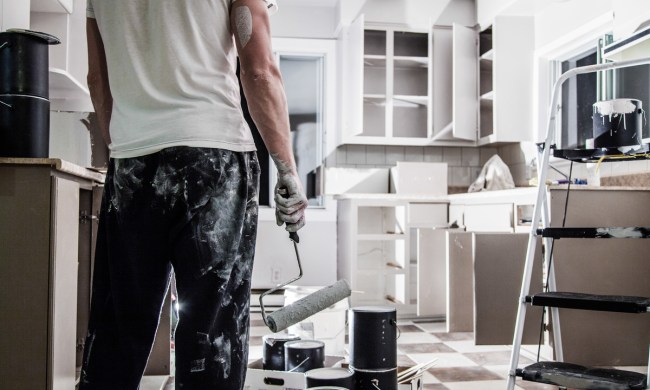
Painting is an easy and fun DIY project that will bring a fresh, new look to any room. It can be done by nearly anyone and is the best way to make a room feel brand-new. There are many ways to approach this endeavor. You must consider tools, protection for flooring/furniture, and items that will help add a fun, unique flair to any wall. And you must remember that, from prep to dry time, painting a 150-square-foot room is a whole-day process.

How do you paint walls nicely? Here are some great DIY wall-painting techniques, tips, and tricks to make the process more efficient, fun, and effective.

Man and woman painting a wall
Ground Picture / Shutterstock

Clean dirty walls

Make sure you clean and wash your walls thoroughly, especially if you find grime or dirt on it. Wipe away it all with a moist cloth and let the wall fully dry before painting. A clean wall will ensure the paint sticks easily and has a smooth texture.

Recommended Videos

Always prime the walls

Primers are the best way to get the most vibrant color (even if you’re using shades of white paint) out of your final coat. A primer is typically white and is great for painting over brightly colored walls. Moreover, skipping primer might lead to a bubbled paint final result.

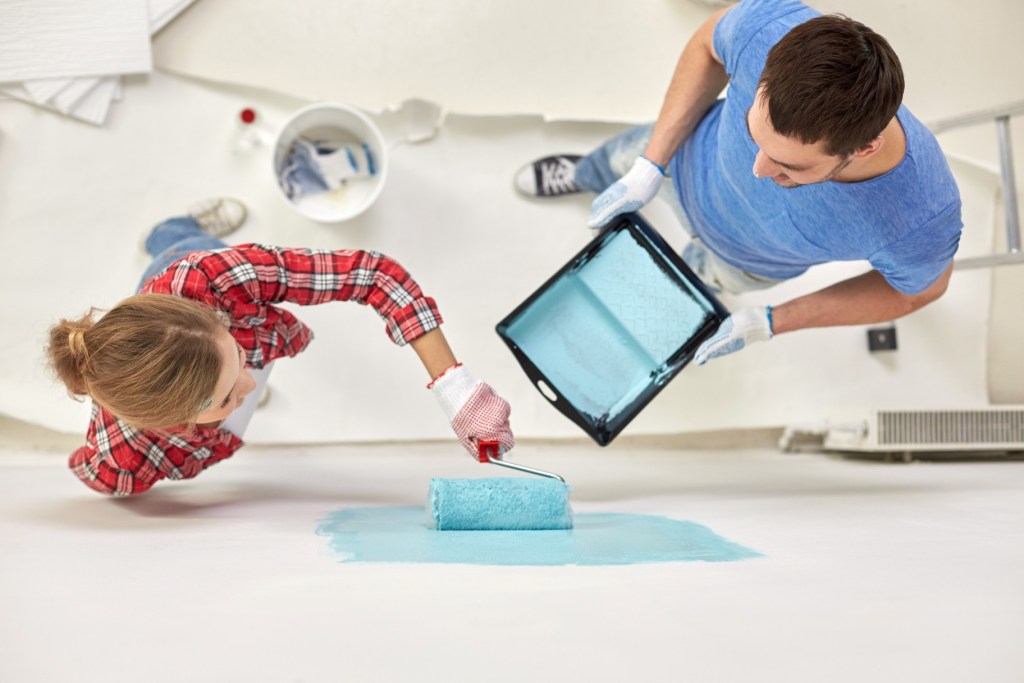
Use cotton tarps rather than plastic on the floor

Cotton tarps on the ground, rather than plastic, ensure no sticking to your feet. Additionally, paint dries much faster on cotton tarps, so you are less likely to track paint around your house.

Man using blue painter's tape on white wall
Daniel Besic / Shutterstock

Paint the trim first

When it comes to the order of painting things, painting the trim first is the best way to start. The order is to paint the trim, then the ceilings, and finally the walls. This is because if you are already painting the walls, you don’t have to be extremely careful around the trim, and so taping is not needed. The same idea goes for the ceilings. It is okay to get the white paint on the walls and then tape the trim and ceilings when painting the walls. It makes the process easier and more effective.

Mix cans of paint to ensure consistent coloring

Paint color can sometimes vary ever so lightly even if you order the same color for all two, three, or four cans. To avoid any discoloration or discrepancies, you should combine all cans into one large container and mix thoroughly. This will ensure that your paint color remains consistent along every wall.

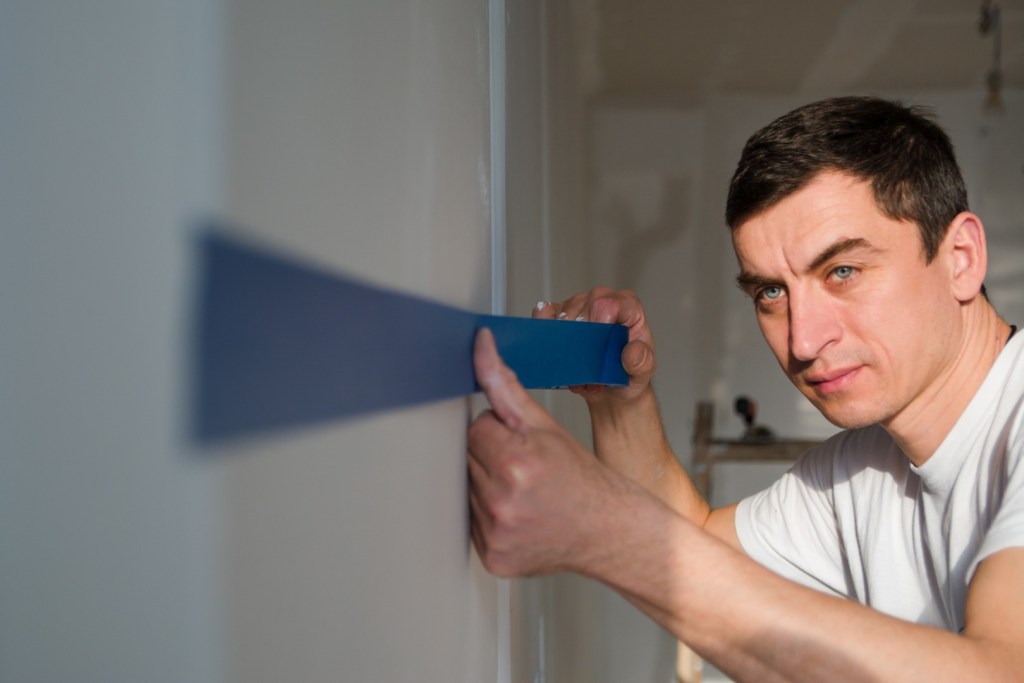
Utilize painter’s tape

A standard painter’s tape is a painter’s best friend. This thin, blue tape easily adheres to walls or trim, and it can be removed without leaving any residue or marks behind. This tape is great for taping trim and any other wall features to avoid getting paint on them.

Woman and man painting a wall
Syda Productions/Shutterstock

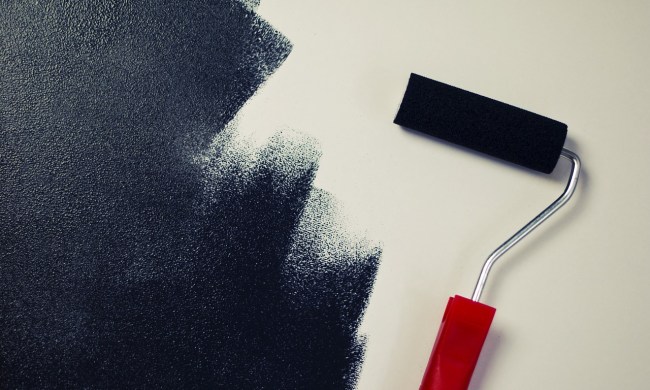
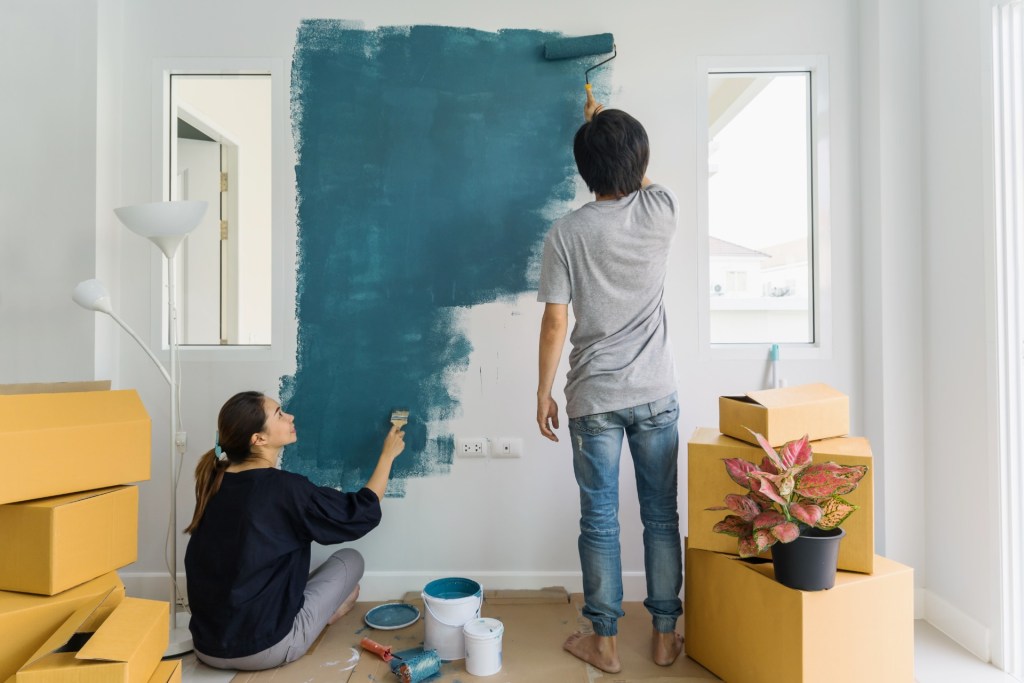
Avoid lap marks by rolling the full height of the wall, keeping a wet edge

To ensure a clean, uniform look, it is important to focus on your rolling technique. The best way to get a wall with no dried lap marks is to roll the full height of the wall. By doing so, you will ensure the paint is dispersed evenly and there are no random marks going in different directions. Before you start rolling, however, make sure you have a fresh coat of paint along the edges near the floor and ceiling. This painted edge should be wide enough so the roller doesn’t have to get too close to the floor or ceiling. Paint the edge in small sections so that it remains wet long enough for you to connect it with the roller. This will ensure a consistent, clean look.

Get cool designs with painter’s tape

Painter’s tape can be the perfect way to add cool designs to your wall. You can tape letters, geometric designs, or straight lines onto your walls for fun, added features. Tape on your kids’ initials or design a bright, vibrant feature wall. This type of project only requires tape and your favorite colored paint. It is easy to do and can create a fun design on any wall.

Let the paint dry before tape removal

After you tape everything, paint and let the walls draw; the final step is removing the blue painter’s tape. It is important to let the paint fully and completely dry before removing it. This will ensure a clean, crisp line and no smudging. Additionally, you can use a small knife or sharp edge to cut along the tape and paint edge to achieve a super-clean line.

Wife and husband painting a wall
Kitzcorner/Shutterstock

Painting can be a cool and fun project to add a bit of freshness to any wall. It is an easy and affordable DIY project that you can do alone or with the whole family. When painting, it is important to have the right tools and techniques for a high-quality finish. You will be amazed at how much more fun and easy painting can be if you follow these tips and tricks to ensure a faster and smoother wall painting project.

Deb Goncalves
Former Digital Trends Contributor
Deb's work has appeared on Moms, Babygaga, and WorldAtlas. When she's not working (that's hard to say about a Capricorn), she…
Can you paint in high humidity? What you need to know
Make sure your paint job is still gorgeous when conditions aren't ideal
Red roller brush black paint on white wall

Are you planning a painting project but worried about the moisture in the air and how it will impact your paint job? If you're concerned about humidity levels while you paint, you've come to the right place. Since paint needs to dry properly to have a beautiful and smooth-looking result, humidity is certainly an issue. So, is painting in humid weather possible? While the answer to that question is yes, we'll discuss some of the concerns and tips for dealing with humidity and painting indoors or outdoors.
How does humidity affect your paint job?

Moisture in the air means there's moisture on the surface you're about to paint. A damp surface is not ideal for painting, and you may find that your overall result doesn't look as great as you'd hoped. Let's dig into the specifics of how high humidity negatively impacts your paint job.
Moisture could lead to mold growth
When you're dealing with high humidity, surfaces tend to dry slowly. When you're painting indoors, for example, you always want to wash your walls before slapping down a coat of paint, so high humidity could slow down the drying process. If your walls are damp when you start to paint, this could lead to mold growing between the wall and the paint. The mold will eventually grow through the new layer of paint, and you will need to clean the area and paint again.
Paint will struggle to dry
For most paint types to dry, the water in the paint needs to evaporate faster than the solvents. In high humidity, the water struggles to evaporate, making for a gunky, gel-like layer of paint. Eventually, when the humidity level falls, you'll find that this type of consistency will dry with a wavy texture since it has not been set properly. You likely won't be satisfied with the result.
Wood surfaces could swell
As you may know, moisture on wood causes it to swell. If you're painting wood when there's a lot of moisture in the air, the wood could start to swell a bit after you've put on a coat of paint. This swelling could cause cracks or chips in your coat of paint, which will eventually lead to the surface needing to be repainted.
Paint may not adhere to metal surfaces
Painting metal objects can already be difficult since paint doesn't adhere to them as easily as it does to wood or other materials. Humidity can worsen this effect, so if you're trying to paint something metal, it might be best to leave that for a drier day.
What is the ideal humidity level for painting?

Read more
Tub-to-shower conversion: Everything you need to know
Shower size, material, and type can impact the cost of this renovation
Modern bathroom with dark gray tiled shower

Tub-to-shower conversions are a common bathroom remodel go-to. This project can boost your home’s appeal and offer a functional and stylistic enhancement that makes your space more enjoyable for years to come. But how much does a tub-to-shower conversion cost? Today, we'll give you everything you need to know.
What is the average cost of a tub-to-shower remodel?

The average cost of a tub-to-shower conversion ranges from $1,200 to $8,000, depending on the project. Shower size, material, and type can affect the costs of your remodel. According to Home Depot, the average price of a tub-to-shower conversion is around $6,000. Other sources like Kitchen and Bath Center affirm that this conversion costs around $3,000, on average. Again, the scope of your project and individual needs will affect these costs.
Evaluating cost by shower size

Read more
How to paint your kitchen cabinets in 9 simple steps
A simple and low-cost way to refresh your space
Man holding paint rolling after painting kitchen cabinets

Kitchen renovation is one of the most impactful and cost-effective home remodel projects, with returns on investment of about 87 percent. While it’s no wonder that kitchen remodels are popular, but they’re also very expensive — cabinetry alone runs $5,000 to $6,000 on average. If money is tight, or your kitchen only needs a minor update, painting the cabinetry, rather than replacing it, will save you thousands of dollars while giving the room a completely new look. Plus, you can do it yourself in a couple of days.
Tools and supplies you'll need for the job

Rosin paper
Painter’s tape
Plastic sheeting
Screwdriver 
Household cleanser or trisodium phosphate commercial degreaser
Abrasive pad
Liquid deglosser
Wood filler
Putty knife
100-grit sandpaper
220-grit sandpaper 
Tack cloth 
Latex caulk 
Paint scraper
Primer paint
Trim or enamel paint with a durable, high-sheen finish
4- or 6-inch roller, with foam cover
3- or 4-inch square brush
2 ½- or 3-inch angle brush

Read more