The best garage door sensors

Sensors malfunction for a number of reasons, but look for a dirty or broken lens, misalignment, component burnout, or cabling issues to isolate the problem. If you find that you have an issue, it is advisable to replace the whole units with quality replacement like the ones we offer in this highly vetted list.

Garage door sensors use two photo-eye-based posts in front of each other placed on both sides of the garage door. When they sense an obstruction, they will override the system and reverse the door completely to prevent any accidents. Don’t risk it by ignoring a repair that can be done easily. Get it done in a budget-friendly manner with the best garage door sensors we could find.

Recommended Videos

Chamberlain Garage Door Safety Sensors

Best overall
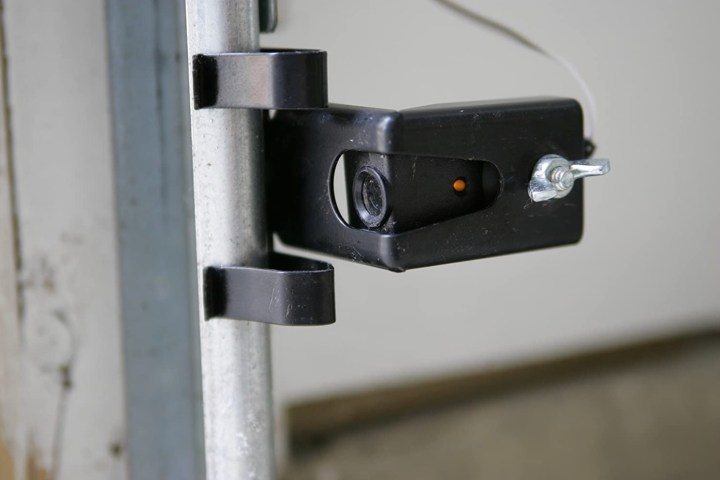
Image used with permission by copyright holder

The Chamberlain Garage Door Safety Sensors are the premium choice for use with all Chamberlain, LiftMaster, and Craftsman garage door openers manufactured after 1997. It provides easy installation and includes 18 inches of extension wire for custom rigging and mounting brackets.

Genie Replacement Safe-T-Beams

Best for Genie garage door openers
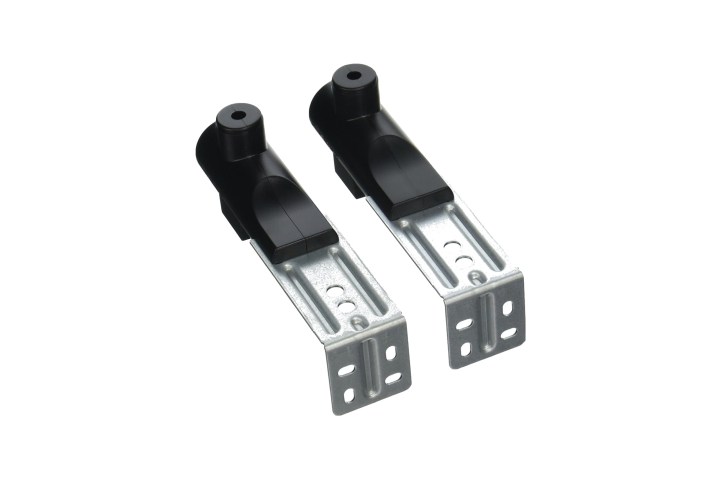
Image used with permission by copyright holder

If you own a Genie garage door opener, the Genie Replacement Safe-T-Beams are the top choice for you. This kit works with all models made after 1993 and keeps your family and pets safe from any possible accidents. Easy-installation instructions and all hardware needed for assembly are included.

Digi-Code Universal Garage Door Sensor

Most versatile garage door sensor
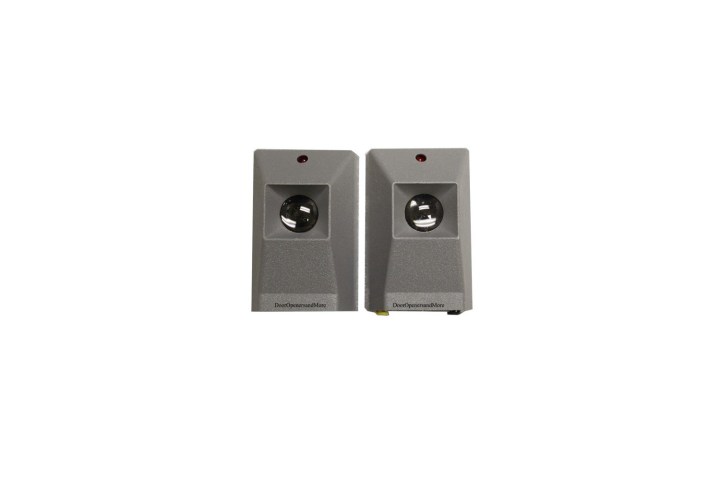
Image used with permission by copyright holder

The Digi-Code Universal Garage Door Sensor is the most versatile model we came across. It is compatible with all major brands of garage openers. It features a nonpolarized lens that avoids placing them backward and quick retrofit installation that is easy to perform.

“Safety first” should be the mantra for all garages, and keeping your door sensors in working condition is one of the top actions you can take to ensure there are no accidents. We are confident that you will find the best garage door sensor in our carefully selected list.


Sanded vs. unsanded grout: How to know which one to use
Make sure you use the right materials for your tile project
Hand applying grout to glass tile.

Choosing the right grout for your tiling project can significantly impact both the aesthetic and durability of your work. The debate of sanded vs. unsanded grout is a common one among DIY regrouting enthusiasts and professionals alike. That's why we are going to explore the differences between these two types of grout, discuss the best applications for each, and provide tips on care and cost considerations.
Sanded vs. unsanded grout: What's the difference?

Sanded grout is composed of a cement-based mix that includes sand particles. The addition of sand helps make the grout more durable and less prone to shrinking, since the sand particles in the grout provide additional strength, making it less likely to crack over time.

Read more
This is the right way to test paint colors before you commit to a whole room
Here's what to do instead of relying on paint swatches
Blue paint samples on a white wall

Painting your home is the quickest and cheapest way to give its interior a facelift. It's among the simplest of home DIY projects and, in most cases, it can be done over the course of a weekend. One of the biggest problems homeowners have with painting, though, is deciding on a paint color for the space. The last thing you want is to have your freshly painted room not look quite like the color you were going for. That's why paint sampling is such an important part of the process, and we're going to dive into the best way to do it.
What is a paint sample?

You've probably heard of paint swatches before. These are the small, square pieces of material that have a sampling of different paint colors. You can often get swatches for free at your local paint or home improvement store, and they give you a wide array of color ideas for your space.

Read more
How to repair a large hole in drywall
Get your interior walls looking pristine again
Broken drywall

Repairing drywall is a skill that every thrifty homeowner should have on their resume. Whether it's a small touch-up or patching large holes in drywall, fixing that eyesore isn't complicated, doesn’t require specialty tools, and takes just a little time.

After the initial shock of breaking a 6-inch or larger hole in a wall, you may at first think it’s a job for a professional, but that might not actually be the case. If you’re a DIYer with a few basic hand tools, there’s no need to hire out this project. You can tackle the job in just a day or two (including drying time), and you’ll spend less than $100 on materials to do it. 
How to repair drywall: Small holes, cracks, and dents

Read more