
The best corner tool racks

Take advantage of unused vertical space by storing brooms, rakes, sporting equipment, and other tools in one of the top-quality corner tool racks we have selected for you. They all feature heavy-duty construction, easy assembly, and great durability. Elevate your garage to the next level with these superior organization racks.

Maximize the space available to park your cars by using all the corners of your garage. By adding some of the corner organizers we have compiled, you can greatly improve your storage capacity and avoid any tripping accidents. With the proper organizations, all your gear will be easier to find and stay in better condition for a longer time, as well.

Recommended Videos

Rubbermaid 30 Tool Corner Tool Rack

Best overall

Image used with permission by copyright holder

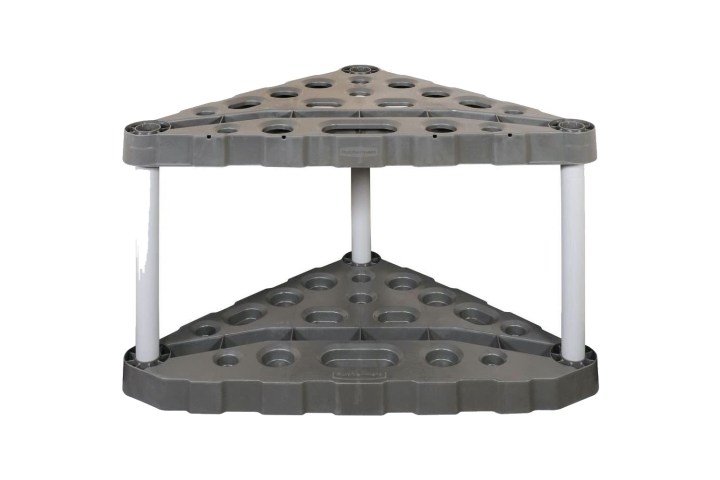
The Rubbermaid 30 Tool Corner Tool Rack really sets the standard for tool organizers. With an extra-large base for stability, optional wall-anchoring options, and superior capacity, this organizer will make your garage a happier place. The no-tool assembly is super easy.

Plano Molding Corner Tool Rack

Best budget corner tool rack

Image used with permission by copyright holder

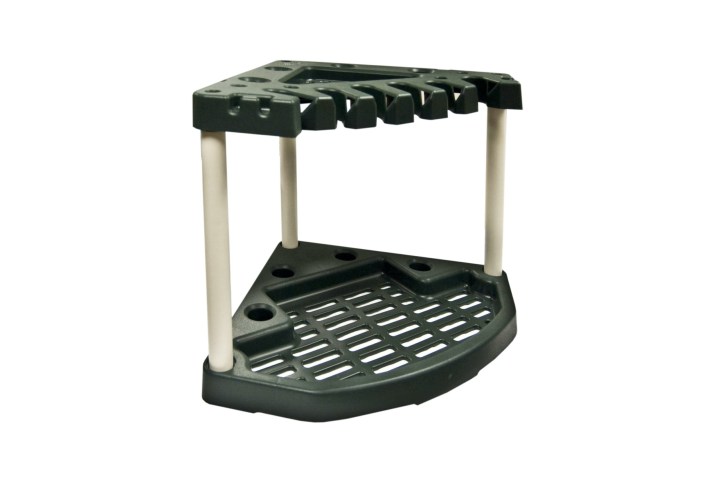
If you are looking to organize your garage without breaking the bank, the Plano Molding Corner Tool Rack is the best option for you. This entry-level priced organizing rack has front-loading slots for a full-size Weed Whacker and holds long-handle tools with reliability.

Mr. LongArm Tool Storage Stand

Most versatile corner tool rack

Image used with permission by copyright holder

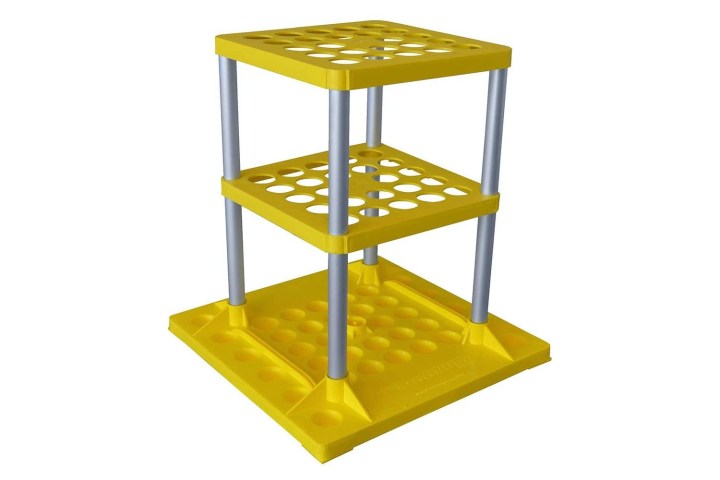
For those looking for a versatile and flexible solution, the Mr. LongArm Tool Storage Stand will provide an ample number of options to store all your long-handle tools. Hold up to 24 different items in this sturdy, lightweight storage solution that requires minimal floor space.

When it comes to storing your yard tools and other garage items, getting a corner-tool rack ranks as one of the most valuable additions to keep your garage organized. Store dozens of different tools and keep them handy and ready to go with our selected suggestions.

How to fix laminate countertops without calling a professional
You may not need to hire the pros to get your counters looking new
Modern kitchen with porcelain countertops

If your laminate countertops are stained, dated, cracked, or damaged, they can be an eyesore. If you want to give your kitchen or bathroom a quick DIY facelift, addressing a drab-looking countertop is a great first step. If you feel your countertop is salvageable with some DIY love, however, here's how to fix laminate countertops without calling a professional.

While some minor damage or basic refinishing can go a long way, there is a certain point where the damage should be addressed by a professional. If your countertop has major cracks or stains and damage covering a large portion of the surface, it may be a good idea to call in some help to repair or replace it entirely.
Removing stains

Read more
How to eliminate that musty ‘basement’ smell
Mold and mildew are big basement problems, but they can be solved
Finished basement with wood paneling

Do you avoid spending time in your basement because of its unpleasant odors? Whether it's finished or not, basements are typically cool, damp, and have little airflow going through them, which are all factors that contribute to its musty smell. Unfortunately, it takes more than general cleaning practices and air fresheners to rid the space of mustiness for good. Take a look at some of these tried-and-true methods for how to get rid of musty smell in basement spaces, so you can keep it smelling light, airy, and fresh.
1. Find the culprit of the musty smell

If you smell that common musty stench, the culprit is often mold or mildew. Since basements tend to be damp and have little airflow, they are common hot spots for mold and mildew growth. The first step in preventing further growth by sealing any leaky spots and inefficient drains.
Leaking windows and doors
Check your basement's exterior doors and windows for signs of moisture. Since leaks on the first floor can often drain into the basement, check the windows and doors on the main floor as well. If you find moisture around these entry points from rain or condensation, re-seal the area or call a professional to repair it.
Leaking pipes
Whether pipes are visible in your basement or not, you need to check them regularly for leaks. Examine any water and sewage pipes for signs of leaks and repair any cracks or poor seals. If plumber's tape or epoxy putty can't repair the leak, it's time to call a professional.
Dried-up drains
Basement floor drains direct water out of the home to keep the floors dry and prevent them from flooding. The stagnant water in this drain also traps bad odors emanating from the sewage system below. However, these drains can dry up from infrequent use, releasing stench into the air. If you notice smells arising near your floor drains, just pour a few cups of water into the drain to block the gases from escaping.
2. Clean up the basement

Read more
Sanded vs. unsanded grout: How to know which one to use
Make sure you use the right materials for your tile project
Hand applying grout to glass tile.

Choosing the right grout for your tiling project can significantly impact both the aesthetic and durability of your work. The debate of sanded vs. unsanded grout is a common one among DIY regrouting enthusiasts and professionals alike. That's why we are going to explore the differences between these two types of grout, discuss the best applications for each, and provide tips on care and cost considerations.
Sanded vs. unsanded grout: What's the difference?

Sanded grout is composed of a cement-based mix that includes sand particles. The addition of sand helps make the grout more durable and less prone to shrinking, since the sand particles in the grout provide additional strength, making it less likely to crack over time.

Read more