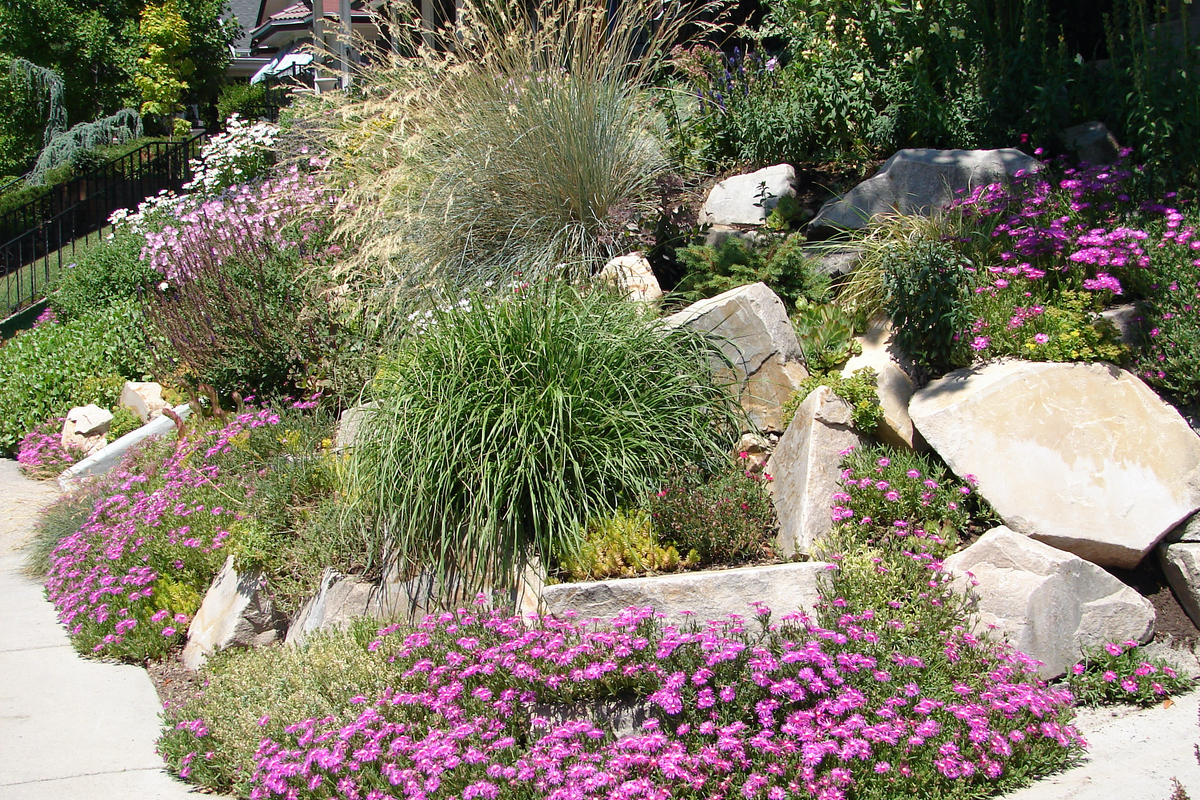
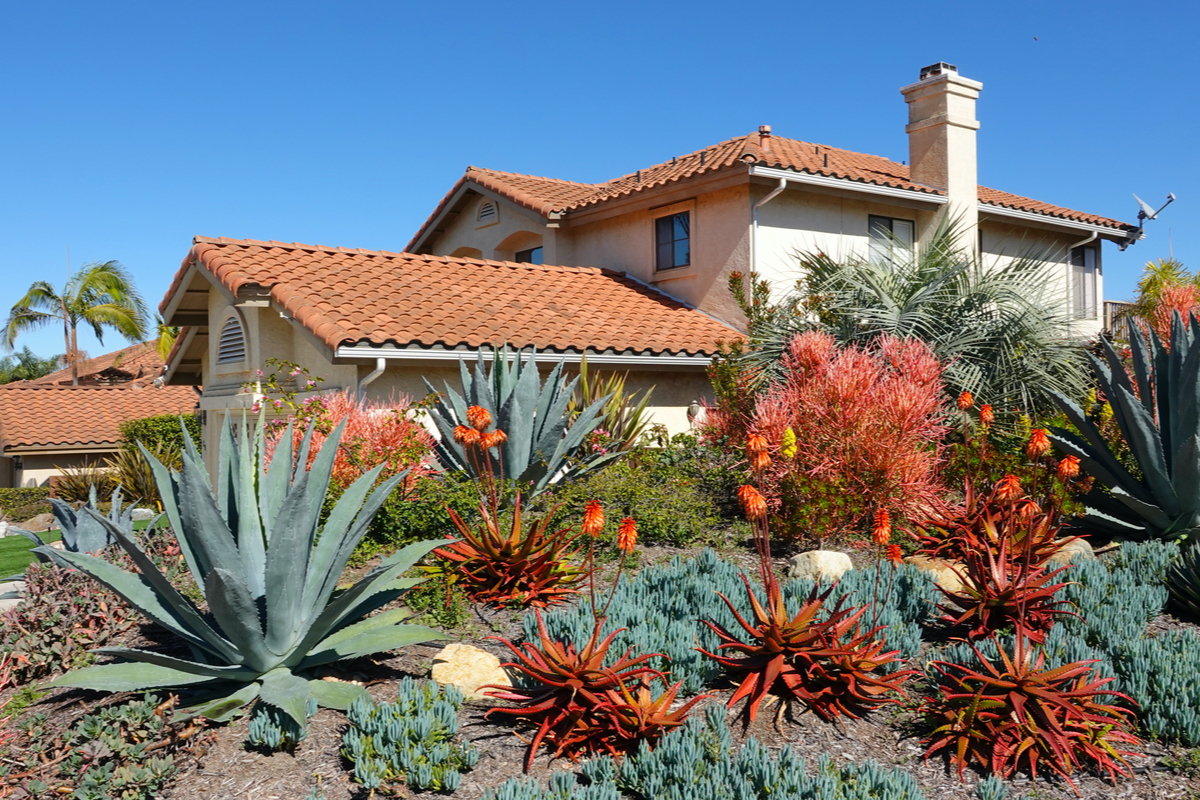
Imagine landscaping purposely designed to thrive on little to no water, that’s beautiful to look at, easy to maintain, and so much more affordable than your typical grassy landscape. It’s called xeriscaping, and it could be exactly the right type of landscaping for you.
While obviously practical in acrid areas where rainfall amounts are minimal, having this unique type of garden has benefits that make it desirable and attractive, no matter which part of the country you live in. Read on for affordable xeriscaping options and ideas that will beautify your property without the maintenance or high cost.

Xeriscaping is a funny word, but it can be very beneficial to your yard — and your household budget — here’s why! The word xeriscaping is derived from “xeros,” which is the Greek word for “dry” and, when done properly, can actually help reduce water usage for landscaping on your property by 50% to 75%, which can have a huge impact on your water bill!
But, reducing water consumption is only one of the benefits of xeriscaping. Here are a few others:
- It reduces the size of water-hungry lawns.
- It employs the use of compost to improve the soil while reducing the amount of compostable refuge that ends up in your trash.
- It focuses on plants native to your growing region, which will thrive naturally without significant help from you.
- It eliminates the need for sprinklers and relies instead on soaker hoses or drip irrigation.
- It saves you time spent on mowing, fertilizing, and watering lawns.
Tips for doing xeriscaping right … and affordably!
There are ways to keep costs down when implementing your xeriscape plan. Here are some ideas for inexpensive drought-tolerant landscaping:
- Hardscapes are the hard landscape materials used in place of vegetation — pathways, walls, rock gardens, etc. To minimize costs, keep purchased hardscape to a minimum and instead use rocks and boulders found in nature, or create pathways made from gathered stones or shells.
- Hiring a landscaper can be costly; try doing as much of the work yourself as possible. Plus, imagine the satisfaction of seeing your xeriscape vision come to life while staying on budget!
- Make your own mulch, it’s easier than you think! Make piles of leaves, grass clippings, even twigs from the yard and turn your trusty lawnmower into a shredding, mulch-making machine. Run them over several times with the mower until mulch is at a desired consistency.
- Select spreading plants that will continue to expand and grow as the years go on. Be careful to use native, noninvasive plants. Not sure what to use? Speak with the professionals at your neighborhood nursery or garden center.
What are the best xeriscape plants for you?

It’s not really a “one answer fits all” scenario. Which plants you should include depends primarily on which growing region of the country you live in. Xeriscape plants that work well in California may not work in New York at all. To ensure the success of your xeriscape landscape, you’ll want to first confirm your growing zone before making plant selections.
The USDA has developed a Hardiness Zone Map that divides North America into 11 different planting zones, with each zone being 10 degrees warmer (or colder) in an average winter than the one next to it. You can find your growing zone by speaking with a local landscape expert or online.
You’ll want a mixture of different plant types and colors, various heights, and blooming seasons, but all well-designed xeriscape gardens have plantings with similar water needs.
Here are some of our favorite xeriscape plants (always check your growing zone before selecting any plants):
- Bougainvillea
- Juniper
- Purple coneflower
- Feather reed grass
- Lavender
- Salvia
- Catmint
- Fernbush
- Verbena
- Various succulents
After you decide on plantings, mix up your design with natural rocks and pathways made from hand-gathered stones or shells. Once complete, the best part about xeriscape gardens is that you’ll spend more time enjoying it and less time maintaining it.


