If you’ve noticed water pooling under your water heater, it may be time for a water heater replacement. Water heaters can become faulty over time, and most homeowners will have to replace their water heaters at some point. But how can you replace a water heater yourself? Here’s our guide to do so in under an hour.
When should you replace your water heater?

Many water heaters can last 10 to 15 years with minimal maintenance. However, depending on many variables, such as the age of your home, your plumbing system, environmental damage to your property, etc., you might need to replace a broken or damaged water heater.
Here are a few things to look out for to know when to replace your water heater:
- If it’s over 10 years old (do a maintenance check before replacing, but most water heaters start to fail between 10 and 15 years)
- If it’s rusting
- If you notice your water isn’t getting hot
- If the water heater starts leaking
- If the water starts to taste off
What to do if your water heater starts leaking

If you notice water pooling at the base of your water heater, you’ll want to follow these steps to fix the problem.
Turn off the water intake supply
Turning off the water intake supply will allow you to drain your water heater to stop the leaking. Additionally, if the leaking was caused by issues with the water intake, you might be able to resolve your problem without replacing the entire water heater.
Turn off the power at the circuit breaker box
If you plan to replace your water heater or perform any repairs, it’s best to cut the power to this portion of your home to keep yourself safe.
Drain the tank
Connect a hose to the drain valve and drain the tank promptly to prevent further water leakage. You can drain the tank water into the sink directly or via a bucket and dump it down a drain. Depending on the size of your bucket and the location of your water heater, you may need to do this a couple of times.
Assess your water heater
Now that your water heater is powered off and drained, you can assess whether it requires maintenance or a full replacement.
How to replace a water heater
Below are the steps for replacing a water heater on your own.
Step 1
Turn off the water intake supply.
Step 2
Turn off the power at the circuit breaker box.
Step 3
Connect a hose to the drain valve, open the valve, and drain the tank.
Step 4
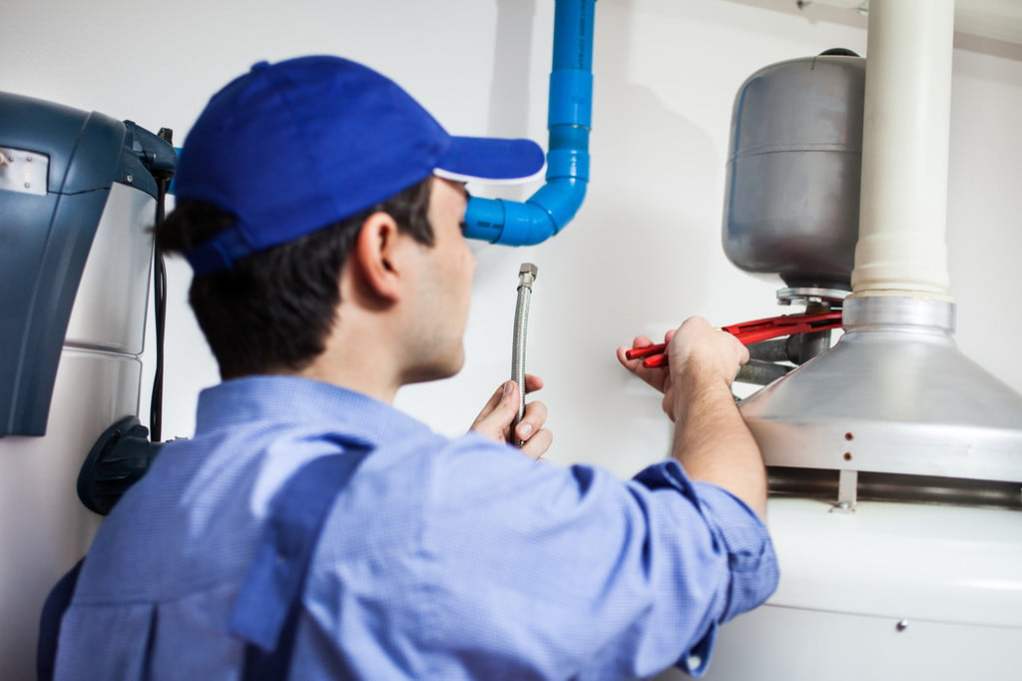
After draining, disconnect the cold and hot water lines. These lines should be clearly visible in blue and red tubes. If not, look for a label or follow the water lines to your tank for any labels on the water heater itself.
Step 5
Remove the old tank. Using a hand truck, carefully remove the old water heater tank. It’s best to have an additional person to help guide the hand truck or assist with lifting the water tank. Also, you’ll need to ensure you have plenty of space to maneuver the tank and position it out of the way before you continue with the next steps.
Step 6
Unbox, read over the manufacturer’s instructions, and then position the new water heater. Next, you’ll want to unbox your new water heater and locate the manufacturer’s instructions. Before you move on, read through the manual to familiarize yourself with proper installation and any additional notes on operating the water heater. Once you’re ready, use the hand truck to position the new water heater in place.
If the floor has any water damage, you may need to fix this before installing your new water heater. Replace any ruined wood and ensure the floor is level before installation.
Step 7
Reconnect hot and cold water lines. Once your water heater is in position, you can reconnect the hot and cold water lines. If you need assistance, this video offers a visual step-by-step guide on how to reconnect the lines.
Step 8
Turn on cold water to fill the tank.
Step 9
Make sure the tank is completely full.
Step 10
Check electrical connections and make sure the heater is properly grounded. It’s also a good idea to double-check all electrical connections and ensure the water heater is properly grounded before turning the tank’s power back on.
Step 11
Set the thermostat to the desired temperature or follow the manufacturer’s recommendations.
Step 12
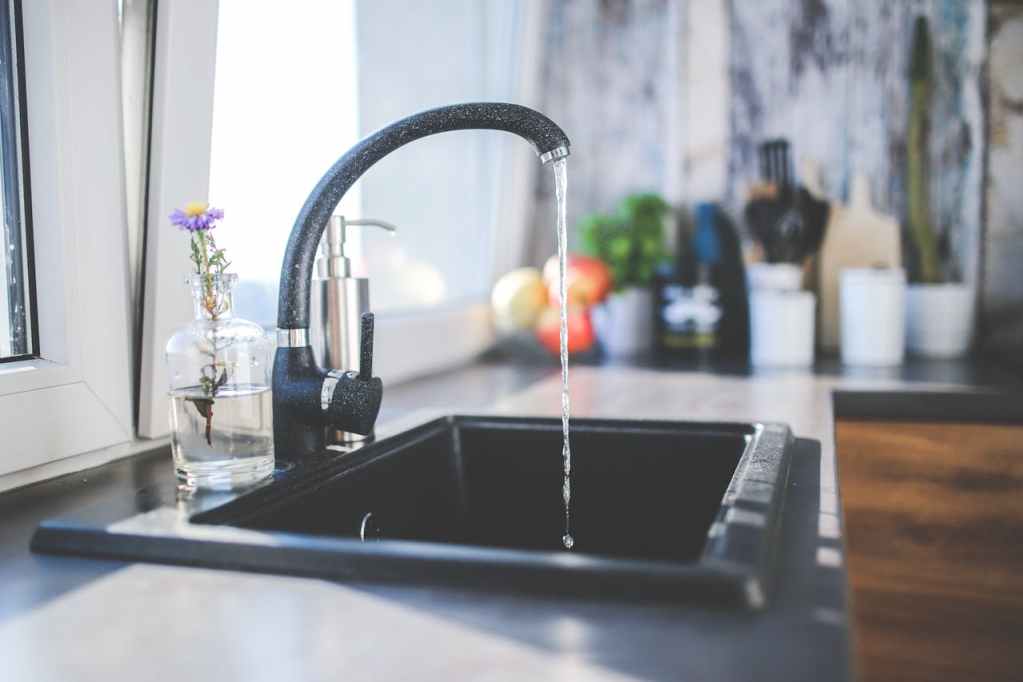
Test your hot water with your new heater. Then, head to a nearby faucet and turn on the hot water tap. Let it run for a few minutes to ensure that hot water is flowing as it should. If not, check your instruction manual for troubleshooting tips.
When to call a professional
In most instances, homeowners can replace their water heaters by themselves. However, problems can occur if your home experienced flooding, electrical issues, or plumbing issues with pipes in the walls. If you notice the leak is substantial or coming from inside the walls rather than the water tank, you might want to call a professional.
Replacing a water heater can be a simple DIY task for any homeowner. These tips will help ensure that you’ll be prepared when it comes time to replace your water heater.