It is no secret that we are currently overly concerned with cleanliness. With the current threats to our health, we must maintain a clean living environment. Under normal circumstances, it is essential to clean your house to avoid viruses and bugs like the flu. Considering we are under anything but normal conditions, it is more important than ever to form a regular cleaning routine. We have some tips and advice as to how to clean your house to avoid the flu and other viruses so you can keep your family safe and healthy.

Disinfect
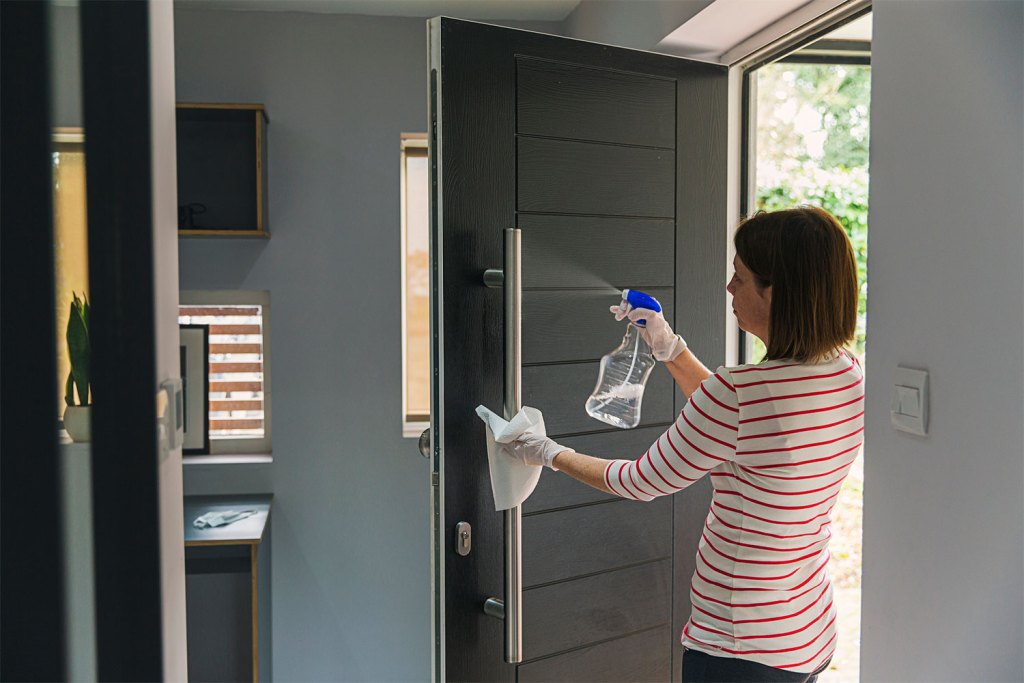
Avoiding the flu and other viruses in your home can start with disinfecting surfaces. Germs can live on surfaces for at least 24 hours, so it is imperative to clean all surfaces. If you have had a sick person in your house, it is vital to pay special attention to the areas that the ill person was, like their bedroom and bathroom. It is important to use an antibacterial cleaner on all surfaces such as tabletops, countertops, remote controls, computer keyboards, cell phones, doorknobs, light switches, sinks and handles, the toilet including the handle, and more.
The Cleaning Institute suggests, “Regular cleaning products do a good job of removing soil, but only disinfectants or disinfectant cleaners (also known as antibacterial cleaners) kill the germs that can cause many illnesses.”
To disinfect a surface, it must be wiped with the disinfecting cleaner, and left wet for four minutes, and then left to dry. If you don’t mind the smell of bleach, a good mixture to use is a 1/2 cup of bleach for every gallon of water used. Utilizing this mixture to mop and wipe surfaces, allowing the solution to be on the surface for at least five minutes, is a safe practice. After five minutes, you can rinse the surface and let it air dry. It is essential to disinfect the mop head you use or use a new towel each time you go into a new room. You don’t want to contaminate a new place by reusing a mop head or cloth that was used in an infected room.
To clean toys, teething rings, bottle nipples, sippy cups, and other items your kids use, wash them first and then soak them in a mixture of 2 teaspoons of bleach per gallon of water for two minutes. After soaking, rinse with warm water and then air dry. For soft items like teddy bears and pillows, throw them in the washer if possible. If you can’t wash the stuffed animal or pillow, keep the item away from everyone in the house for a few days, which will be enough time for the viruses on the surface to die.

Laundry
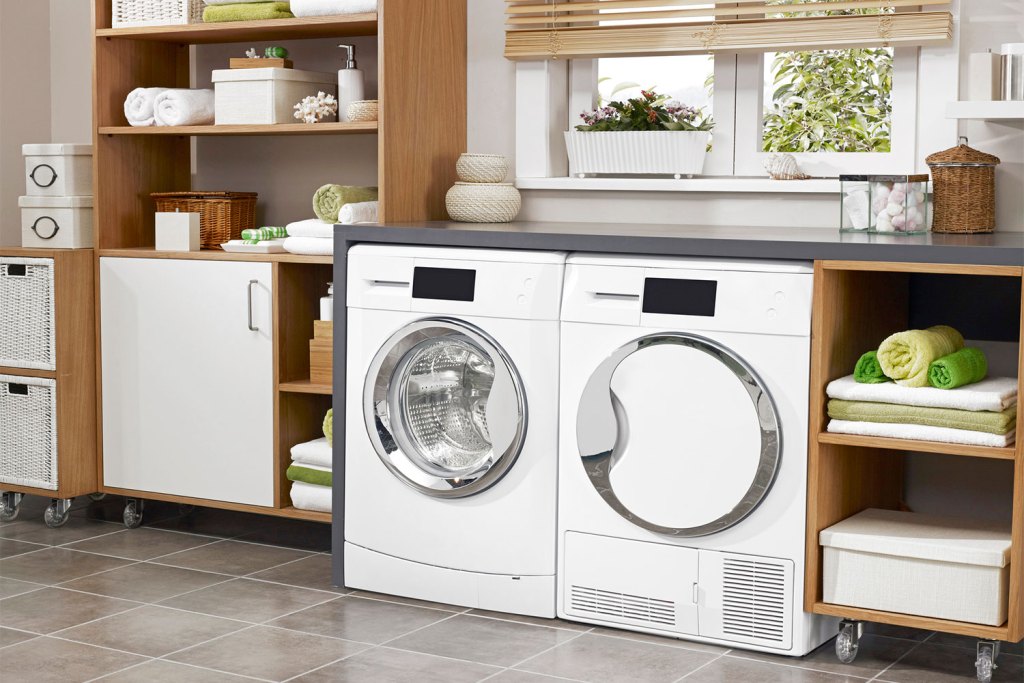
When it comes to laundry, keeping towels, bedding, and clothes clean is necessary to stop the spread of germs. If you are washing a sick person’s laundry, don’t “hug” the dirty garments against your body while transporting them to the laundry room. Instead, use a basket and then wash your hands once the laundry is loaded into the machine. It is also a good idea to sanitize your loads of laundry with bleach. Regular bleach can be used for whites and color-safe bleach for colors. Be sure to pay attention to the instructions on the tags of clothing. Make sure the clothing is in the bleach water for at least 10 minutes to ensure everything is disinfected.
Once you are finished washing a sick person’s clothes, bedding, and towels, take care to clean your washing machine. The warm and moist environment that the washing machine creates is a perfect breeding ground for germs. Run an empty cycle on the hottest settings with bleach added to the cycle. After that cycle finishes, run another empty cycle to ensure all of the bleach has been rinsed away, advises Real Homes.

Other Tips for Cleaning
Empty waste baskets that contain tissues from the sick person every day. You can give the ill person in your home their own waste basket for the time being, and this will minimize the areas in which infected tissues end up. Be sure to change the waste bag each day when emptying. A good tip is to use plastic shopping bags as waste bags, since they have handles, and you probably have an excessive amount of them anyway. When the sick person is no longer infected, or if you just want to disinfect for preventative measures, rinse your wastebaskets thoroughly, then wipe the inside and outside with a bleach-water mixture.
Dust furniture thoroughly and then vacuum. Once you dust everything, especially headboards and nightstands, the dust lands on the floor. It is crucial to get all of that dust and dander off the floor, so it doesn’t just move from room to room. Be sure to get the corners and under the beds, as well.
Open the windows for a short while each day. Whether or not someone in your house is sick, it is a good idea to get some fresh air into your home regularly. You don’t have to leave them open for a long time, especially if it is cold outside, but just long enough to freshen the room or rooms in your house. It’s not a bad idea to open the windows while you are cleaning to allow fumes from bleach or other cleaners out, as well.
Don’t use sponges for cleaning. Sponges absorb whatever they come in contact with, and therefore are perfect for transferring germs from one place to another. If possible, use paper towels for cleaning surfaces. If you want to use towels, try to use microfiber cloths since they are great at grabbing germs. Both microfiber and regular cloths should be used for only one room and then replaced with a new towel for the next room.
Wash your hands. Clean hands are just as important as a clean home. Wash your hands while you are cleaning to avoid spreading germs onto surfaces, clean towels, fresh laundry, etc. Wash your hands with warm water and an antimicrobial soap for at least 20 seconds.


