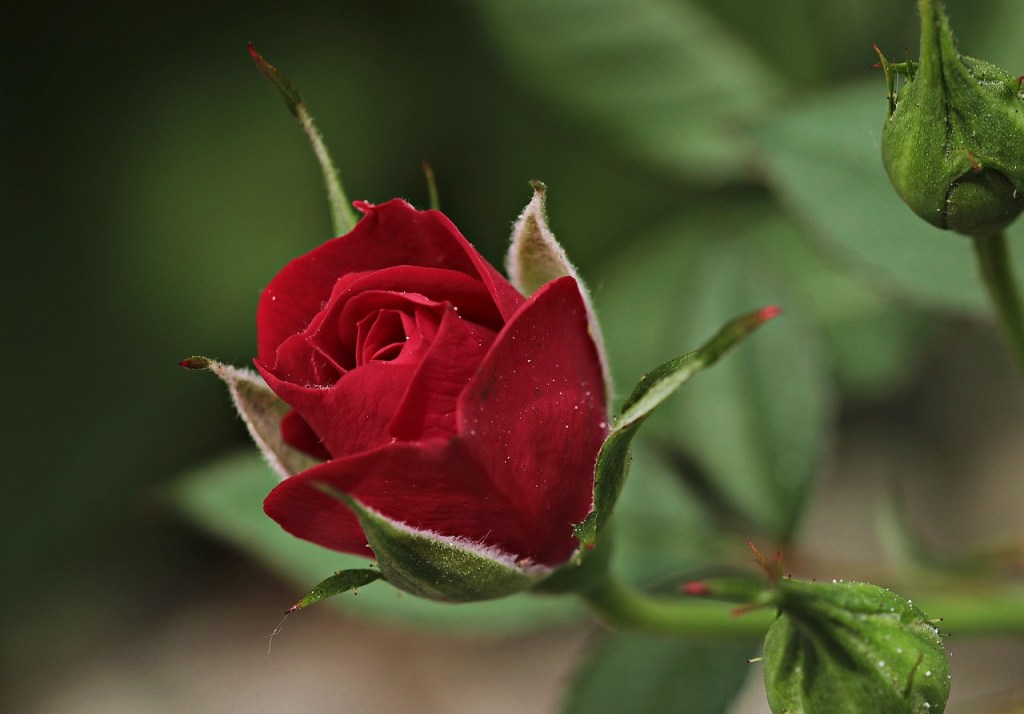
Your beautiful rose bushes are a conversation starter, an attractive focal point in your garden, and simply your pride and joy when it comes to your gardening adventures. It’s certainly a big disappointment when they suffer damage, become stunted, or start to show signs of disease. One of the most common and devastating plagues for rose bushes is the appearance of black spots on the leaves. To keep your blooms healthy, stick with us to learn more about what causes black spots on roses, how to address them, and how to prevent them from returning to your prized rose bushes in the future.
What causes black spots and is it harmful?
When you see black spots on your roses, the culprit is almost certainly a fungus called “Diplocarpon rosae,” which thrives on plants that hold a lot of moisture. These fungal spores germinate on a wet surface and eventually cause the affected leaf to become yellow, wilt, and fall off. The spores then spread to other parts of the plant through the air and via water droplets. As more leaves die and fall off of the plant, it will become weak, produce fewer buds, and may eventually die if the fungal infection remains untreated. When you see the first signs of black spots on your rose bushes, take action immediately to reduce the spread of these spores.
How to treat black spots on roses
Remove infected foliage with caution
Black spot spores are resilient and they spread easily. Since you can’t save infected petals, it’s crucial to remove fungus-laden leaves and branches when the plant is dry. This prevents the spores from spreading through water droplets as you work. Once you’ve pruned away the black-spotted areas, don’t compost the removed pieces. The spores can remain compost bin and re-infect plants once the compost is laid.
At the end of the season, remove all leaves and other debris since spores may even survive the harsh winter and infect the plant once more when it blooms again.
Should you treat roses with fungicide?
Fungicides effectively stop the spread of this fungus in its tracks. In most cases, a 7-14 day treatment is all it takes to prevent the infection from spreading. If you’d rather treat your blossoms naturally, there are some other non-chemical options for your organic yard.
Natural and home remedies
Neem oil
Neem oil is a natural fungicide that plants soak up into their system, preventing the need for repeated application. Simply mix two tablespoons of mild soap into a gallon of water, then add two tablespoons of neem oil. Spray the solution directly on the whole plant, treating all leaves and stems.
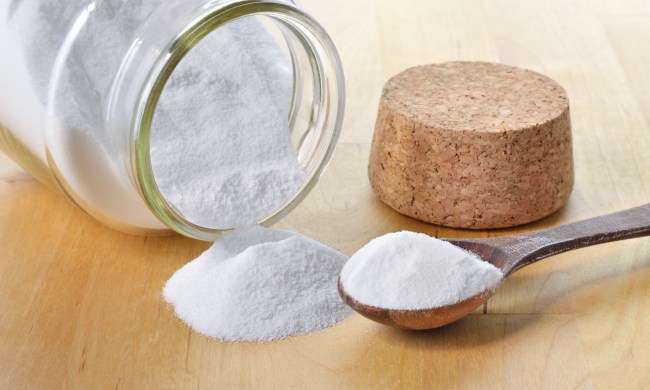
Baking soda
Baking soda is an antifungal that’s safe for humans and pets, so you can prevent the spread of black spots without any harmful chemicals. Mix one teaspoon of baking soda and one teaspoon of mild soap into one quart of water. Spray directly on the entire plant.
Prevention is key
Since these spores thrive in moist conditions, prevent fungal growth on your rose bushes by reducing excess moisture.
- Space your bushes properly. This allows good airflow between your plants that will dry pools of water.
- Water appropriately. Avoid watering the plant’s leaves and only water the soil beneath them.
- Lay mulch. This covers the soil and absorbs water better so it doesn’t splash back onto the petals when watered.
- Prune often. Pruning infected leaves as well as excess foliage will increase airflow and prevent moisture from building up.
- Maximize sun exposure. Plant your roses in an area where they’ll get a lot of rays so the sun can dry the leaves quickly.
- Choose a resistant plant variety. Many rose bush varieties, like the fire-engine-red Altissimo, are resistant to fungal infections.
Rose bushes are the star of any garden. When you’ve worked hard to plant and care for your rose bushes, it’s devastating when they show signs of a damaging infection. While you can’t get rid of the spots on the affected leaves, you can take some precautions to stop the spread of the infection and prevent it from devouring the entire bush. With some organic or chemical fungicides as well as careful pruning and maintenance, your rose bushes will remain healthy, flourishing, and black spot-free.