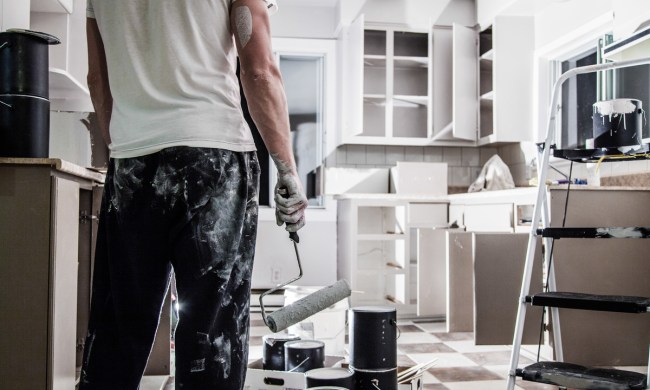
Remodeling your kitchen can be a costly, labor-intensive task that takes weeks or months. One of the things you can do to your kitchen to give it a facelift without an entire remodel is to focus on your cabinets. You can either replace your kitchen cabinets or simply customize them with paint.
There are many timeless kitchen cabinet colors to choose from — though you also have the option of coming up with unique color combinations. And while you may have some creative freedom with the color choice, there are very specific steps you must take before merely breaking out the paintbrush, including sanding the cabinets. We’re here to help you learn the essentials (like what grit sandpaper to use for kitchen cabinets) before you paint so you can do the project correctly.
Wood is your best bet
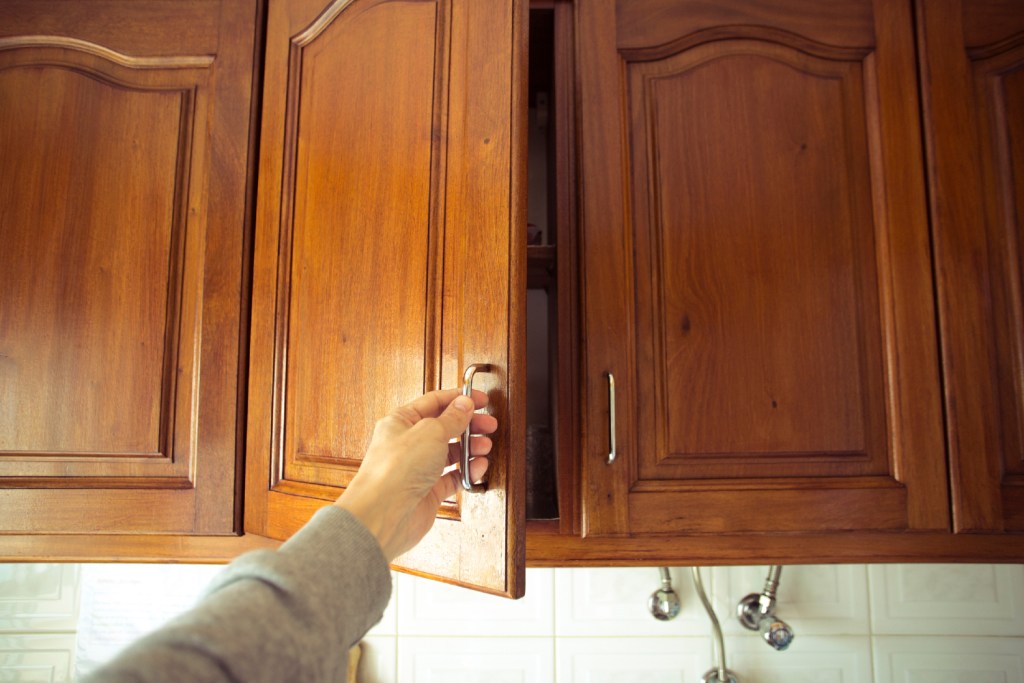
Wood cabinets are the best cabinets to paint. Whether they are unfinished, painted, or stained, any type of wood will work. Even compressed or faux wood will work well. Pretty much any surface that you can use sandpaper on will work well, which is why materials such as laminates are bad options. If you can scuff up the surface of the cabinet with sandpaper, the paint will adhere.
For stained wood and glossy finishes, you will have to de-gloss them, for which you can use a liquid sander applied with a rag. It should be noted that you can paint laminates, but it won’t last very long, and painting cabinets is a big job, so you may not want to waste all that hard work on a finish that isn’t going to last.
Don’t shortcut the prep
Preparing your cabinets and the entire kitchen for the project is just as important as the actual painting.
Step 1: Start by emptying the cabinets completely and cleaning them thoroughly, ensuring that all dirt and grease is removed. It is imperative to get all of the grease off of the cabinets since you will likely be using water-based paint, and oil and water do not mix.
Step 2: Next, remove all handles and knobs and check all hinges.
Step 3: Remove all drawers and label each, so you know where they belong when it’s time to put them back.
Step 4: The next step is to tape the edges of all parts that are to be left unpainted such as hinges, appliances, and countertops.
Step 5: Use a wood filler to repair scratches, holes, and imperfections.
Step 6: Lastly, sand the cabinets. A rotary sander will work well for flat surfaces, and hand sanders are best for hard parts and edges.
Use the right grit sandpaper
If your cabinets are already painted, use 120-grit sandpaper before finishing with a finer grade. If the paint is really thick, you may want to consider stripping them before sanding. If your cabinets are stained, use 220-grit sandpaper. Be sure to vacuum up any dust and debris left behind after sanding the cabinets. If dust gets on your brush or in your paint, it will make the finish look gritty.
Primer is necessary
After you’ve prepped the cabinets and kitchen, primer is critical. Paint and primer all-in-one products should be avoided since they don’t do a great job at either. Oil paints and primers produce the best results, but oil-based paints are unavailable in some states, and it's hard to work with if you can get it, so it may not be the option for you. A good alternative is water-soluble waterborne paint, which is like a latex-oil combo.
If you're painting over a dark color, you may want to tint the primer to match the final color. There is also a thicker primer called underbody that is less transparent than a traditional primer, will hide more, and can also be tinted. After you prime the cabinets, be sure to sand them again, just not as aggressively as the first time around.
Pro tip: If you are going to have the primer tinted, requesting 75% of the final color is a good rule of thumb.
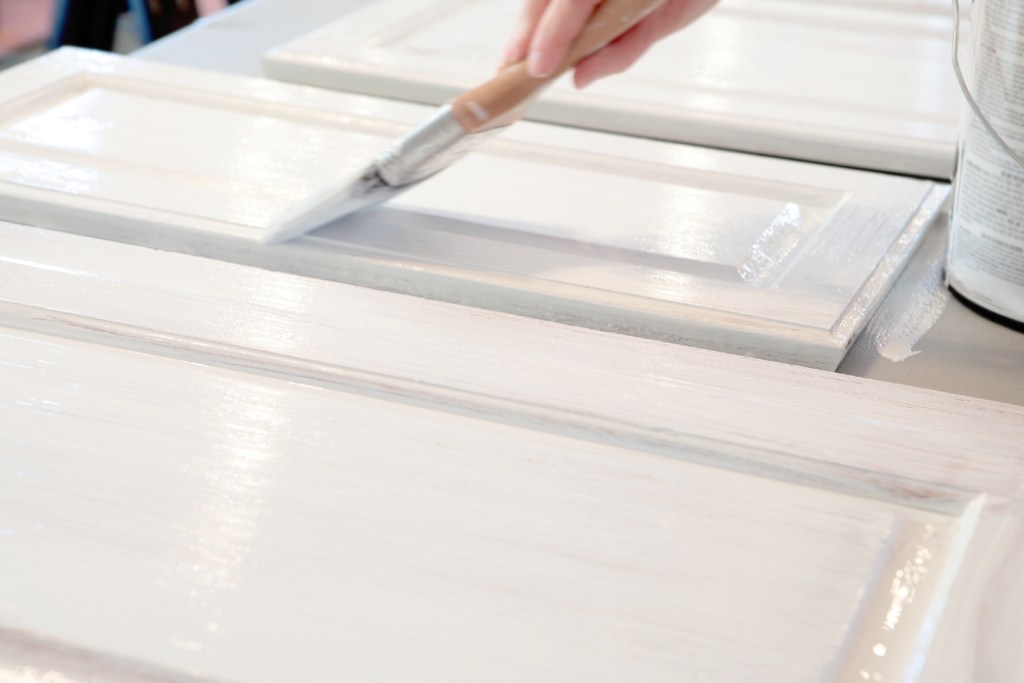
Quality paint is worth it
Better paint provides better coverage and will last longer than cheaper paint. You’re going to need two coats of paint on cabinets as it is since you are building a surface that you want to last. If you don’t use high-quality paint, you will be causing more work for yourself in the short term and the long run. For the best results, use a brush with a 2 to 2-1/2 inch fine bristle.
No matter what paint you choose, be sure to ventilate the room by directing a fan or two out the window and opening doors and windows when possible. It is also a good idea to wear a face mask, which are sold at all paint stores. Also, try to keep your work area clean. The neater you are, the fewer accidental messes and mistakes you will make.
Hard finishes work best
Matte and eggshell finishes on cabinets are not practical because they aren’t durable. In the kitchen, you want a wipeable surface that will stand up to all of the action for years to come. Looks for paints with a semi-gloss, gloss, or satin finish for the best results. These finishes will hold up longer, so you won’t be painting again in a year.
Additional tips
When painting your wooden kitchen cabinets, be prepared to have some visible wood grain showing through. They aren’t going to be totally smooth, no matter how much you sand them, so it is best to have realistic expectations.
Painting your kitchen cabinets is not a one-day project or even a weekend job, for that matter. Allow yourself enough time to complete the project without rushing. If you are pressed for time, you will probably make more mistakes, which means the whole project will take longer. Allow yourself four to seven days from prep to finish for this project.
Start by painting the backs (or insides) of the cabinets first. This will allow you to get a hang of how the paint takes to the wood. Also, if you flip the door too soon and accidentally smudge the paint, it will be on the inside of the cabinet instead of the outside. Speaking of smudges, don’t rush putting the cabinets back up. Waiting for them to dry completely can be painful, but it will be worth the wait when you don’t have to re-sand and repaint anything because you were patient.
Lastly, if you’re planning to paint your kitchen cabinets and need to know more about the trends, you can check our guide on timeless kitchen trends.
Painting your kitchen cabinets is a big job. So, following the proper steps and doing it right the first time makes sense. Preparing both the kitchen area and the cabinets before you begin is key, as well as choosing the correct sandpaper grit, and paint. If you've been thinking about refreshing your kitchen, this could be just the DIY project you've been looking for.