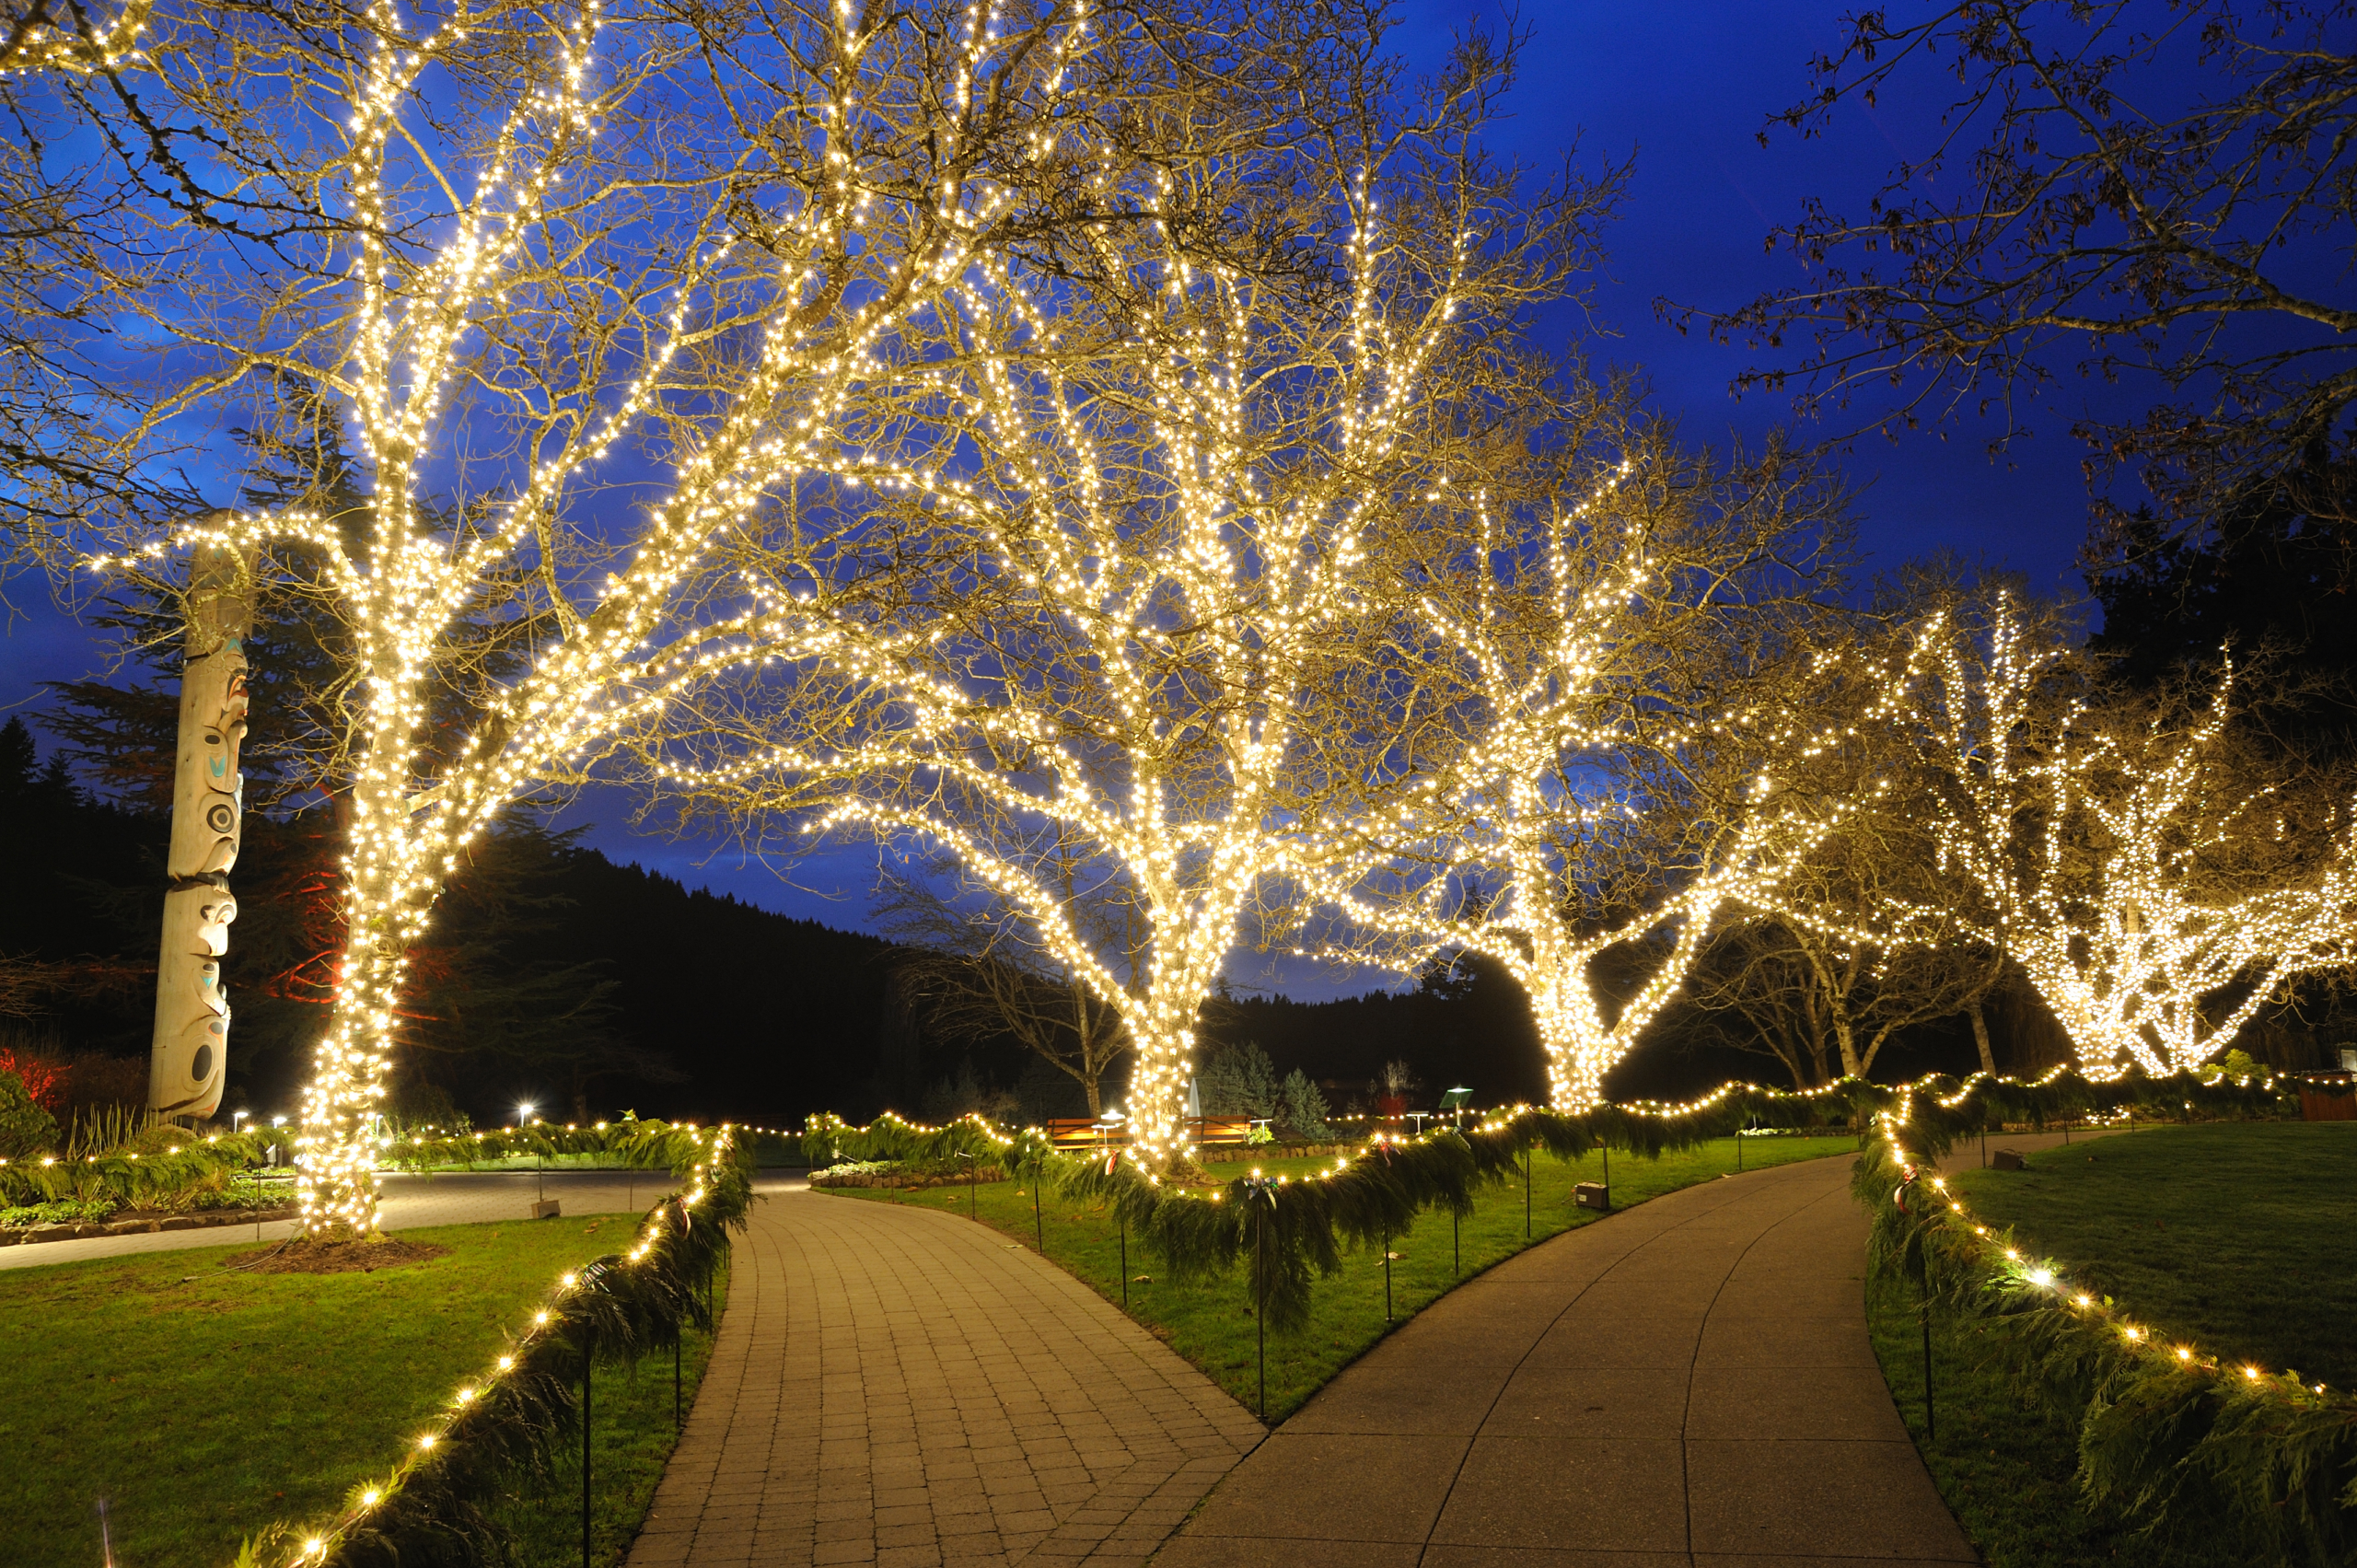
If you’re looking for outdoor lighting solutions that create a smattering of magic and wonder in your yard or garden, you might want to mark a specific target: your trees. Because if you love the look of trees filled with twinkling lights during the holidays, why not enjoy that same beauty with your own trees all year long? After all, dining al fresco in the summer is a whole lot more magical when surrounded by trees and shrubbery festooned with brilliant strings of light.
While everyone knows how spectacular evergreens look when draped in light, you can give that same glow to virtually any type of tree or shrubbery — even palm trees!
But, lighting an outdoor tree can be tricky so take a look at our tips and inspiration before you head outside!
Make a plan!
Start by selecting which trees you want to light up, focusing on those that will give you the most landscaping wow factor! Keep in mind that the perfect trees for lighting are often the trees that are the least perfect in the daylight — those with interesting shapes and unique branch configurations look all-out dramatic when all lit up.
While the biggest tree in your yard can certainly deliver the biggest impact, the larger and taller the the tree the more lights it will require and the more difficult the project may be to tackle. The last thing you want is to end up with a big, beautiful tree with barely enough lights to even notice. Choose the tree — or trees — that match up with the amount of lights you have available.
LED string lights are best suited for outdoor use. While a bit more costly than standard incandescent bulbs, LEDs last significantly longer and are 75 percent more energy efficient than incandescents, saving you money over time.
When choosing extension cords for your project, always work with outdoor-rated cords. To protect against shock hazards in outdoor situations, you must use a ground-fault circuit-interrupter (GFCI) cord and GFCI outlet.
Use a ladder for reaching high parts of the tree — do not even think about climbing the tree to hang lights! Consider having a friend help by holding the ladder base while you climb, not only for safety but also to advise you on light placement from a ground-level viewpoint.
Light it up!
When it comes to hanging outdoor tree lights, more is more! Depending on the circumference of the trunk, you could use 20 or 30 lights with each wrap around the base of the tree. Make a lighting plan and budget. It’s better to have one tree done perfectly than several trees done wrong.
Before you hang a single light … TEST YOUR LIGHTS. We can’t stress this enough! The last thing you want is to get your project complete only to find a strand of lights smack in the middle of your display isn’t working. Plug in each and every strand before hanging. You’ll thank us later.
Start from the bottom and work your way up. Wrap the tree trunk, moving up as you wind the lights around the base. Be mindful of spacing and use your fingers as a guide for consistency between rows. The best results require uniform spacing.
Finish by wrapping lights up the limbs and branches, keeping several extra feet of string at the end. Once you’ve reached the end of the limb, reverse direction and wind it back down. Secure the end of each light string by tucking the end into a branch crevice or tie to the tree with natural twine or planting tape.
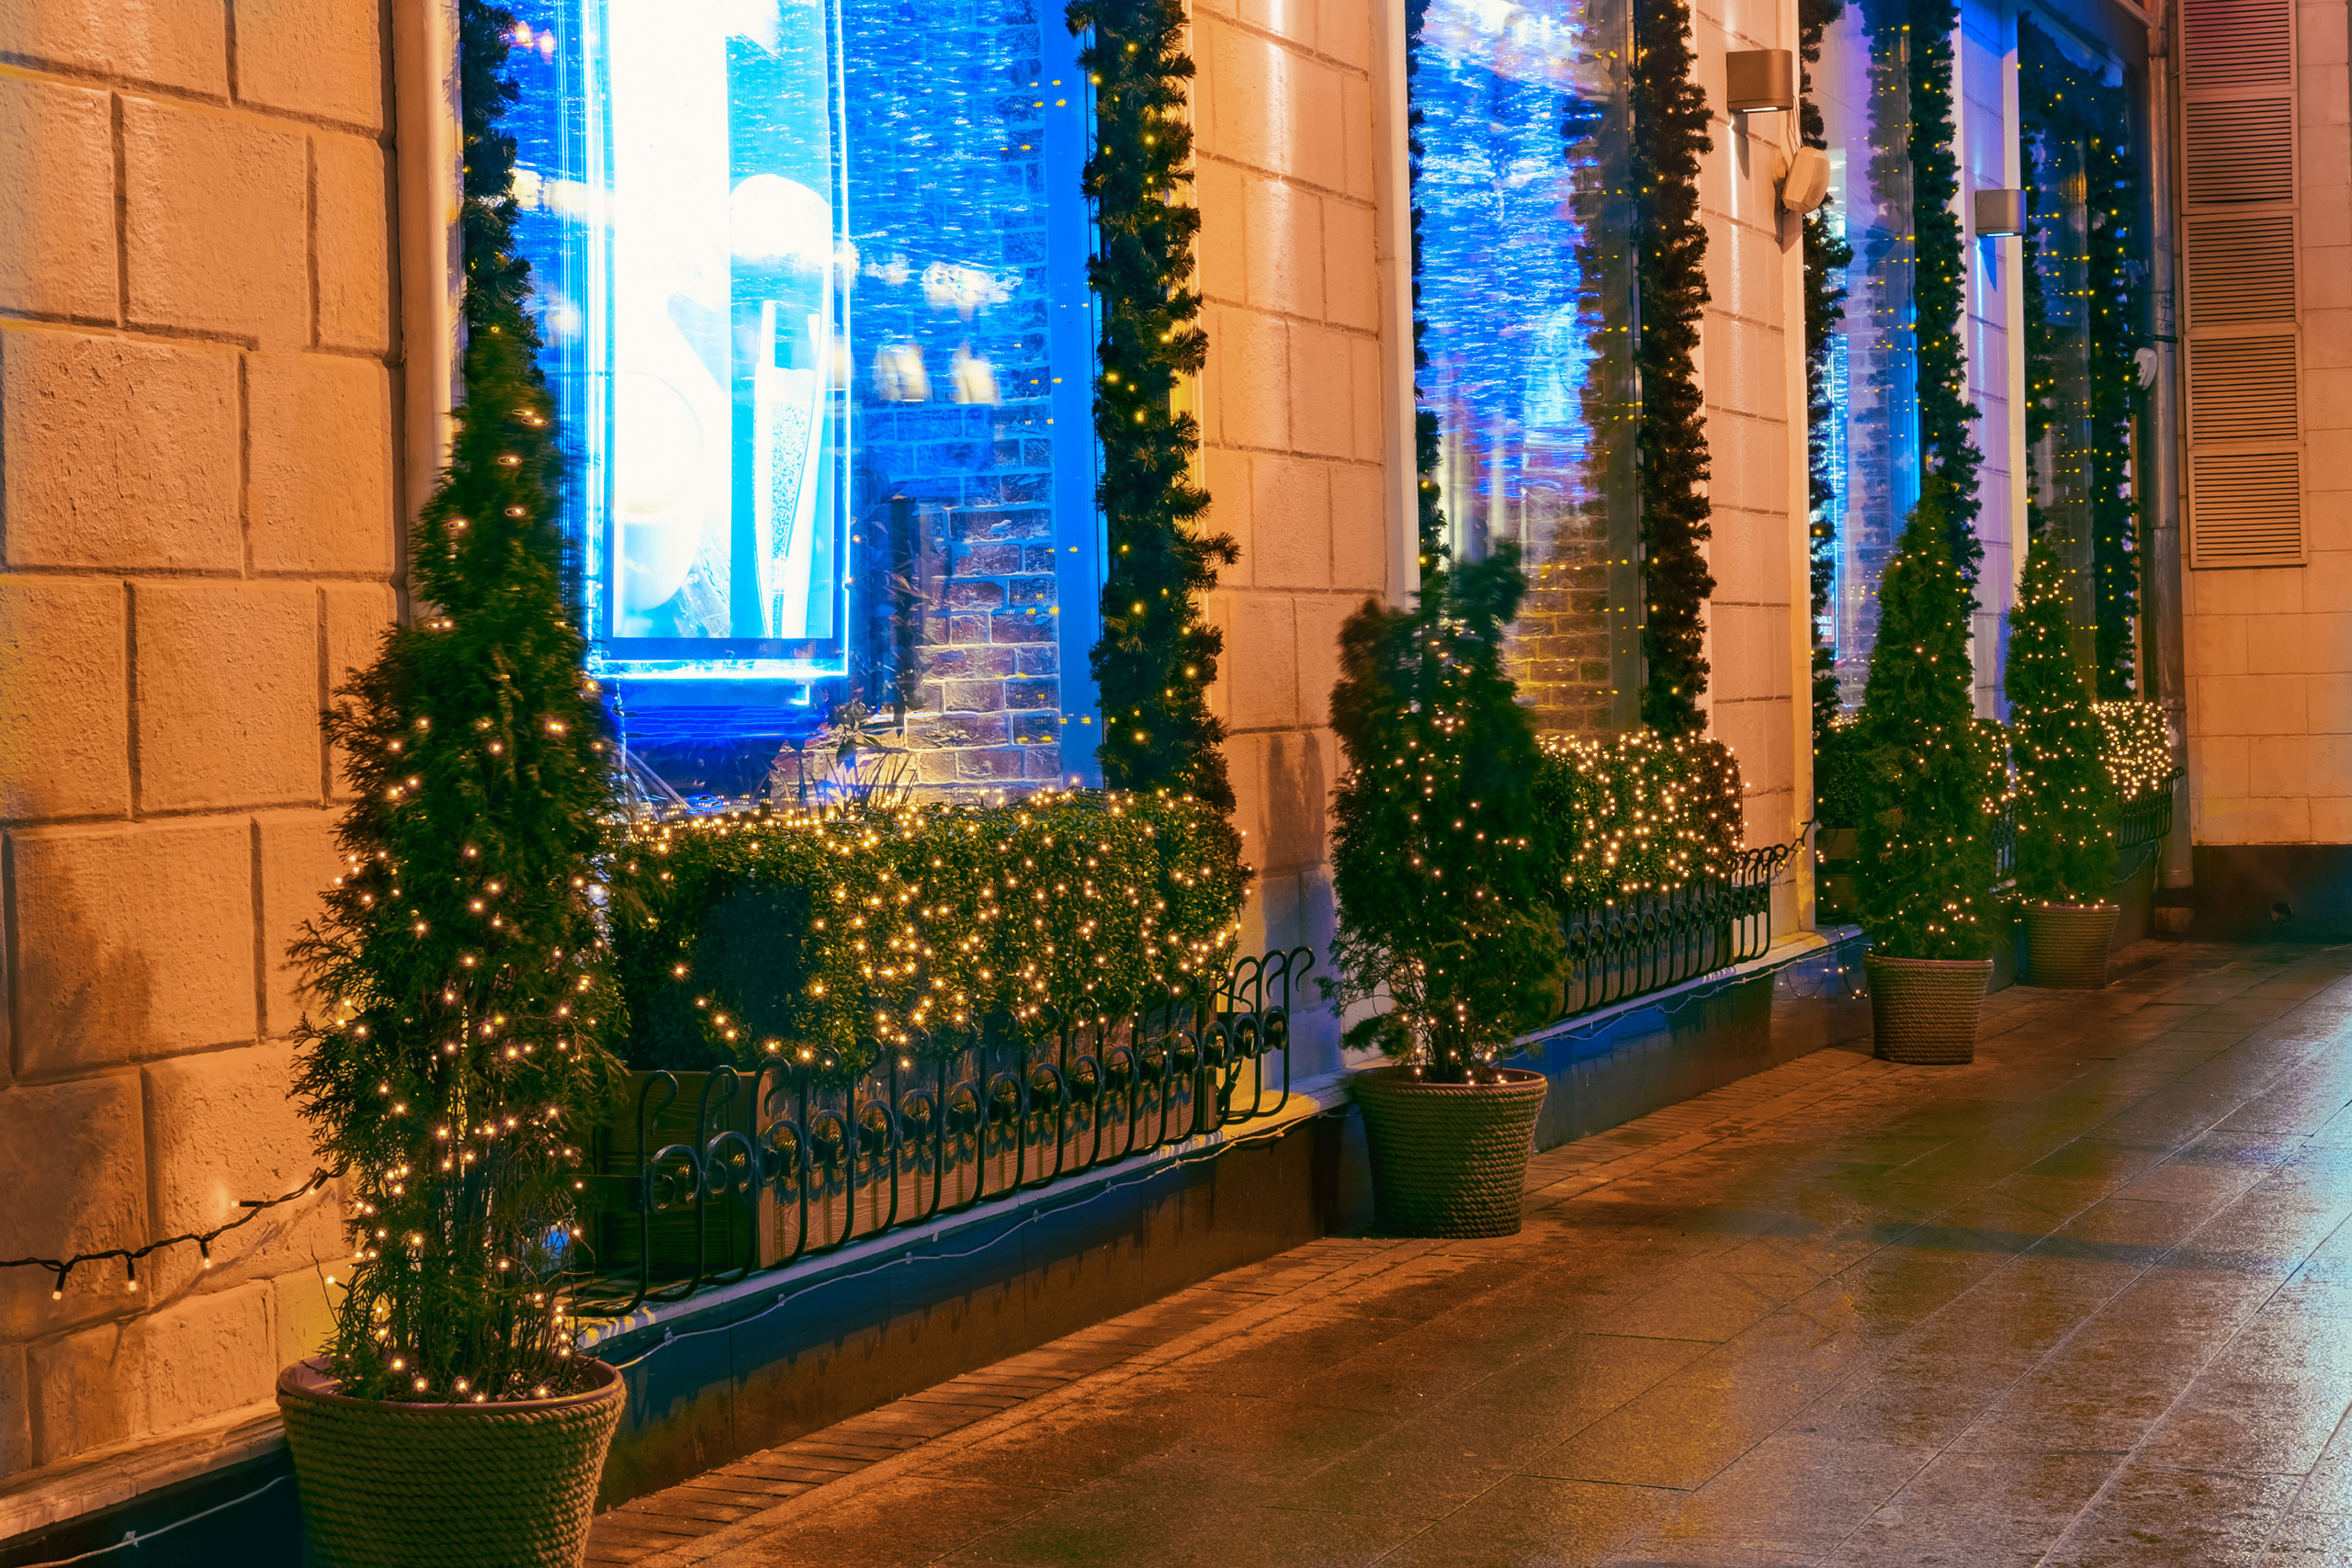
If large trees are too time consuming, difficult, or expensive for you to tackle, you can still enjoy the twinkle of outdoor lights on your smaller trees, shrubbery, and bushes. The trick is to get as many lights on the trees as possible and to focus on those trees with the most unique shapes and angles for optimum appeal.