
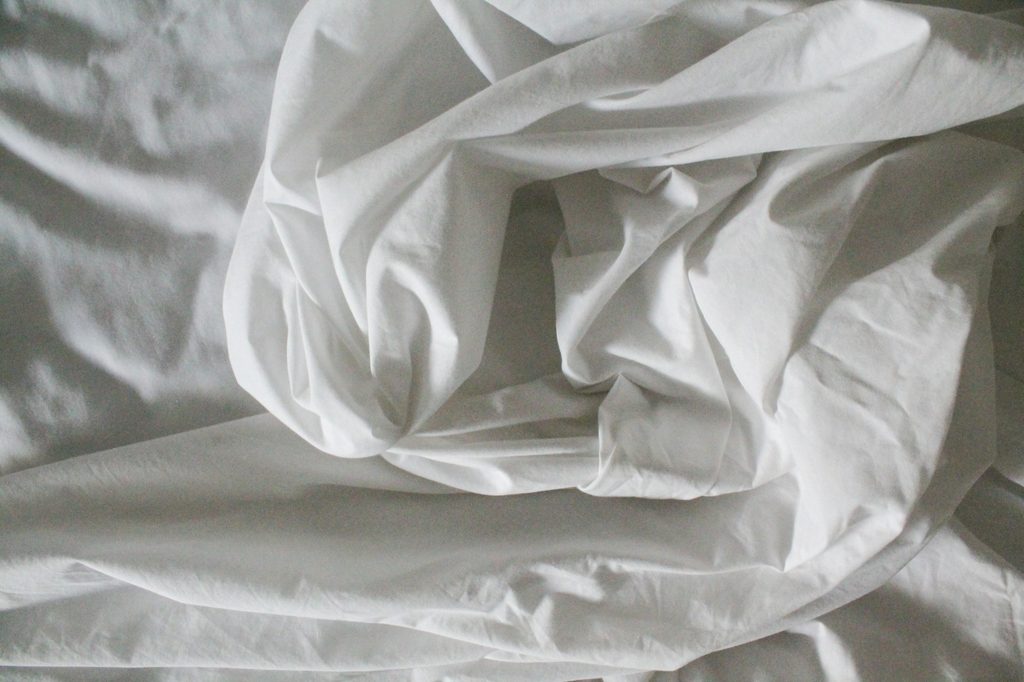
Worried your bright white clothes will turn dingy after a few wears? Washing your whites can be a challenge, but with the right laundry techniques, you can keep them looking crisp and bright. That’s why we’re going to cover everything you need to know about how to wash white clothes properly to prevent them from turning dull or gray. From using the right detergent to brightening hacks, follow these tips to ensure your whites stay spotless.
What happens if whites aren’t washed properly?
When white clothes aren’t washed correctly, they can lose their bright, clean appearance and start to look dingy or yellowed. Improper washing techniques can lead to color bleeding, fabric damage, detergent stains, and the build up of dirt and oils, which can be difficult to remove later. To ensure your whites stay white, following specific steps to prevent these issues and help maintain the fabric’s integrity is essential.
How to wash white clothes
Washing white clothes properly involves more than just tossing them into the washing machine. It requires a few thoughtful habits to ensure that your clothes come out looking as good as new. Follow these essential steps to keep your whites in their best condition.
1. Separate whites from colors
The first step in learning how to wash white clothes is to separate these laundry items from colored ones. Mixing whites with colors can lead to color transfer, which is one of the main reasons why white fabrics end up looking dull or discolored. Always create a separate load just for your white items to avoid this common laundry mishap.
2. Pre-treat stains on your whites
Before throwing your whites into the wash, it’s crucial to pre-treat any visible stains. Pre-treatment helps lift stains from the fabric, ensuring they don’t set in during the wash. Use a stain remover or even a bit of your regular laundry detergent directly on the stain, and let it sit for about 10 to 15 minutes before washing. This step can significantly improve the overall outcome of your wash.
3. Do you wash whites in hot or cold water?
One of the most common questions people ask is whether to wash white clothes in hot or cold water. The answer depends on the type of fabric. Hot water is generally best for cotton and other durable materials because it helps remove dirt and kill bacteria. However, delicate fabrics may benefit from cold water to avoid shrinkage and damage. Always check the care label on your clothes for specific instructions.
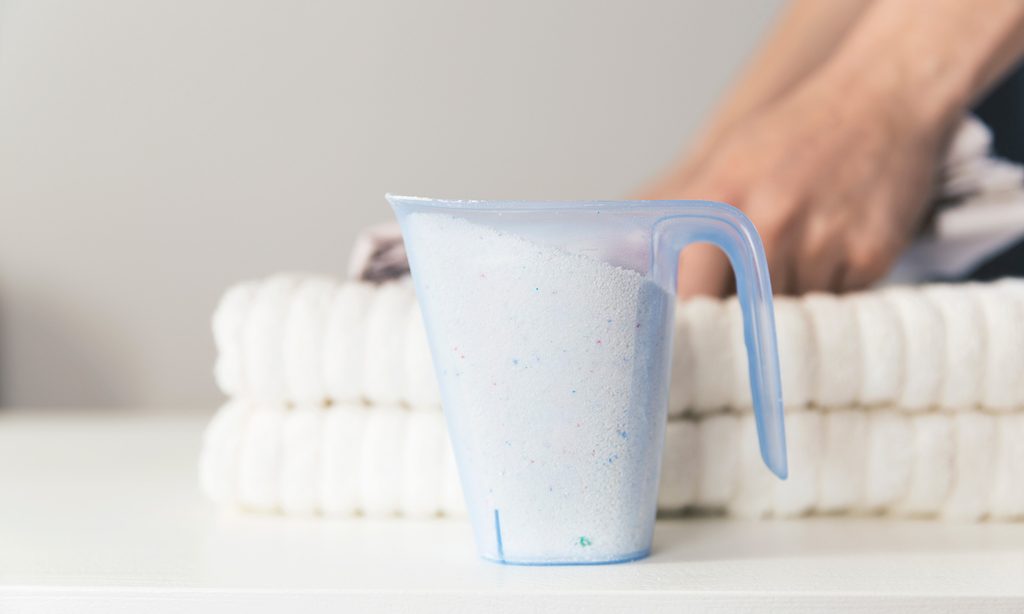
4. Use the right detergent
The detergent you use plays a significant role in how clean your whites come out. For the best results, choose a detergent formulated specifically for whites or one with a bleach alternative that helps keep colors bright and whites vivid. Avoid using too much detergent, as this can leave a residue that attracts dirt and makes your whites look dull over time.
5. Use bleach properly
Bleach can be a powerful tool when it comes to whitening clothes, but bleaching your laundry must be done correctly. Add the bleach to your washing machine’s bleach dispenser or dilute it in water before adding it to the load. Be sure not to pour bleach directly on the clothes, as this can cause damage to the fabric. Also, never use bleach with certain fabrics like wool or silk, as it can weaken or discolor these materials.
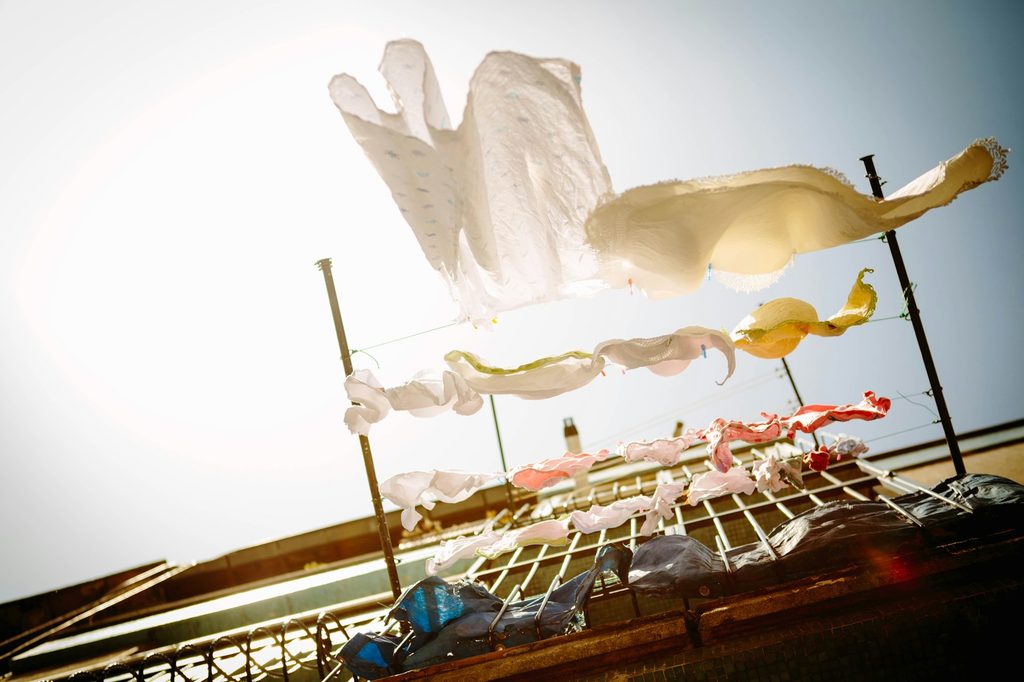
6. Dry whites in direct sunlight
Drying your whites in direct sunlight is one of the oldest tricks in the book. The sun’s UV rays have natural bleaching properties that can help keep your whites looking bright and fresh. Plus, sunlight is an eco-friendly and cost-effective way to dry your clothes. Just be careful not to leave them out for too long, as excessive sun exposure can weaken the fibers over time.
Whitening alternatives to bleach
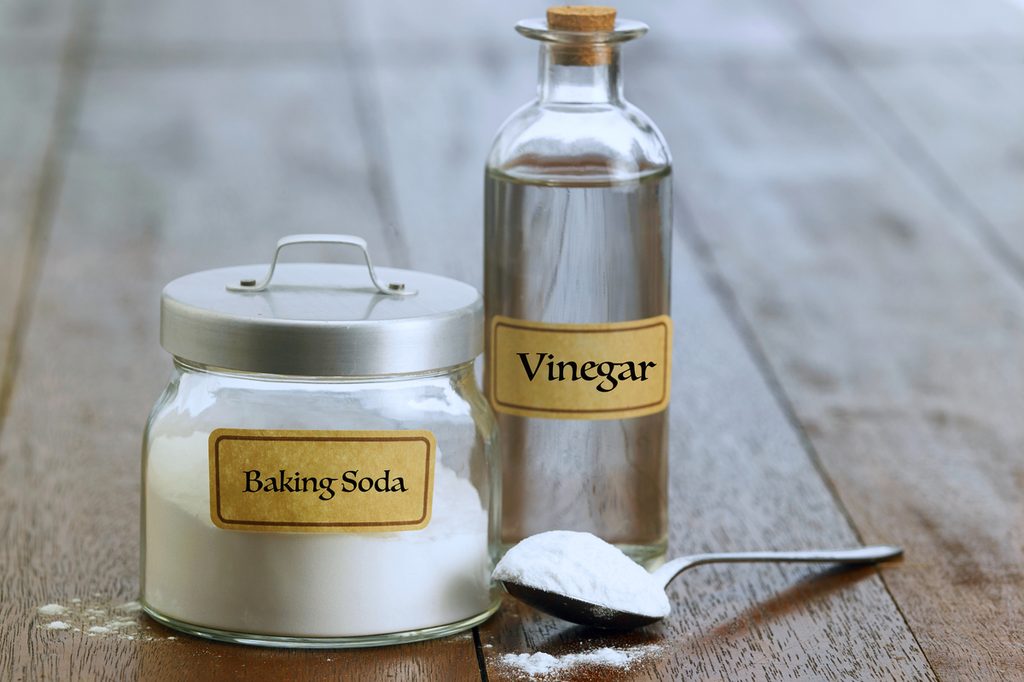
If you prefer not to use bleach on your whites, there are several natural laundry ingredients that can still achieve excellent results:
- Baking soda: Add half a cup of baking soda to your regular wash to help boost the cleaning power of your detergent and keep whites bright.
- White vinegar: A cup of white vinegar in the rinse cycle acts as a natural fabric softener and helps break down detergent residues that can dull your whites.
- Lemon juice: Fresh lemon juice has natural whitening properties that can enhance the brightness of your clothes when added to the wash cycle.
These alternatives are not only effective but also gentle on your fabrics, making them great options for those looking to avoid harsh chemicals.
What NOT to do when washing white clothes
While there are many tips on how to wash white clothes, knowing what NOT to do is just as important. Avoid these common mistakes to prevent damaging your whites:
- Don’t overload the washing machine: Overloading can cause clothes to rub against each other, leading to friction that wears out the fabrics and makes stains harder to remove.
- Avoid using too much detergent: More detergent doesn’t mean cleaner clothes. Excess detergent can leave a residue that dulls your whites over time.
- Never mix whites with colored items: Even a small amount of color can bleed onto white fabrics, turning them gray or yellow.
- Remember to pre-treat stains. Skipping the pre-treatment step increases the chance of stains setting in permanently.
Learning how to wash white clothes properly can make a significant difference in keeping them looking bright and new. By following the steps outlined above, you’ll be well on your way to maintaining your wardrobe’s crisp, clean look. Avoid common mistakes, consider natural whitening alternatives, and always treat your whites with care. With these tips in hand, you’ll have no trouble keeping your white clothes looking their best.


