Mulch is a vital part of any garden, and building your own mulch pit could give you a steady supply of this garden gold. A mulch pit gives you a place to store this valuable organic material and ensures that you never let any of your yard go to waste.
Building a mulch pit is simpler than you may think. All you need is a few key components and an understanding of the principles of mulch storage and creation. This is everything you need to know about creating a sustainable home-garden mulch pit.
How does mulch work?
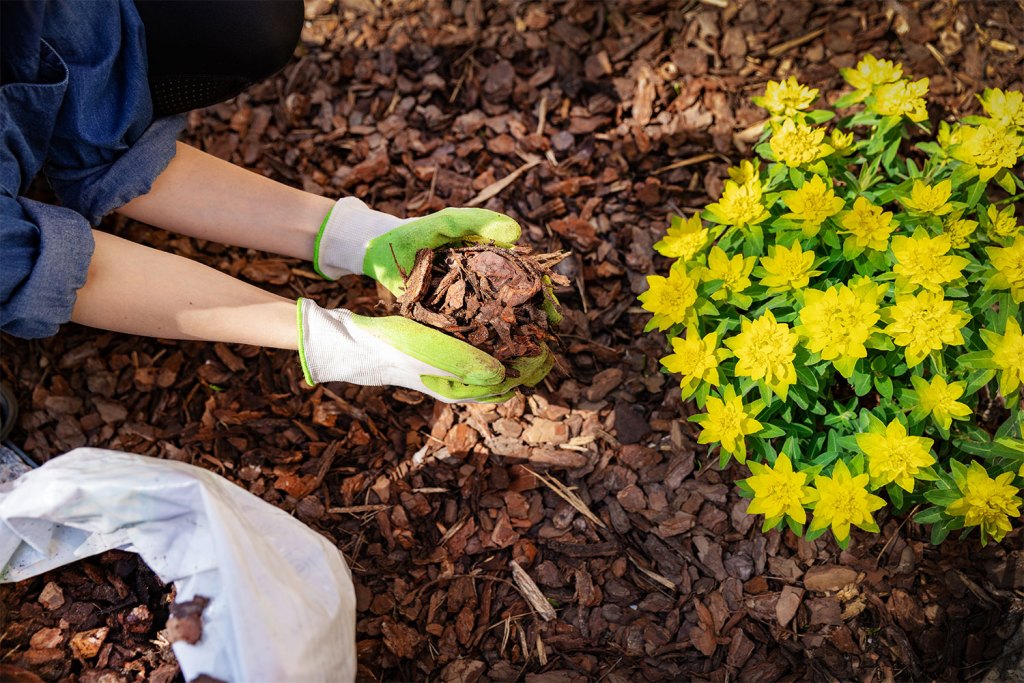
When you take the various clippings and cuts from your garden and lawn — things like wood chips, grass, or leaves — these materials break down over time, releasing their stored nutrients and providing a rich humus layer that can nourish your existing plants.
Mulch not only releases nutrients but also allows gardeners to control the moisture levels of delicate plants. Placing mulch around plants will enable it to break down over time, building up the nutrients of the soil and nourishing roots, says The Spruce.
With the right maintenance, a mulch pit can transform the look of your garden and provide you with solutions to common soil problems and plant deficiencies.
Types of mulch pits
There are two basic types of mulch pits, and they serve two purposes.
- Unlined mulch pit – An unlined mulch pit allows valuable organisms and moisture to get into the pit, slowly breaking it down. This helps mulch turn to compost and, in some cases, soaks up excess water from the terrain or even cleaning grey water, says One Green Planet.
- Lined mulch pit – Lining the pit with a tarp or some sort of plastic helps preserve the mulch longer without it turning to compost. These are useful if you’re planning to use mulch to preserve the moisture around your plants and manage your landscaping design.
Consider how you plan to use your mulch pit before you begin the digging process, so you’re clear on what you’ll get. Storing your mulch for either purpose is valid and helpful, however.
Digging an unlined mulch pit
If you’re converting your yard waste into compost, digging a mulch pit is simple. SFGate gives a step-by-step for digging a mulch pit.
- Find a warm spot that gets enough sunlight to help keep the surface of the pit dry.
- Start with a 2 by 2 cubic-foot area. You can always expand later if you need more space.
- Begin layering your yard waste into the mulch pit and turn it every few days to allow it to aerate and dry.
- You can use your mulch before it decomposes or wait until it has turned into a nutrient-rich hummus before tilling it into your soil.
This is very much like a compost pile, but be sure to stick to only yard waste. Food will attract bugs and other animals in such an open space.
Digging a lined mulch pit
If you need a place to store mulch without having it break down so quickly, you’ll need a slightly different system. A lined mulch pit requires more planning, but you can still accomplish this in a few hours.
- Choose a shady spot. Heat speeds up the decomposition process, so you want a place protected from the sun.
- A 2-foot cubed area is an excellent place to start with your digging, but consider how much mulch you’d like to store.
- Cut a piece of landscape fabric that can fit into the hole and overlap the outside ground by at least 6 inches. If you don’t have a size that large, overlap pieces until you get the same effect.
- Fit the fabric into the pit, ensuring that you’ve covered all the sides and corners.
- Cover the outside edges with a bit of dirt so that the fabric can stay in place.
- Fill up your hole with your mulch, allowing it to pile up in the center.
- Place another tarp over the top of the pile and secure it with more dirt, rocks, or stakes so that it doesn’t move.
Why do I need a mulch pit?
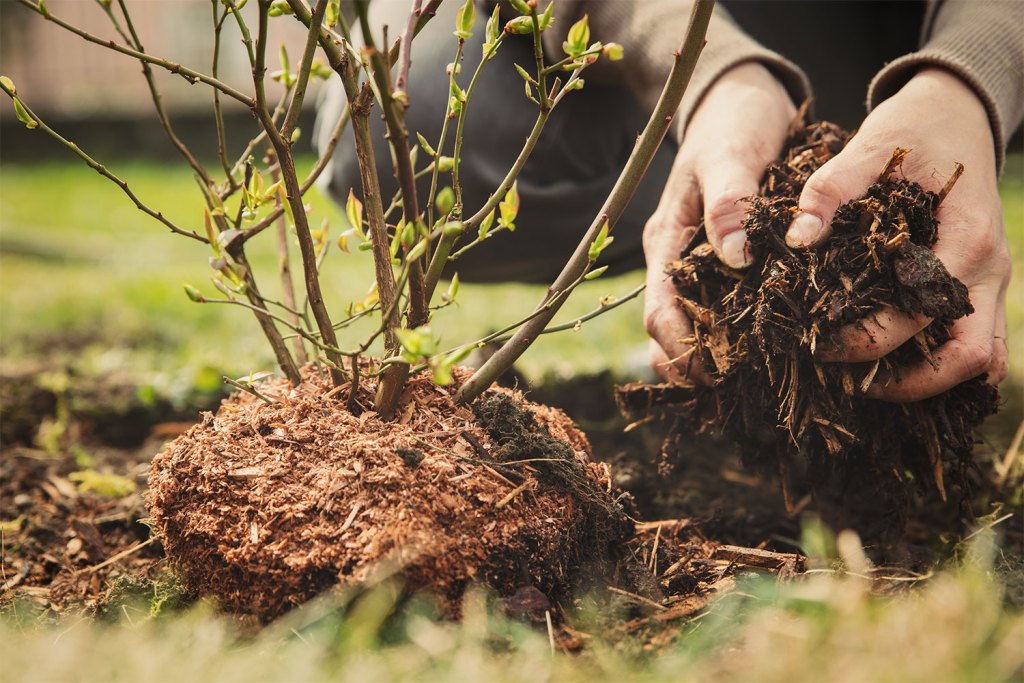
You can only mulch up to a certain depth around plants without creating conditions ripe for mold or pests. You may not be ready to use your mulch just yet, so a pit creates an easy place for you to store what you don’t need just yet.
A mulch pit can also help keep pests out, unlike brush piles around your house or other common areas. The pit is simple to create, and it helps keep your yard nice and tidy.
Mulch to transform the home garden
Building your mulch pit for your home garden can transform your moisture content and provide vital nutrients. These pits have a place in every home garden, and you’ll be glad you took the time to build one. If you want to learn more, check out if you can use coffee grounds as mulch – and other garden uses – in our next article.