Automatic garage doors are incredibly convenient features for homeowners. Not having to manually lift that heavy sliding door, particularly when the weather outside is freezing, is a huge relief. Keeping your garage door safe and maintained is crucial to its operation, but it starts with setting it up to work properly. We’ll walk you through how to program a garage door opener so you can use this home feature with ease and confidence.

How does a garage door opener work?
While it may seem like a complicated mechanism, a garage door and its opener are probably simpler than you would think. They operate through radio transmission. Inside your remote or keypad is a transmitter that communicates with the receiver in your garage door’s motor. When the button on your remote is pushed or the correct code is entered on your keypad, it sends a transmission to the motor on a frequency that it recognizes, which prompts the motor to kick into gear.
How do I program my garage motor?
If you’ve just bought a home with an existing automatic garage door or if you inherited a used system that you’ve installed, the first thing you’ll want to do is cancel out any old remotes or keypads that may still be recognized by the receiver in the motor. That way, no one except you has access to your garage.
Step 1: If you have the owner’s manual for your automatic garage door, take a thorough look at it to ensure you’re taking the proper steps to program it. While most garage doors are programmed the same way, there may be slight variations between brands and models.
Step 2: Grab a step ladder and place it safely under the garage door’s motor.
Step 3: Step up on the ladder and locate the wiring panel or wire box on the mechanism. There may be a panel cover on some models which you’ll have to remove.
Step 4: Locate the “learn” button. It’s typically located near the wires and the light of the motor.
Step 5: You’ll need to press and hold the button down for between 15 and 30 seconds to reset the receiver and cancel any transmitters from old remotes or keypads. On some models, the light will flash when the reset has been successful, but the length of time you need to hold down the button will be stated in the owner’s manual. If you don’t have your manual, press it down for 30 full seconds to be safe.
Step 6: Now that your receiver has been reset and old devices have been canceled, it’s time to program your own devices.
How to program a garage door opener keypad
If a keypad came with your garage door opener, it should be installed on the outside of the automatic garage door. We’ll walk you through programming this device, but be sure you think of an access code that’s difficult to guess. You don’t want to choose a birthday or anniversary date, for example.
Step 1: First, climb up on your ladder to press and hold the same “learn” button you would press if you were canceling old devices.
Step 2: Once the light appears by the button, you’ll need to quickly get to the keypad to enter your unique code. For most models, you have roughly 30 seconds to enter it before the receiver resets. It may be a good idea to have a second person present to climb up the ladder and press the button so you can be ready at the keypad.
Step 3: Once you’ve typed in your new code, press “enter” on the keypad. The light on the garage door opener’s motor should blink if it has accepted your code.
Step 4: Close any panels you opened on the motor and test your keypad code to be sure it saved.

How do you program a garage door opener remote?
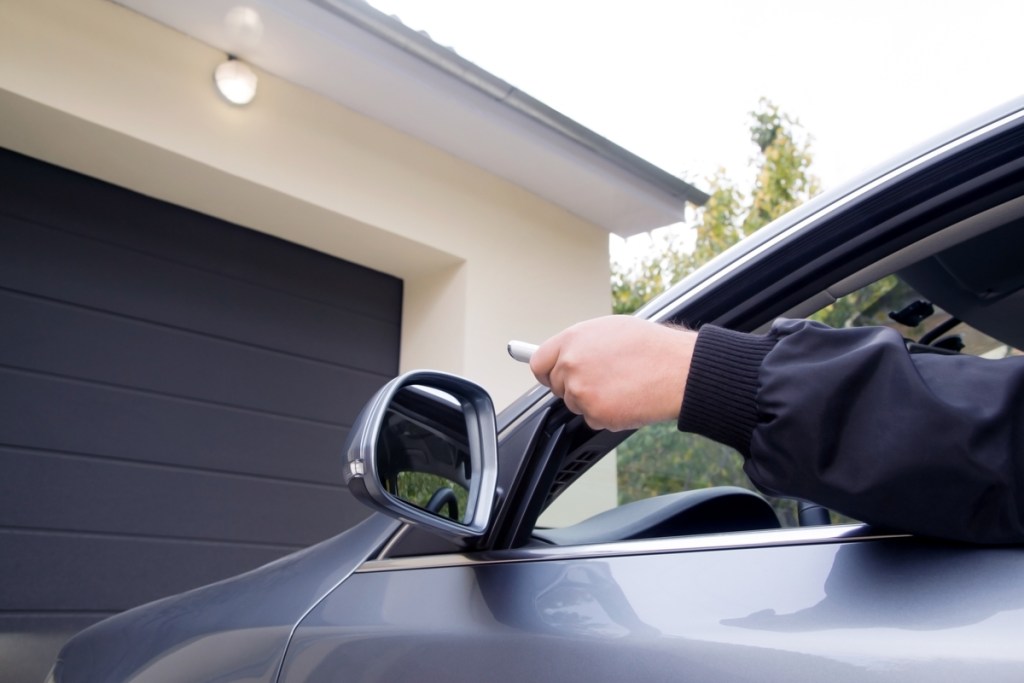
A remote opener is arguably the most important piece of the garage door’s system. This handy little gadget lets you open your garage without ever getting out of your car. Programming a garage door remote is similar to programming a keypad, with a slight variation.
Step 1: You’ll need to get on a ladder and press the “learn” button on the motor, just like you would for programming a keypad.
Step 2: Once you’ve pressed the “learn” button on the motor, you’ll simply push down the main button on your remote. The light on the garage door opener should start blinking, which tells you the programming was successful.
Step 3: Close up the panel you opened on the motor and test out your new remote.
Proper programming for your garage door is essential not only for convenience but also for security purposes. Your garage houses not only your cars, but it’s also a storage area for expensive items like tools, lawncare and athletic equipment, and any other valuables. If your garage is attached to your house, it should also be considered an entry point for your home. For all these reasons, your garage needs to be as secure as possible. With our programming guide, no one but you and your family will be able to access this vulnerable space in your home.


